Recipev2
Package Design
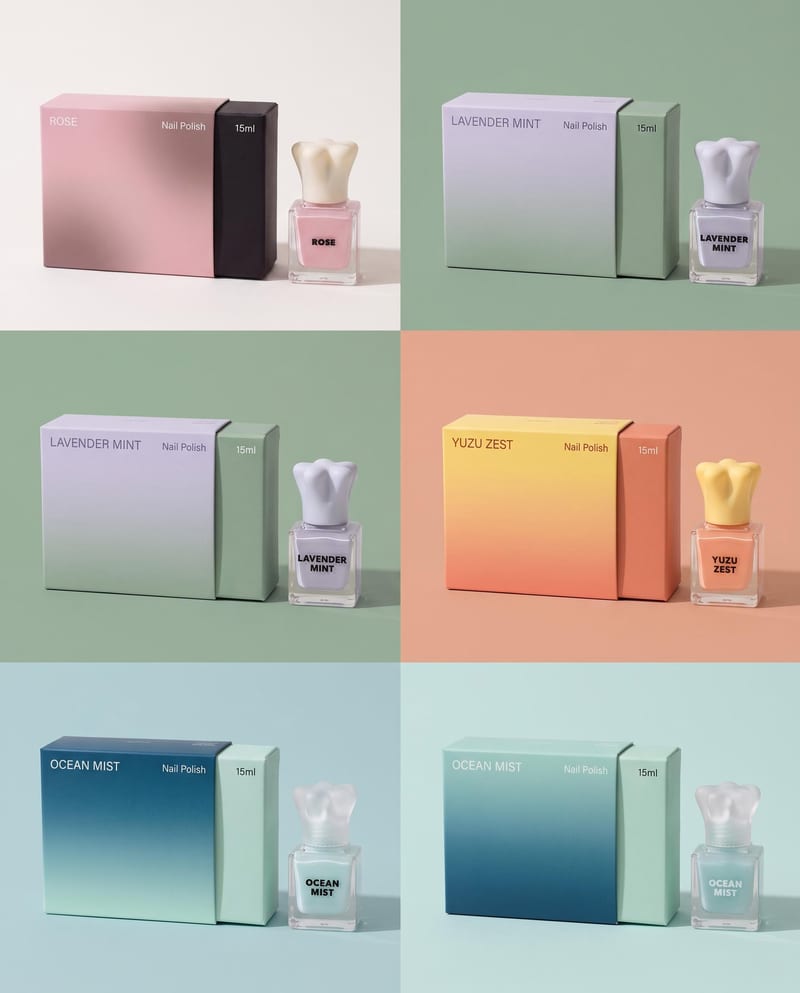
Package Design Style 1
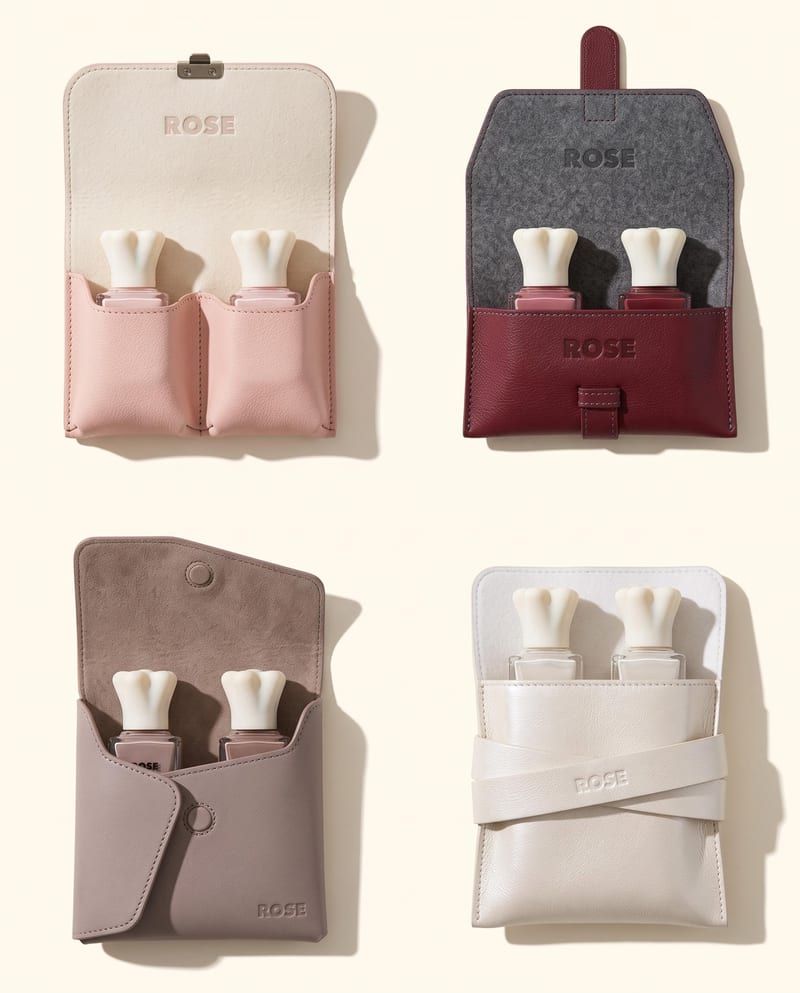
Nail Polish Packaging
Turn one nail polish product image and brand brief into four package design options.
Package Design Style 1
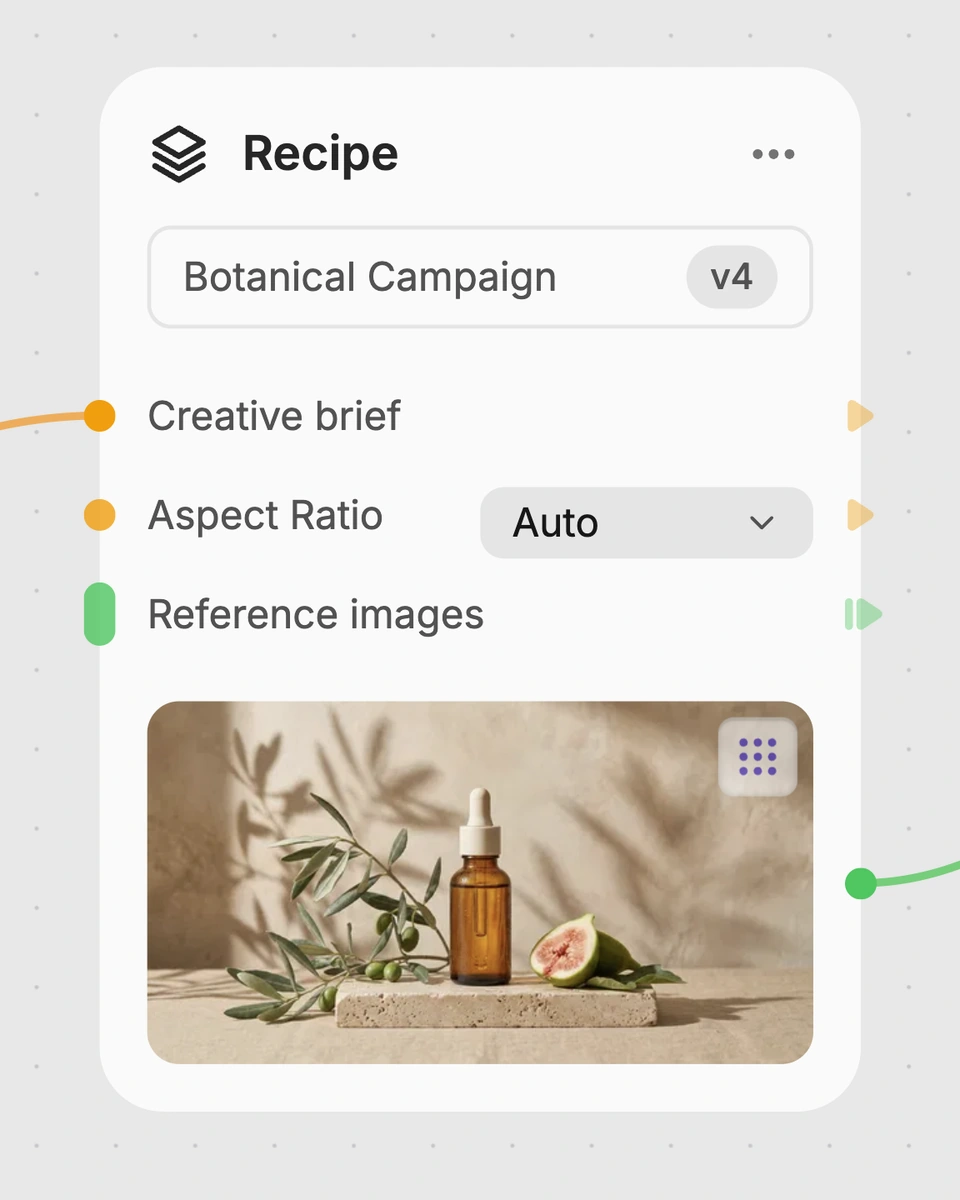
A recipe turns a reusable workflow into a simple set of inputs and outputs. Start with a community recipe and make it your own in Fuser.
1. Choose a recipe
Find a workflow for the result you want. Review what it does and how to use it before opening it in Fuser.
2. Make it your own
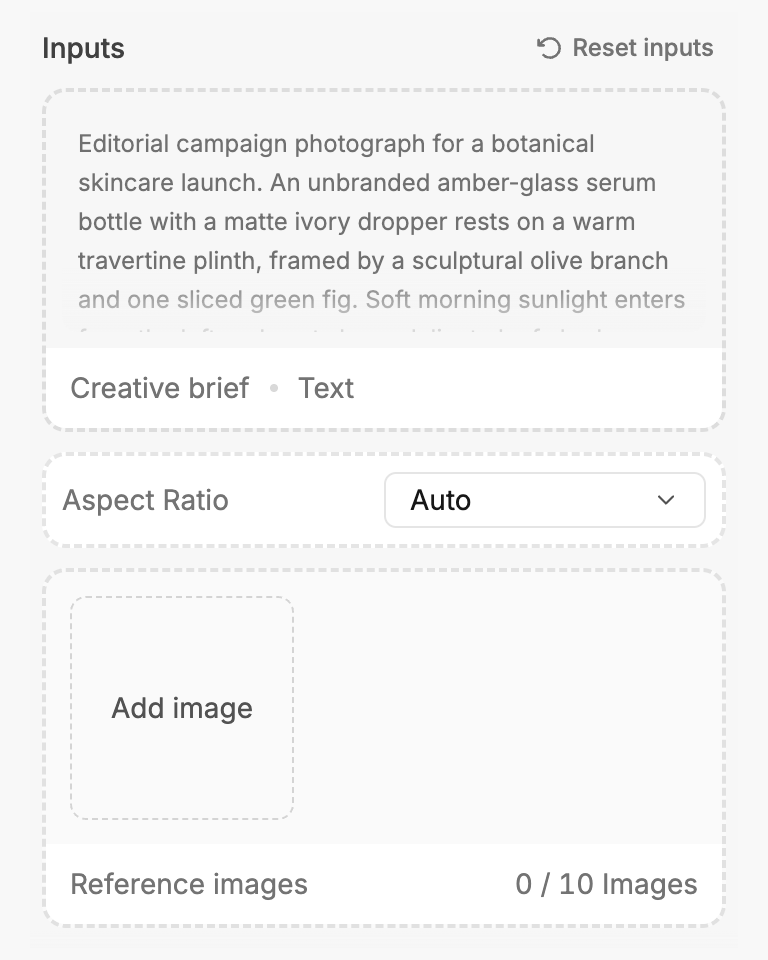
Check the recipe’s available inputs. Add your own text or media where supported, or start with the saved defaults.
3. Run and refine
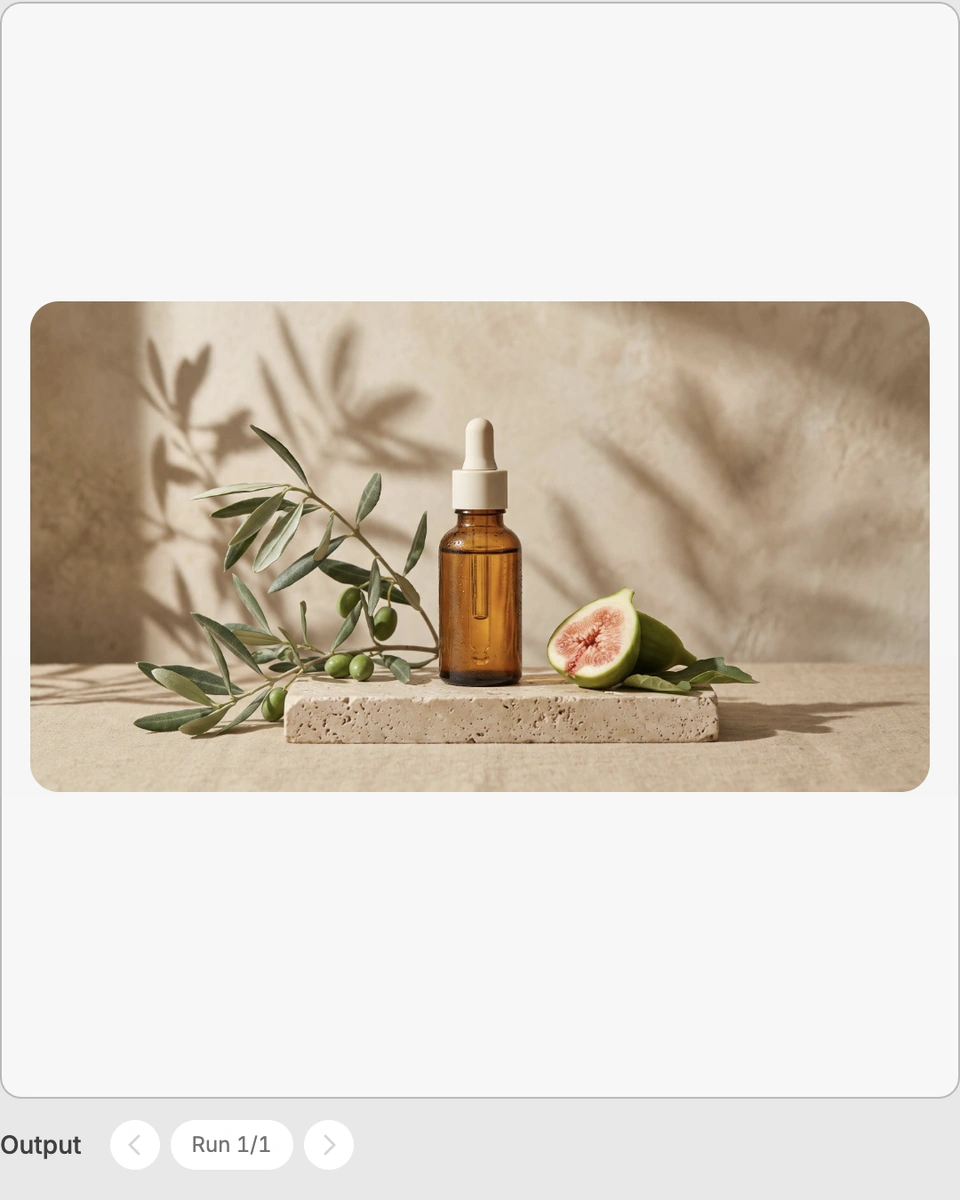
Run the recipe in Fuser and review the result on your canvas. Adjust any available inputs when you want to try another direction.
Use multiple package design options to explore, compare, and present visual directions for a nail polish brand.
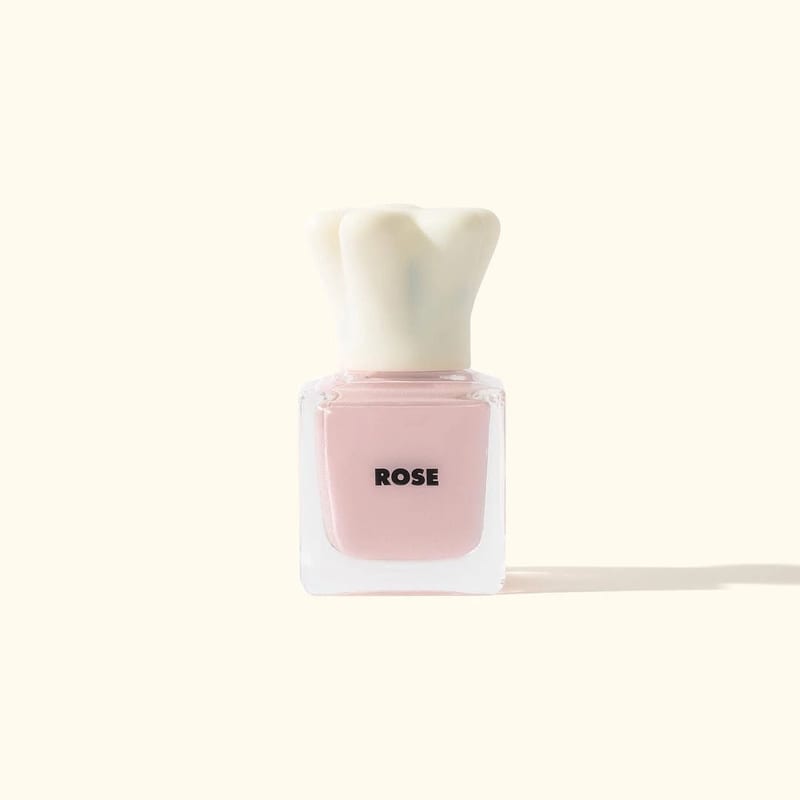
It takes one product image and a text input containing the product type and brand name, then creates four package design image options. The saved example uses a nail polish product and the brand name Rose.
It is useful for nail polish brands, packaging designers, creative teams, and others exploring visual directions for a product package. The outputs are especially suited to early concept comparison and presentation.
Prepare one product image and enter the product type and brand name in the text field. The saved text format is “Product Type: Nail Polish” and “Brand Name: Rose,” which you can replace with your own details in Fuser.
You can change the exposed Product Image input and the Product Type & Brand Name text input in Fuser. Changing those inputs lets you create package design options for a different product or brand name.
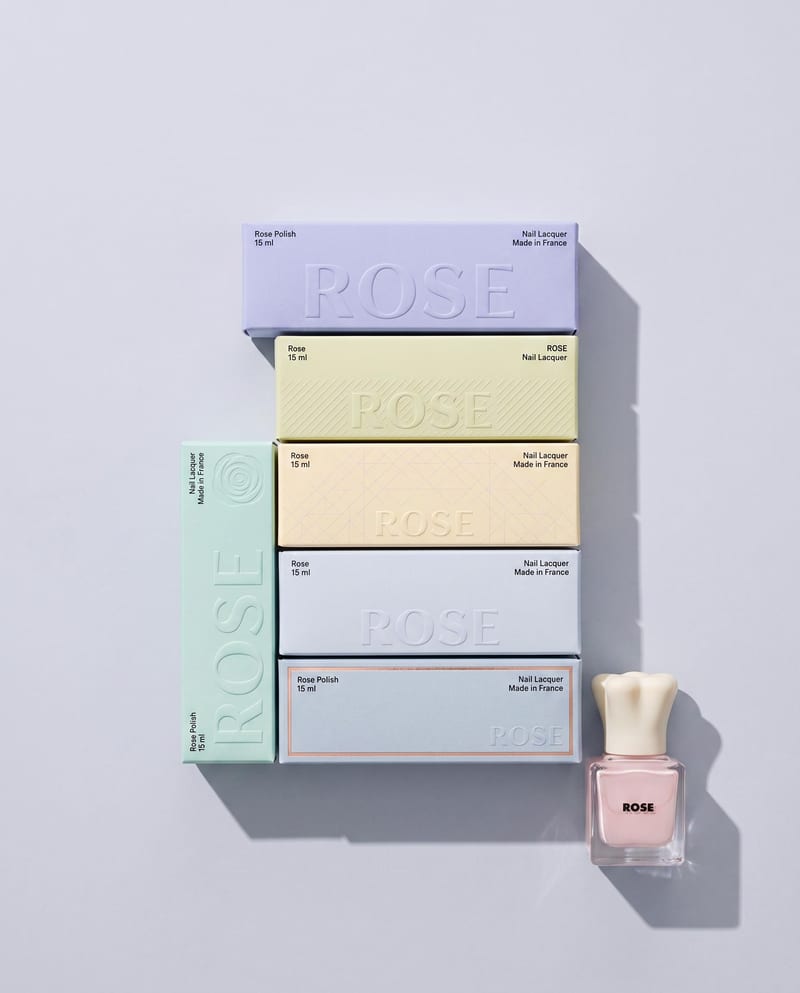
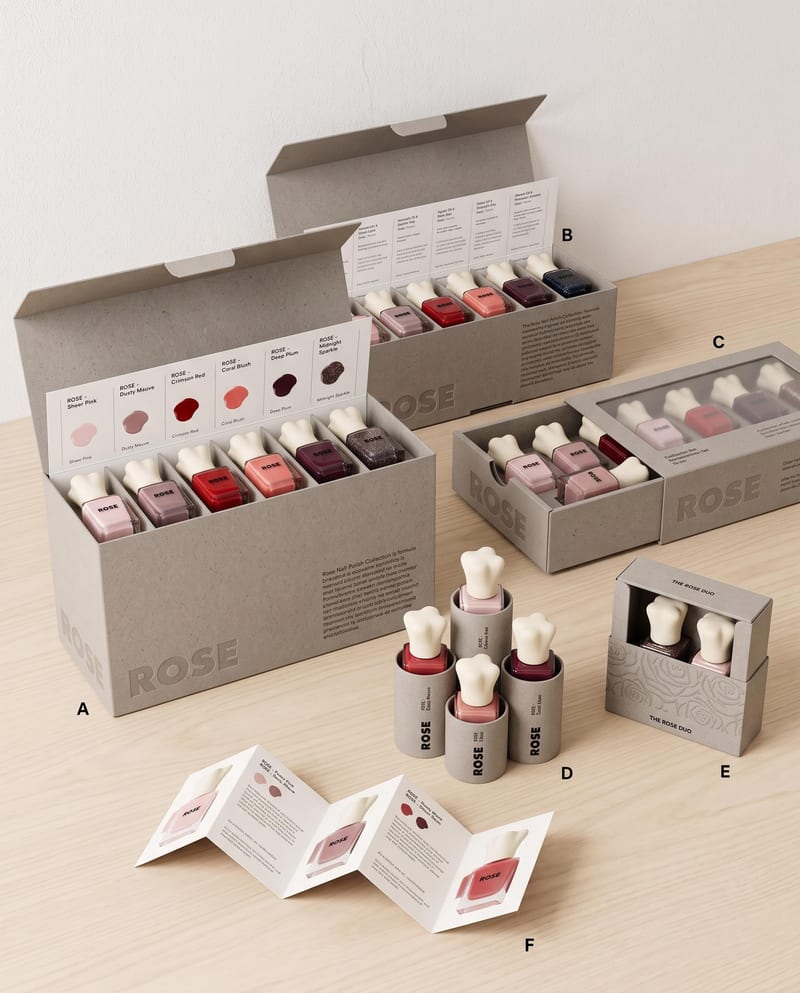
The saved example connects a product image with the text inputs for Nail Polish and Rose. Its four saved outputs are labeled Package Design Style 1 through Package Design Style 4, demonstrating multiple image-based options from the same input.
The recipe provides four image outputs: Package Design Style 1, Style 2, Style 3, and Style 4. They are separate visual options generated from the same product image and brand text.
The recipe outputs four package design images, so they are best treated as visual design options for exploration and review. The recipe does not expose production specifications, dielines, or other manufacturing files.
Bring a product image and brand name into Fuser to develop four visual package design directions.
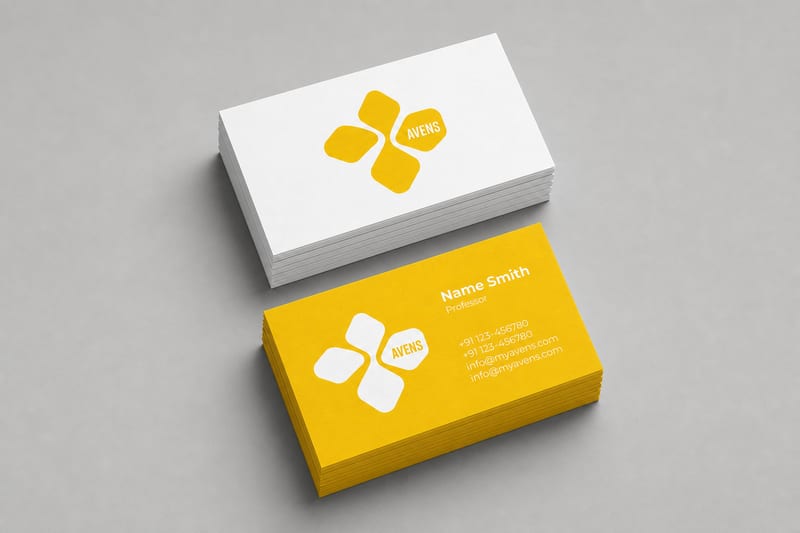
Turn one logo into business card, letterhead, tote bag, socks, hat, and shirt mockups.
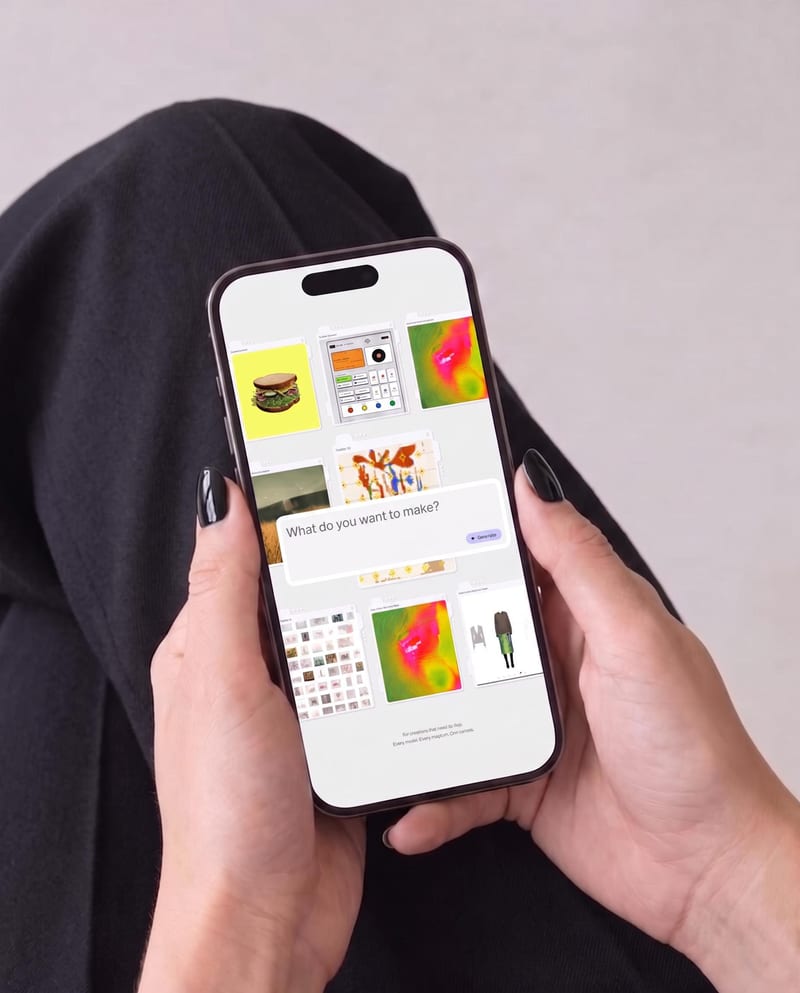
Place one UI design image into phone, tablet, and desktop mockups for realistic product presentation previews.
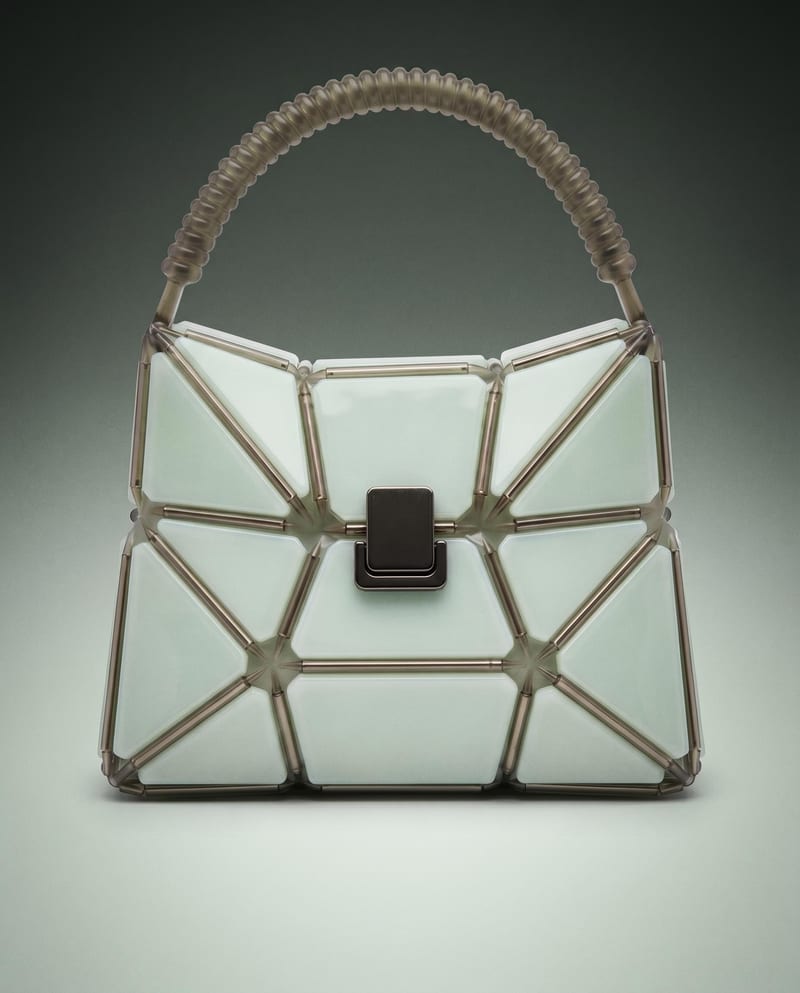
Use a product image to create studio, handheld, and poster shots for product advertising and brand presentations.