Recipev2
Adding Micrographics
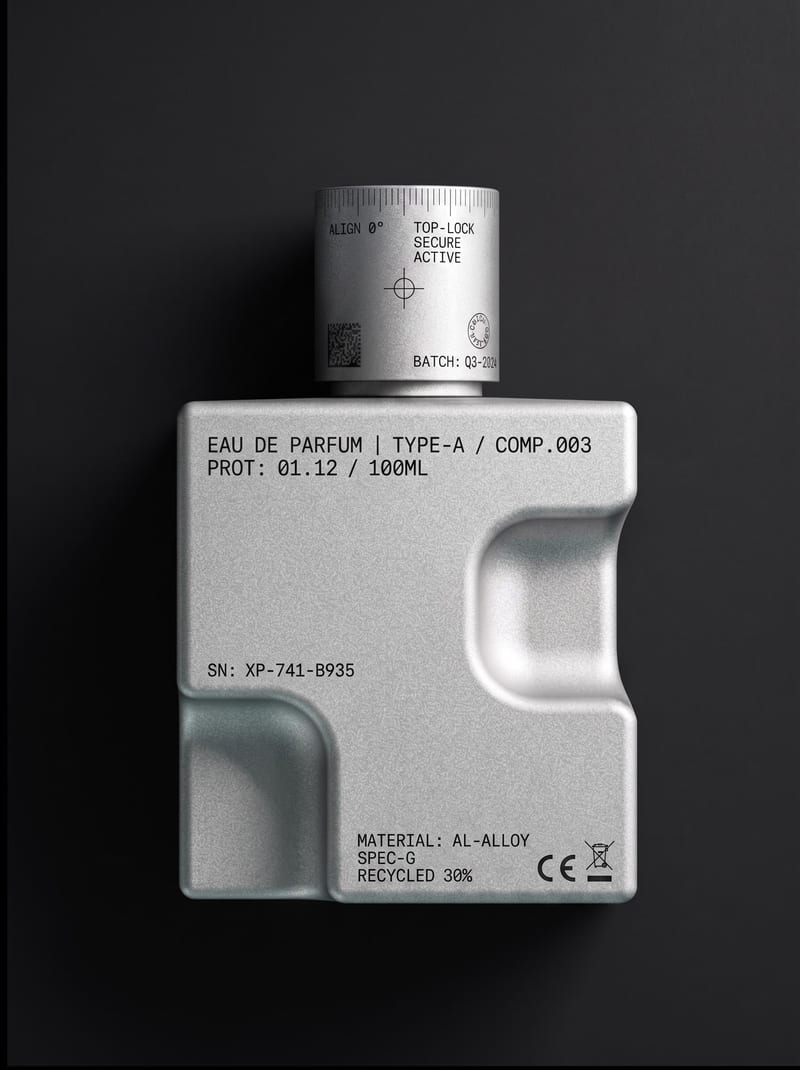
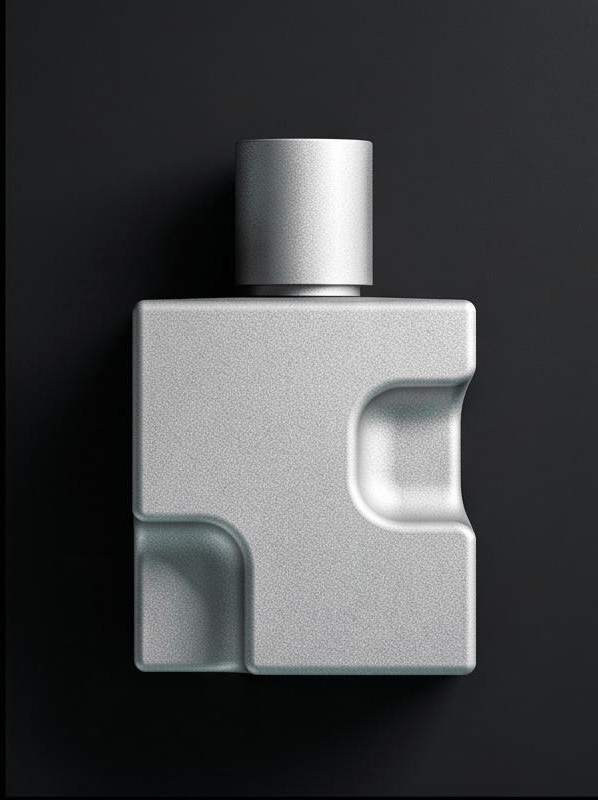
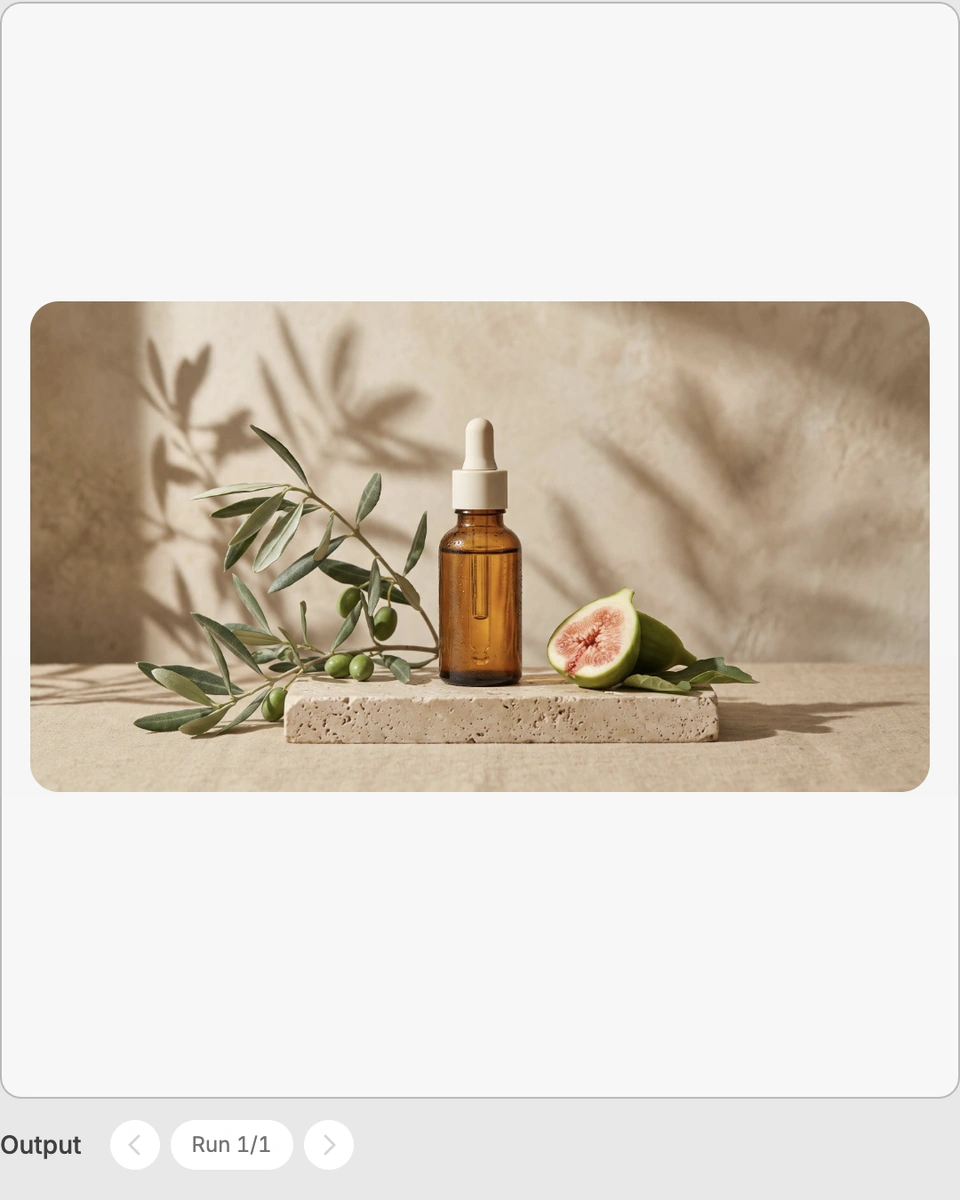
Object with micrographics
Micrographics for Brand Assets
Upload an object or image and receive an image showing that object with micrographics added.
Object with micrographics
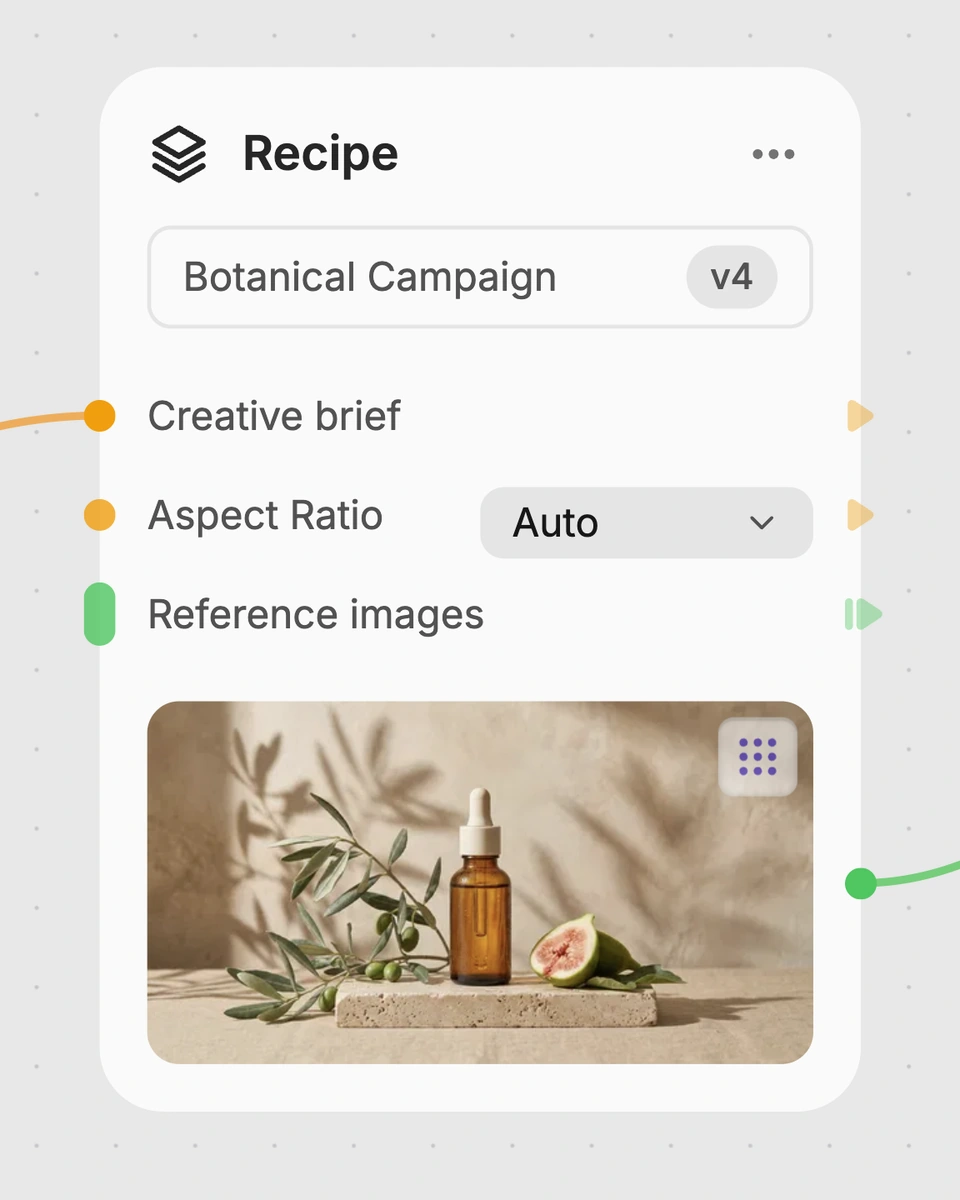
A recipe turns a reusable workflow into a simple set of inputs and outputs. Start with a community recipe and make it your own in Fuser.
1. Choose a recipe
Find a workflow for the result you want. Review what it does and how to use it before opening it in Fuser.
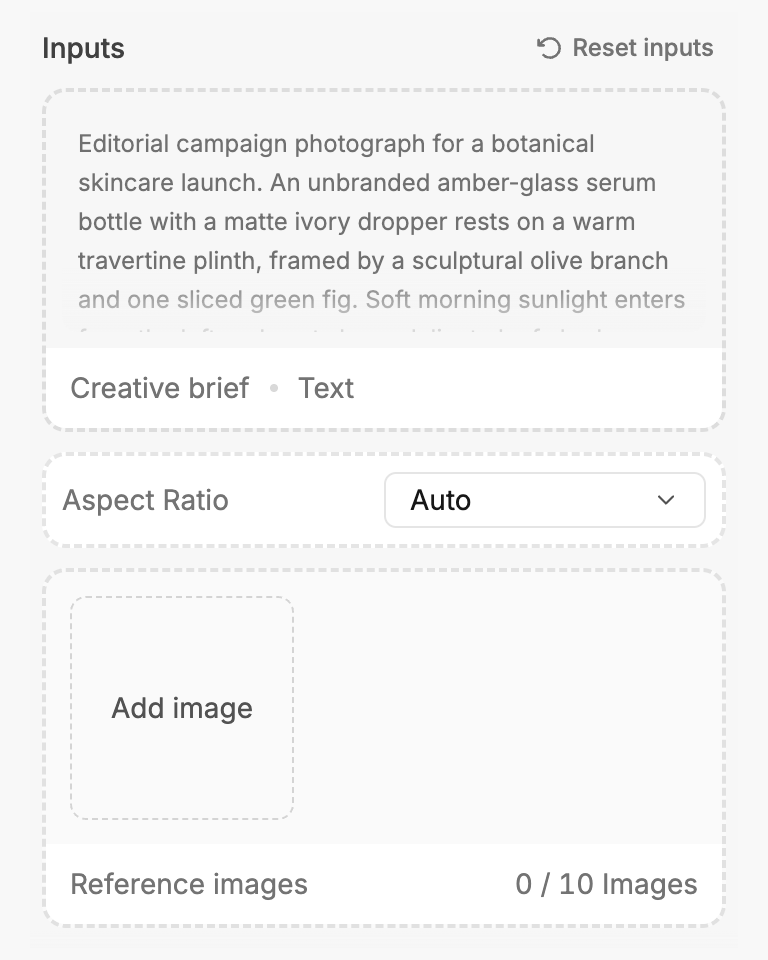
2. Make it your own
Check the recipe’s available inputs. Add your own text or media where supported, or start with the saved defaults.
3. Run and refine
Run the recipe in Fuser and review the result on your canvas. Adjust any available inputs when you want to try another direction.
Apply micrographics to visual assets across branding, advertising and social content workflows.
It takes an object or image as its input and produces an image with micrographics added. The recipe is suited to visual work in branding and identity, marketing and advertising, and social content.
It can help designers, brand teams, marketers and content creators explore micrographic treatments for existing visual assets. The output can support concept development and presentation work across the recipe’s supported categories.
Prepare one image containing the object or picture you want to use. The exposed input is labeled Object, and you can replace it with another image in Fuser.
The saved output is labeled Object with micrographics and is an image. It demonstrates the saved object or image after micrographics have been added; a new run uses the object you provide.
Yes. Object is the recipe’s exposed editable input, so you can change the image you provide in Fuser. The resulting output is then based on that selected object or image.
Use it to explore visual treatments for brand assets, marketing and advertising concepts, and social or content images. It is most relevant when you already have an object or image that you want to present with added micrographics.
The available customization is the Object input: you can provide a different image to the recipe. No additional editable inputs are listed, so the page does not establish controls for specifying particular micrographic styles or placements.
No. This page presents a saved default example with its saved input connected to the recipe output. To use your own object or image, log in to Fuser and replace the exposed Object input.
Bring an object or image into Fuser and explore the recipe’s micrographic output for branding, marketing or social content work.
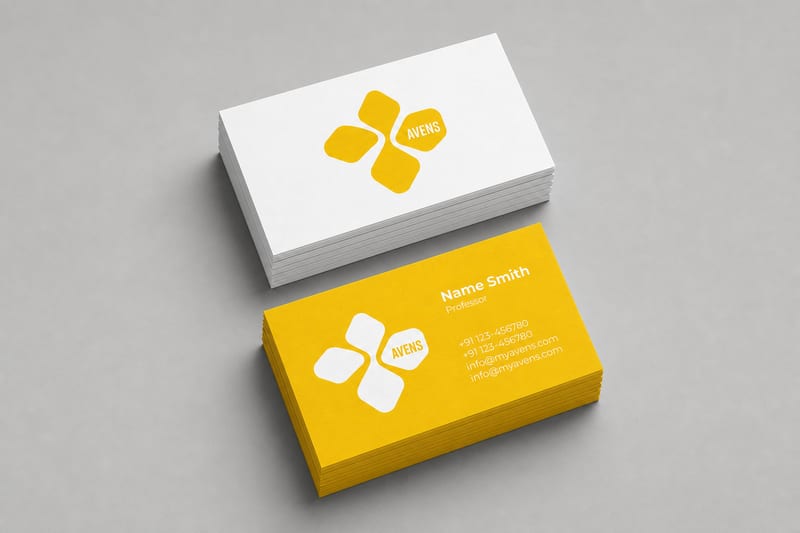
Turn one logo into business card, letterhead, tote bag, socks, hat, and shirt mockups.
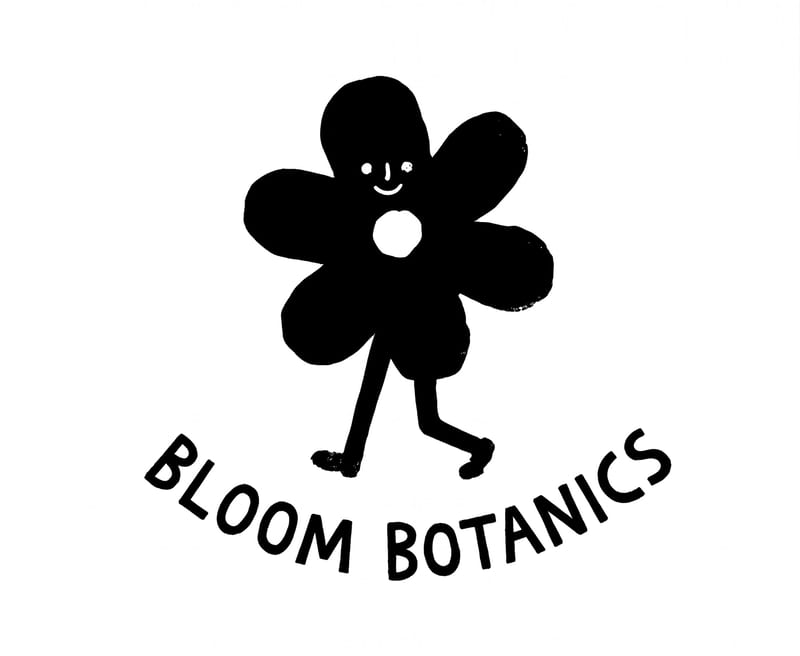
Enter a logo subject, such as a flower shop, to create two hand-drawn logo options for branding and social content.
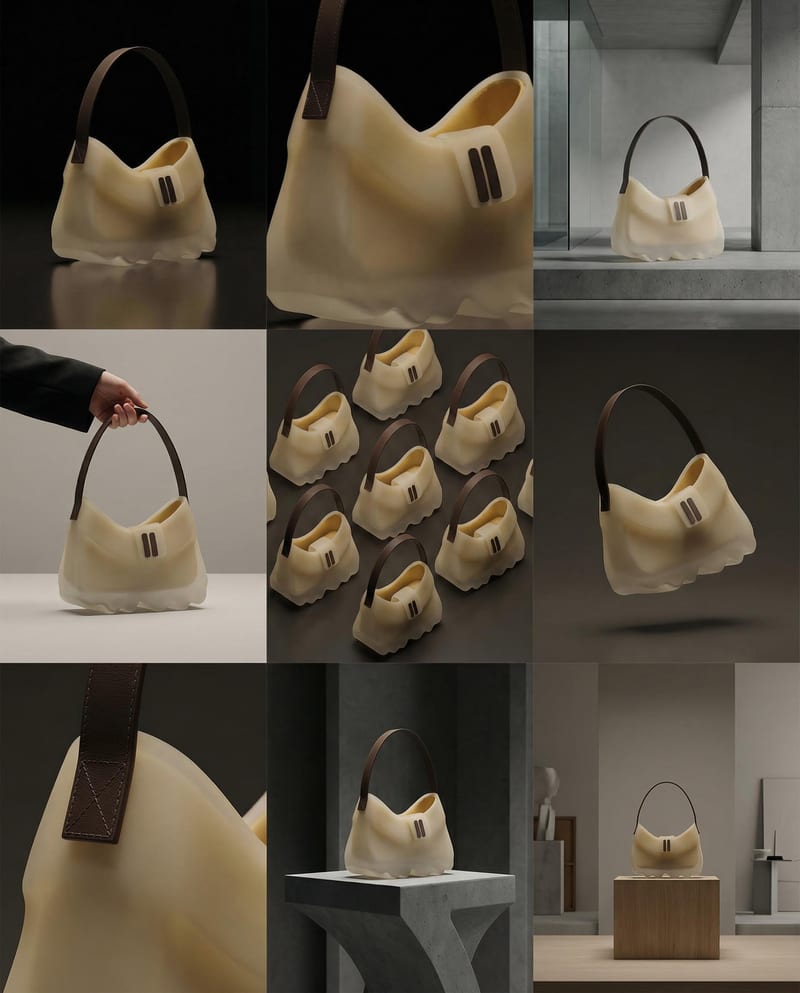
Turn a product image into a product photography grid for fashion campaign concepts and content planning.