Fuser Apps are here 🚀
Fuser Apps are here. Free generations for the next month 💫
Let's GoVideo & storyboards
A script leaves room for interpretation. Show the framing, atmosphere and movement you mean with storyboard images and short video studies. Bring the sequence into focus while there is still room to change it.
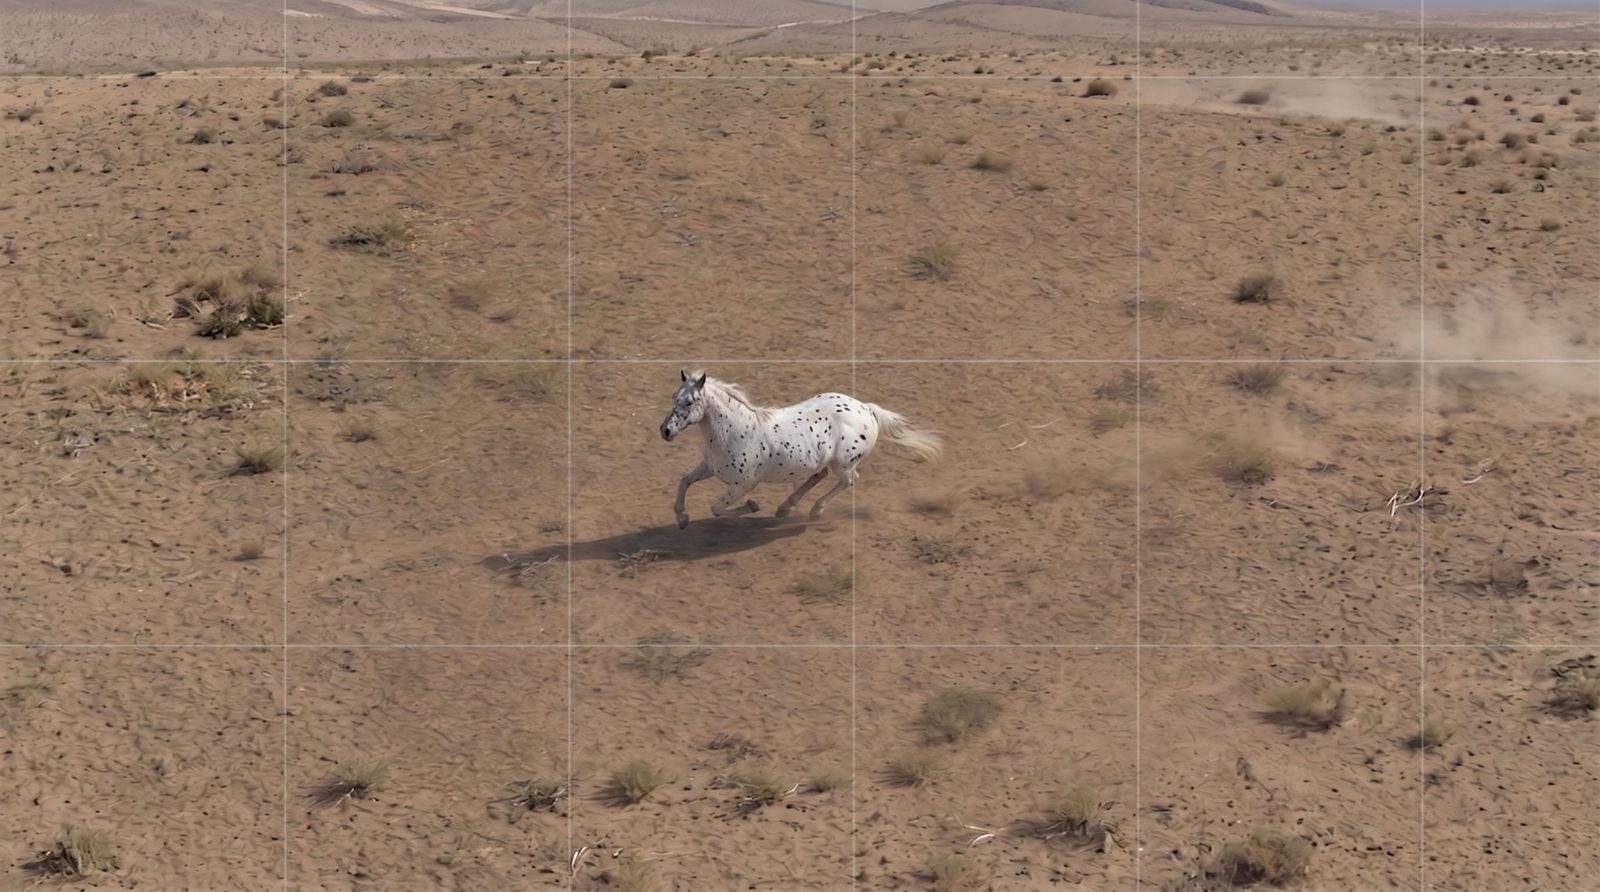
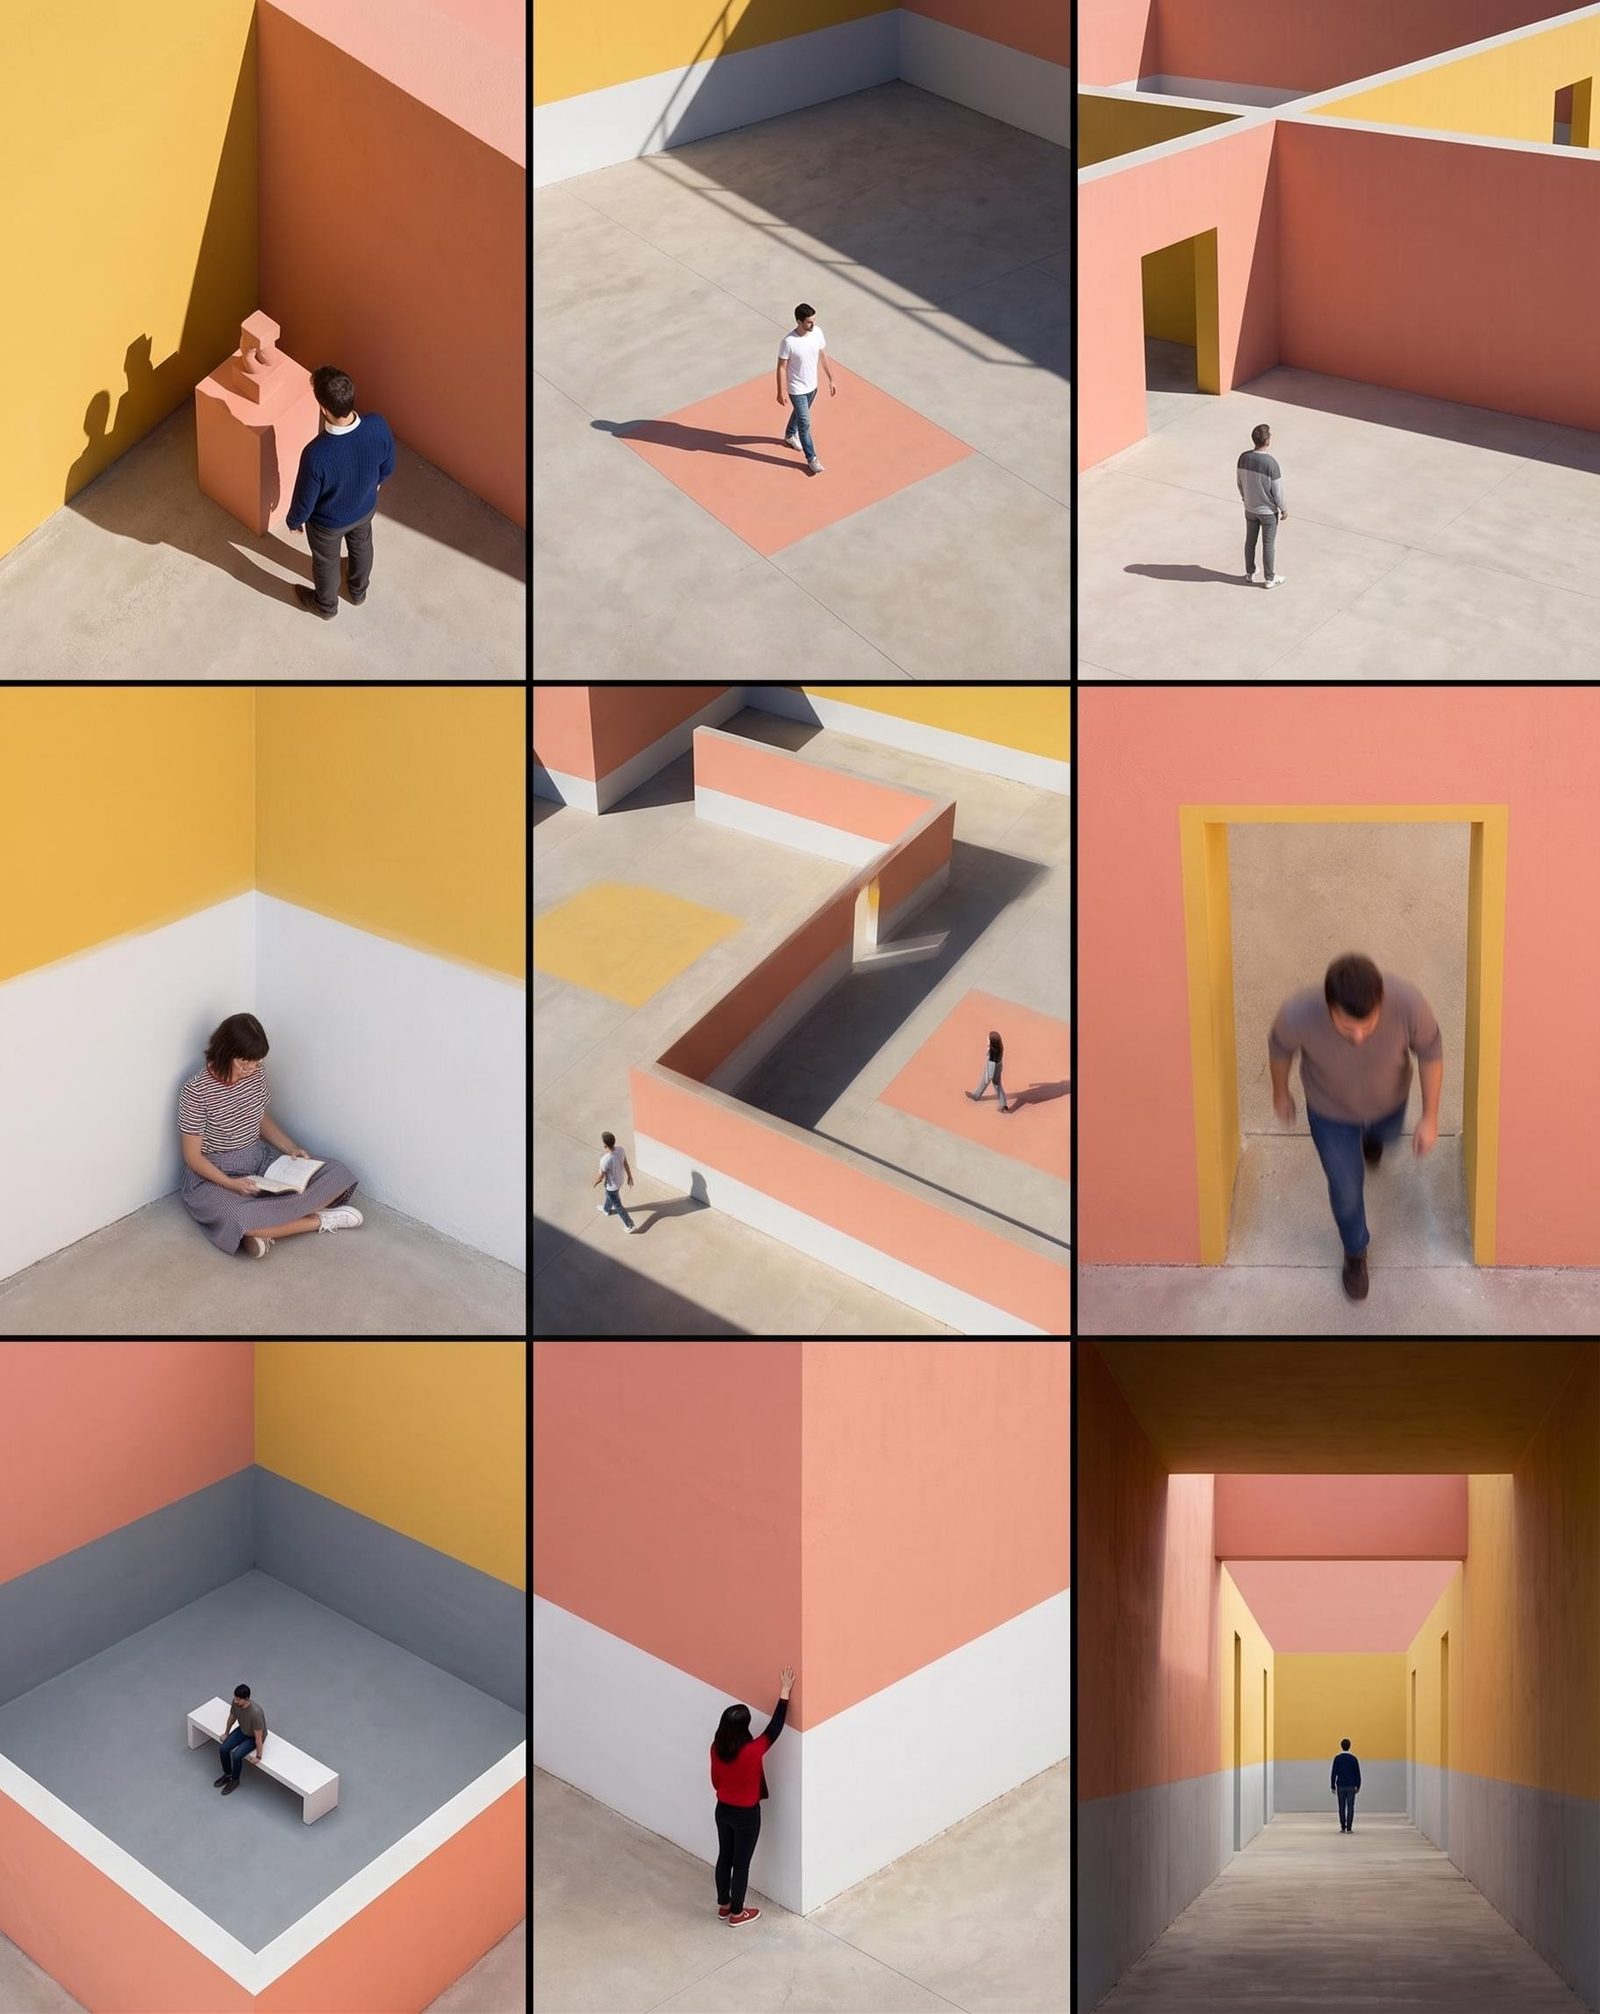
Develop key images from your script, treatment and visual references. Explore an establishing shot, a close-up or the moment the product appears. Keep the studies together so you can see whether the sequence tells the story you intended.
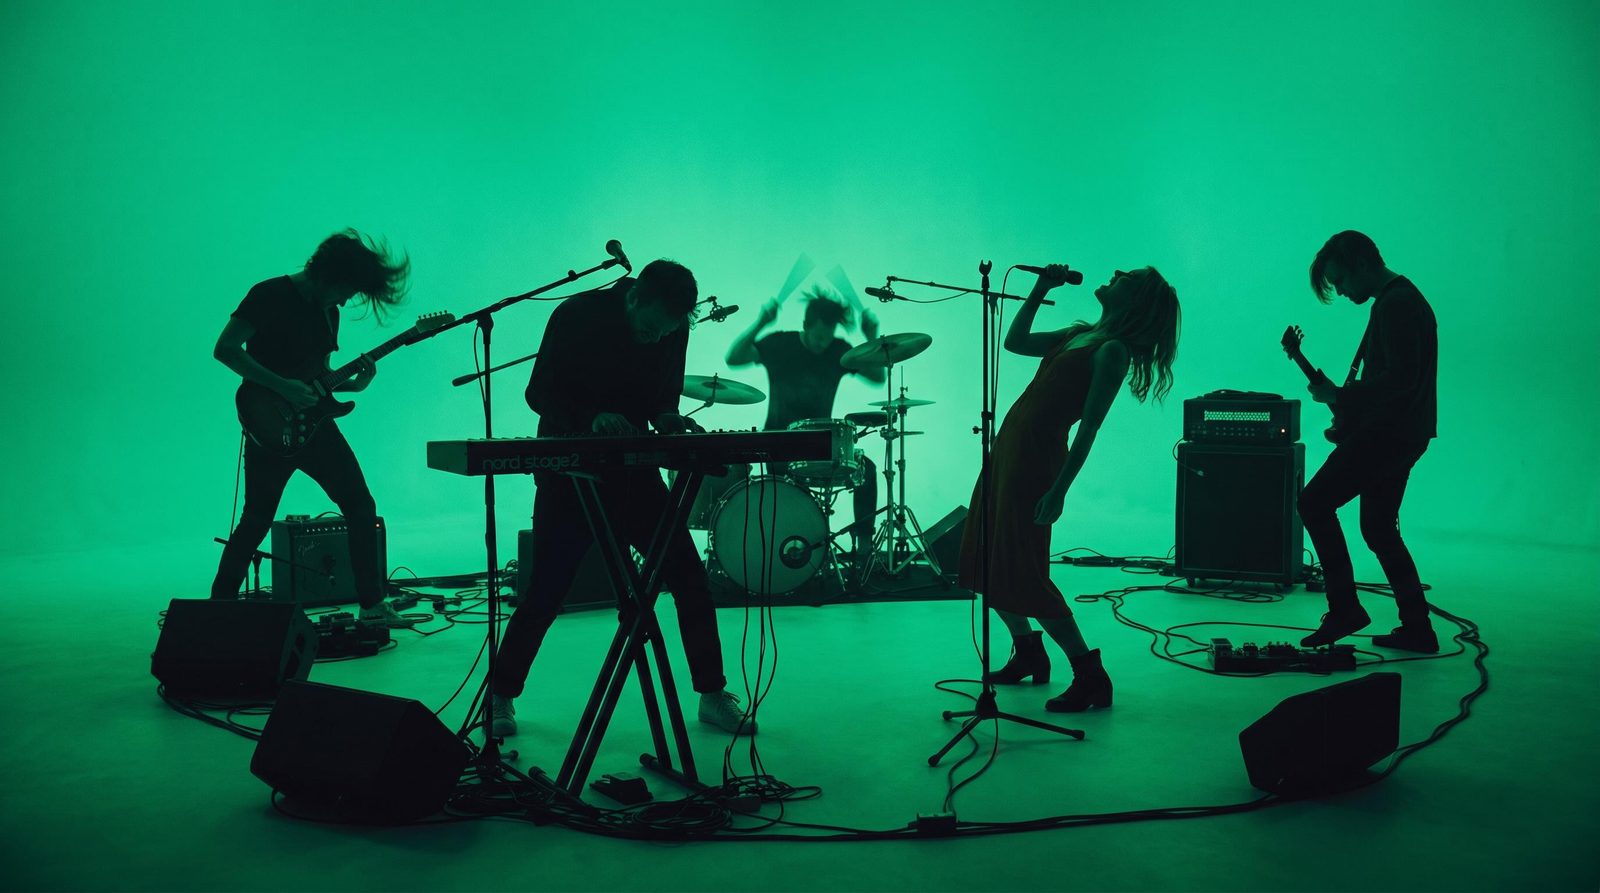
Send a selected frame into image-to-video and explore the action or camera movement. Work with the reference, duration and other controls available on that video tool. Compare the resulting clips before committing the sequence to a particular treatment.
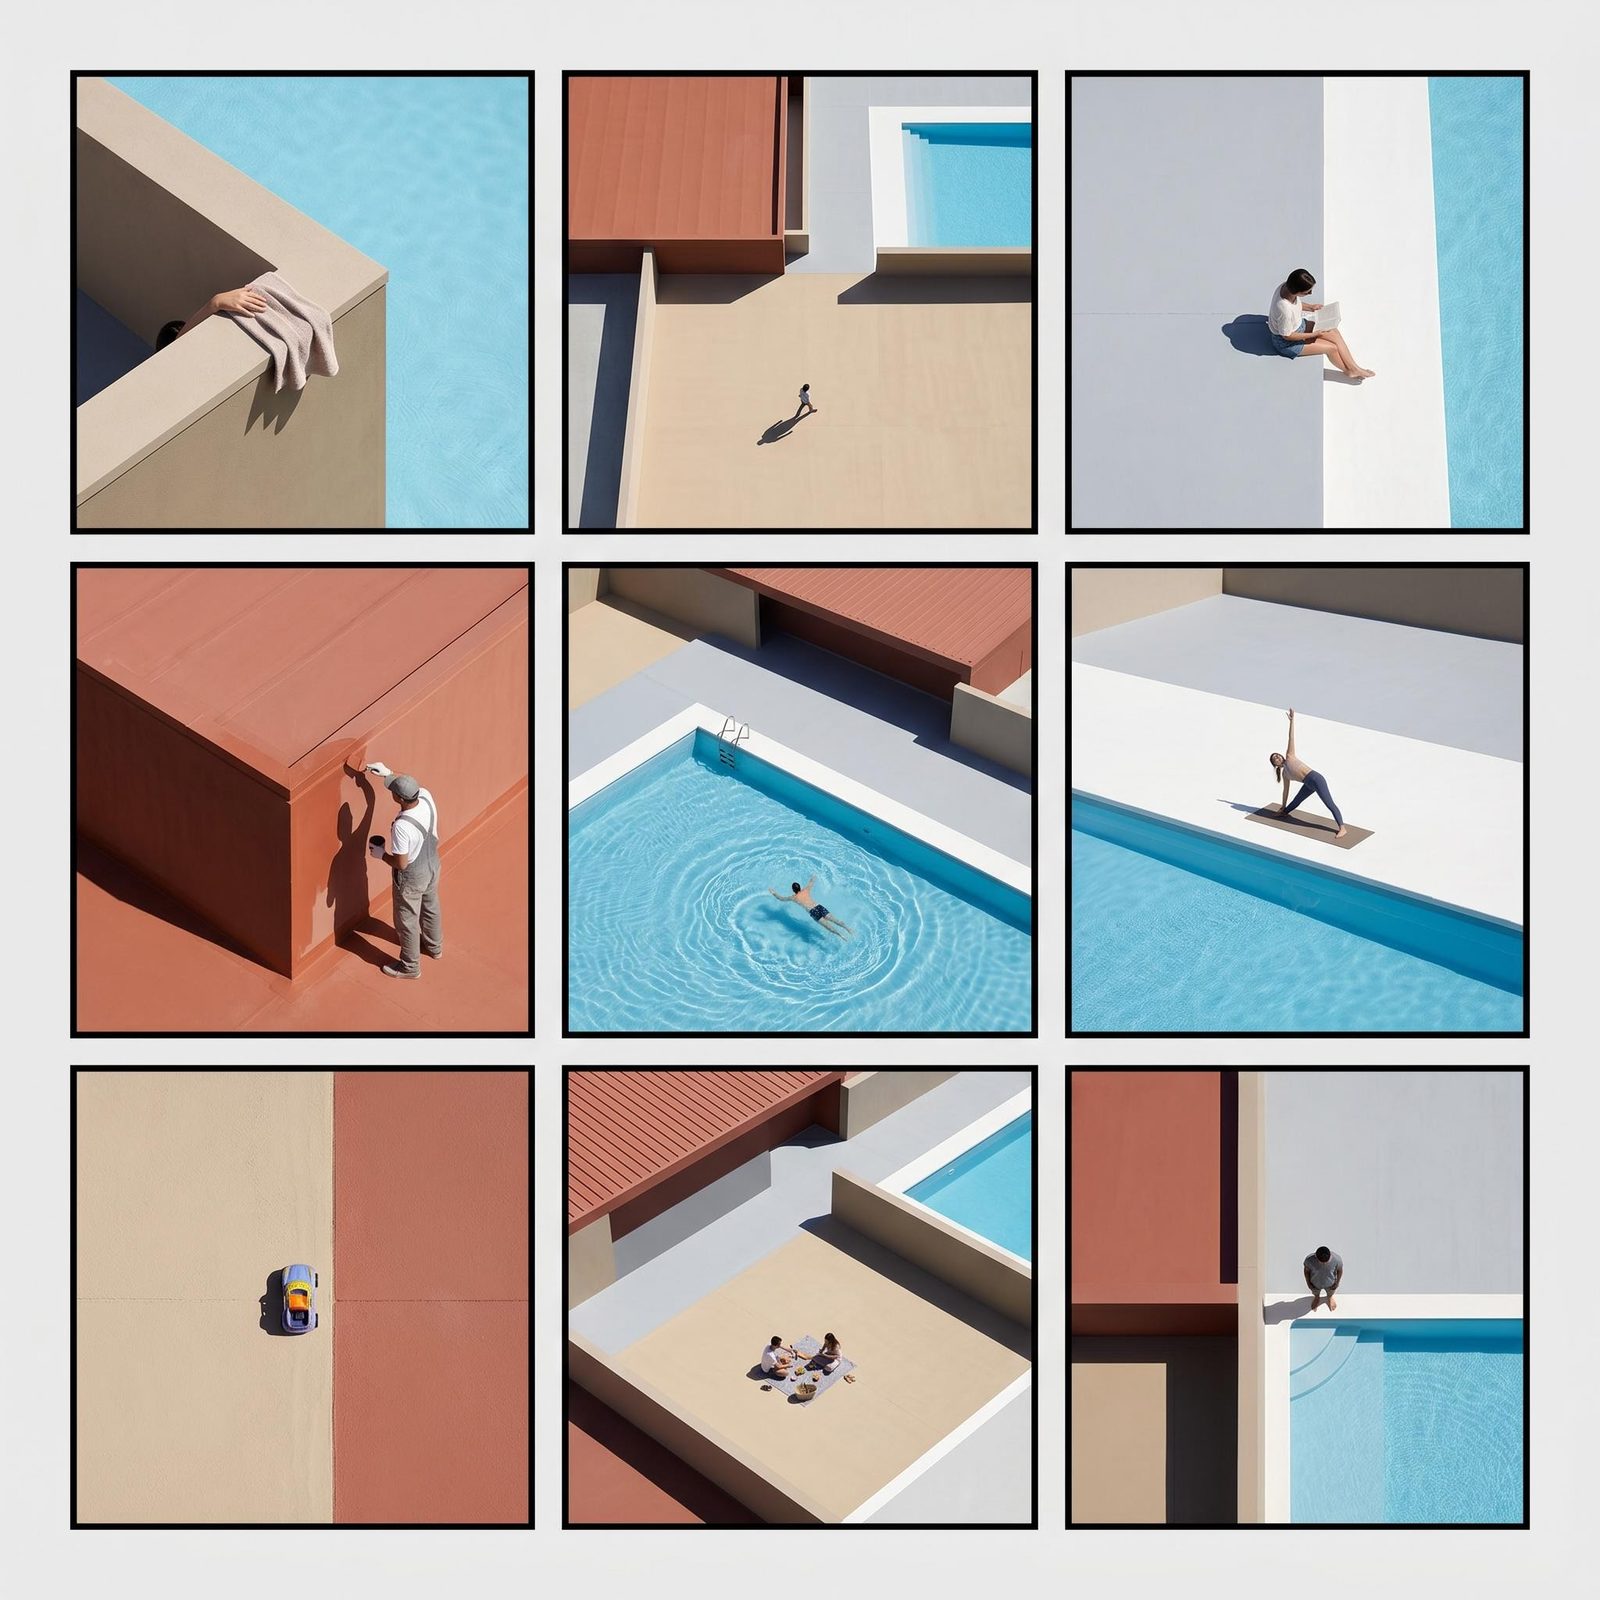
Arrange frames with shot numbers, dialogue excerpts and production notes in Compositor. Text stays editable when the script changes. Directors, clients and collaborators get a clear visual plan rather than a collection of unlabeled exports.
Create the visual material that makes a sequence easier to pitch and refine.
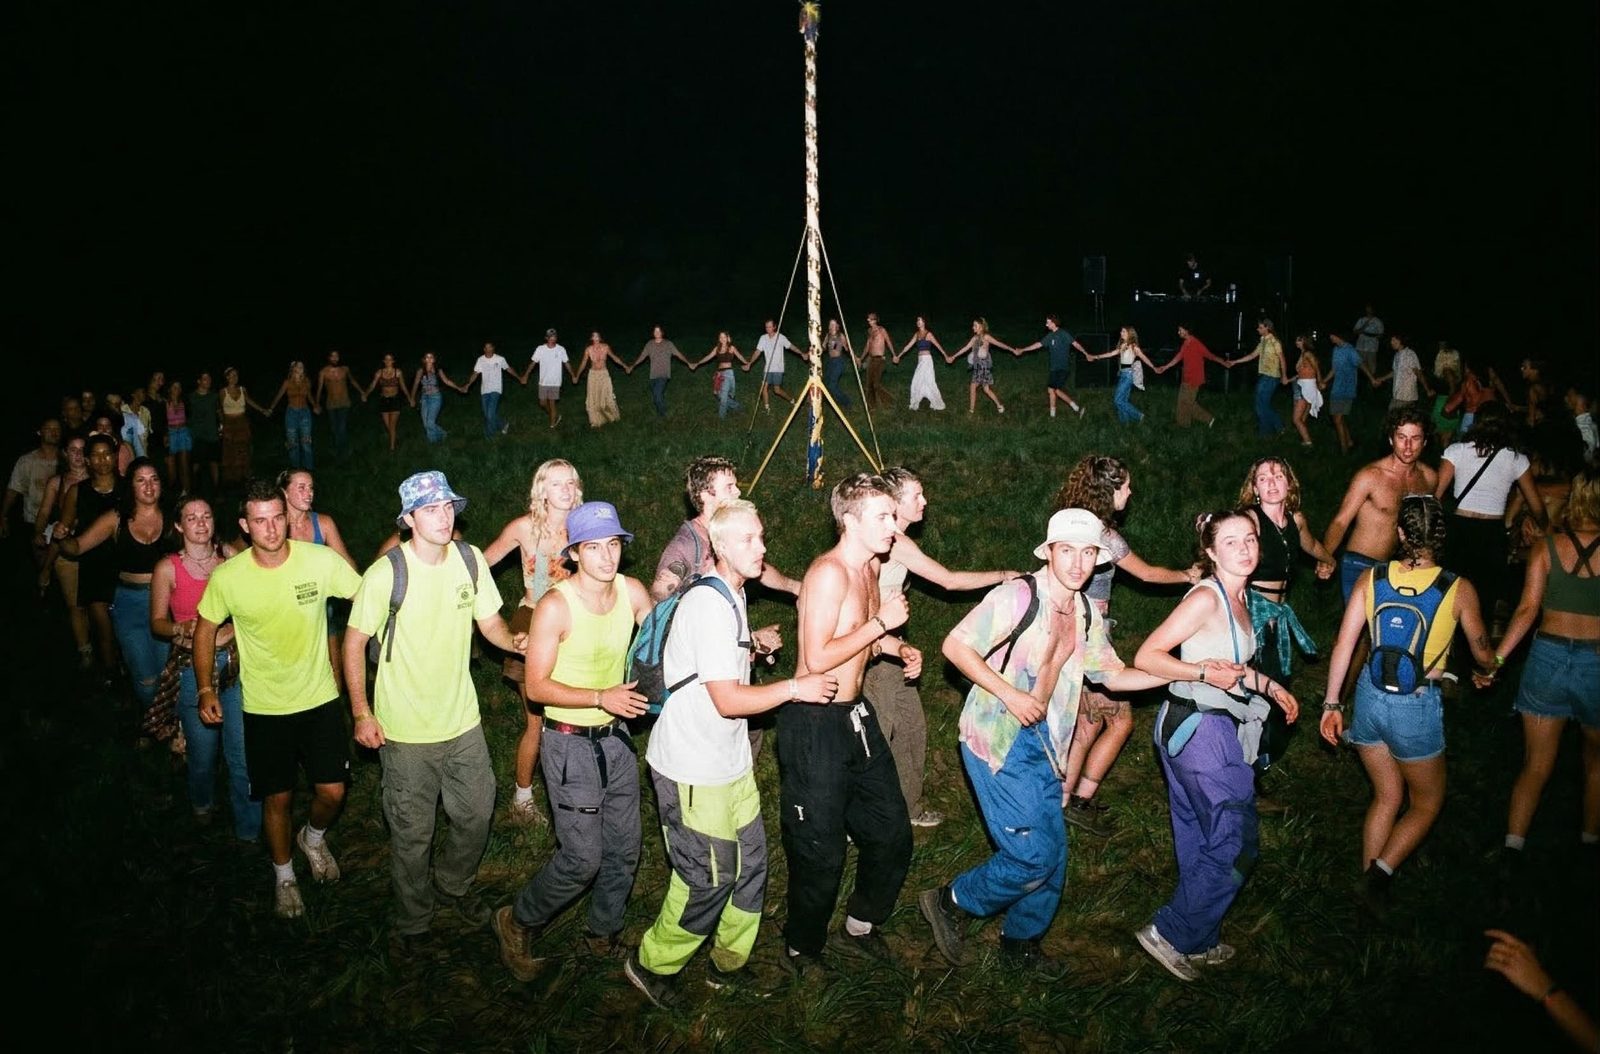
Storyboard frames
Turn the key beats into images with deliberate framing and atmosphere.
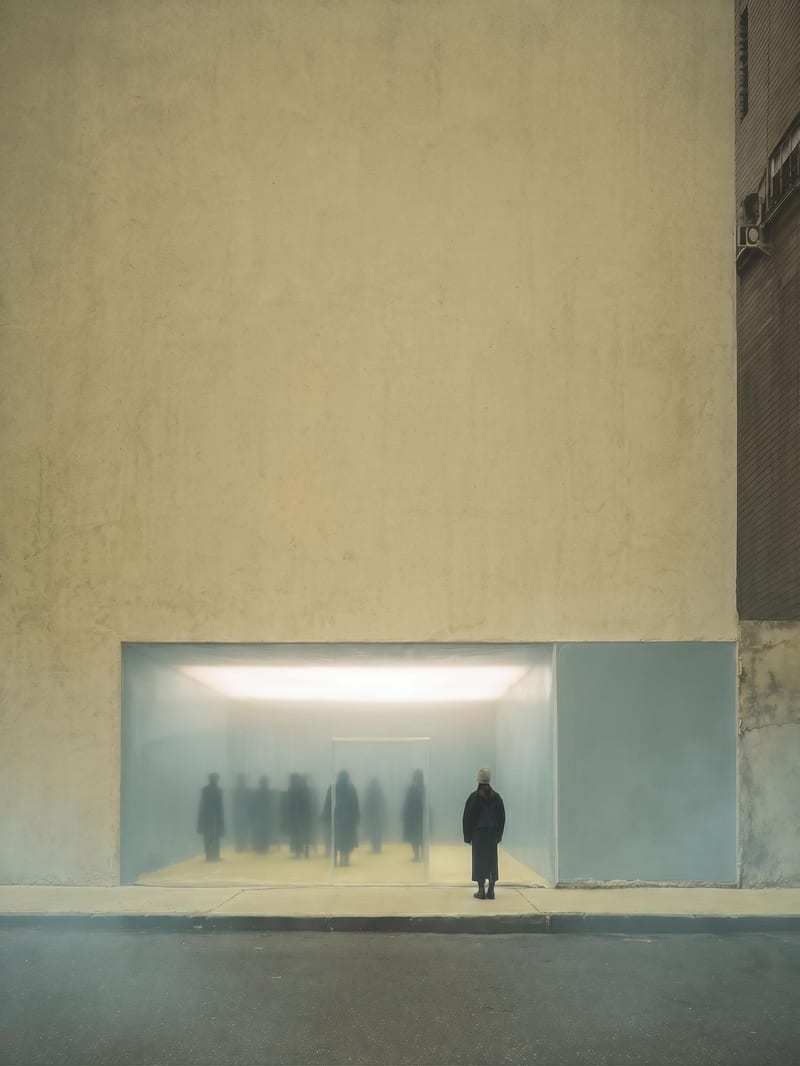
Shot alternatives
Compare distance, angle and composition around the same scene reference.
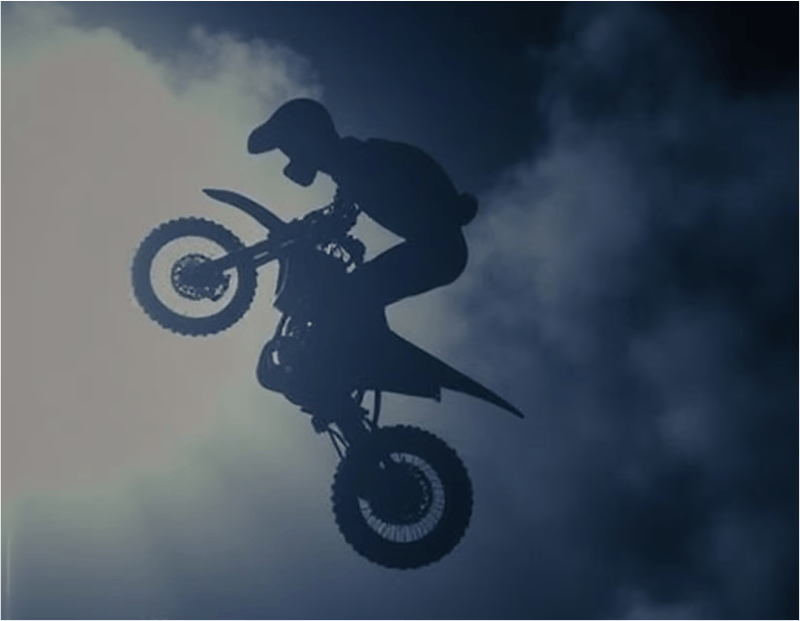
Motion studies
Explore how a chosen frame develops into a short moving shot.
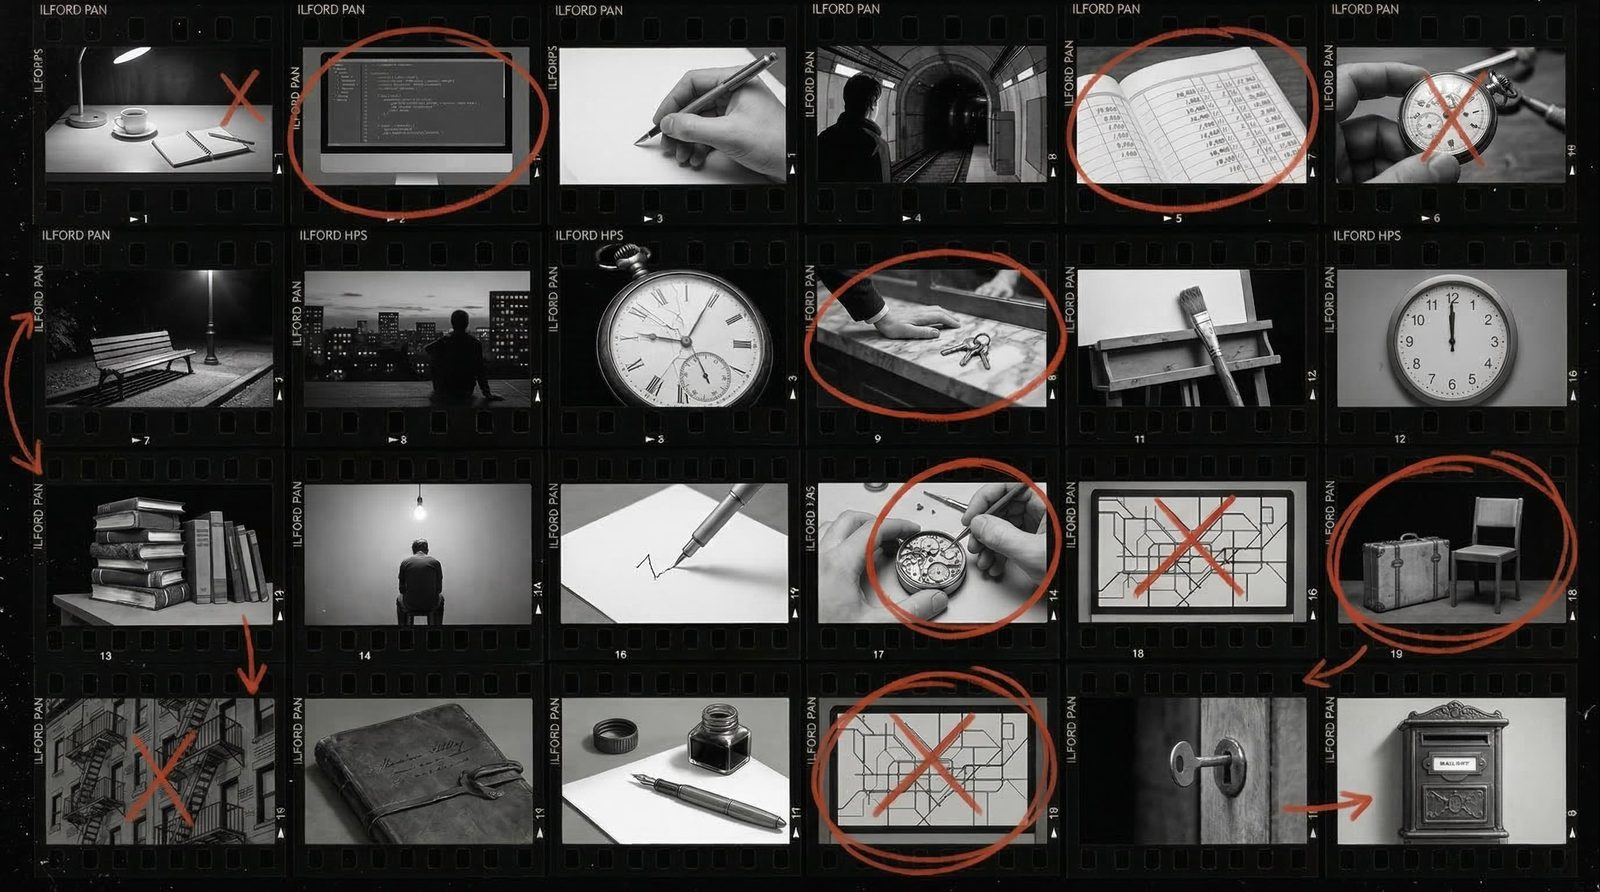
Presentation boards
Combine frames with editable numbers, captions and notes for a clearer review.
Yes. Use your images with tools that accept visual references and keep them beside the generated frames. Reusing references helps you direct the sequence; review faces, wardrobe, props and lighting across shots because generated details can vary.
Yes. Use the script to describe the subject, action, framing and atmosphere of each shot, then develop the frames on the canvas. Add visual references where they matter. Working shot by shot gives you room to resolve a difficult moment before you commit to the wider sequence.
Yes. Connect an image to an image-to-video tool, then describe the movement you want. Some tools accept additional frame references. The available controls are visible on the selected node, so you can choose the approach that suits the shot.
Create separate studies from the scene’s references and vary the shot description: a wide establishing view, a close detail or an over-the-shoulder angle. Keep the alternatives visible together. You can discuss what each framing communicates before developing the selected frame into motion.
Yes. Arrange the selected frames in Compositor and add editable text for shot numbers, dialogue or direction notes. Control the spacing and hierarchy yourself. A wording change stays a text edit, and a replacement frame can take its place without regenerating the entire presentation.
Use Fuser to develop frames, generate clips and compose boards. Take selected outputs into your timeline editor for precise sequencing, sound and final finishing. You can keep returning to the Fuser project when a shot needs another version.
No. Return to that shot’s references and generation steps, develop a replacement, then update the selected frame or clip in your working presentation. Keep the surrounding shots nearby for comparison. You can refine the weak moment while retaining the direction already established for the sequence.
Bring a scene, a treatment or a few references. Build the frames that explain what you have in mind.