Recipev4
Icon Pack Generator
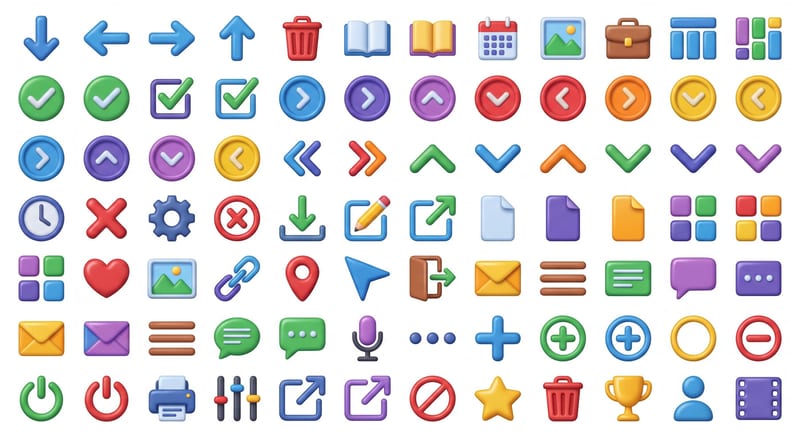
Icon Sheet
Web & Interface Icon Packs
Choose an icon style and color, then create an icon sheet unified by the same visual language.
Icon Sheet
A recipe turns a reusable workflow into a simple set of inputs and outputs. Start with a community recipe and make it your own in Fuser.
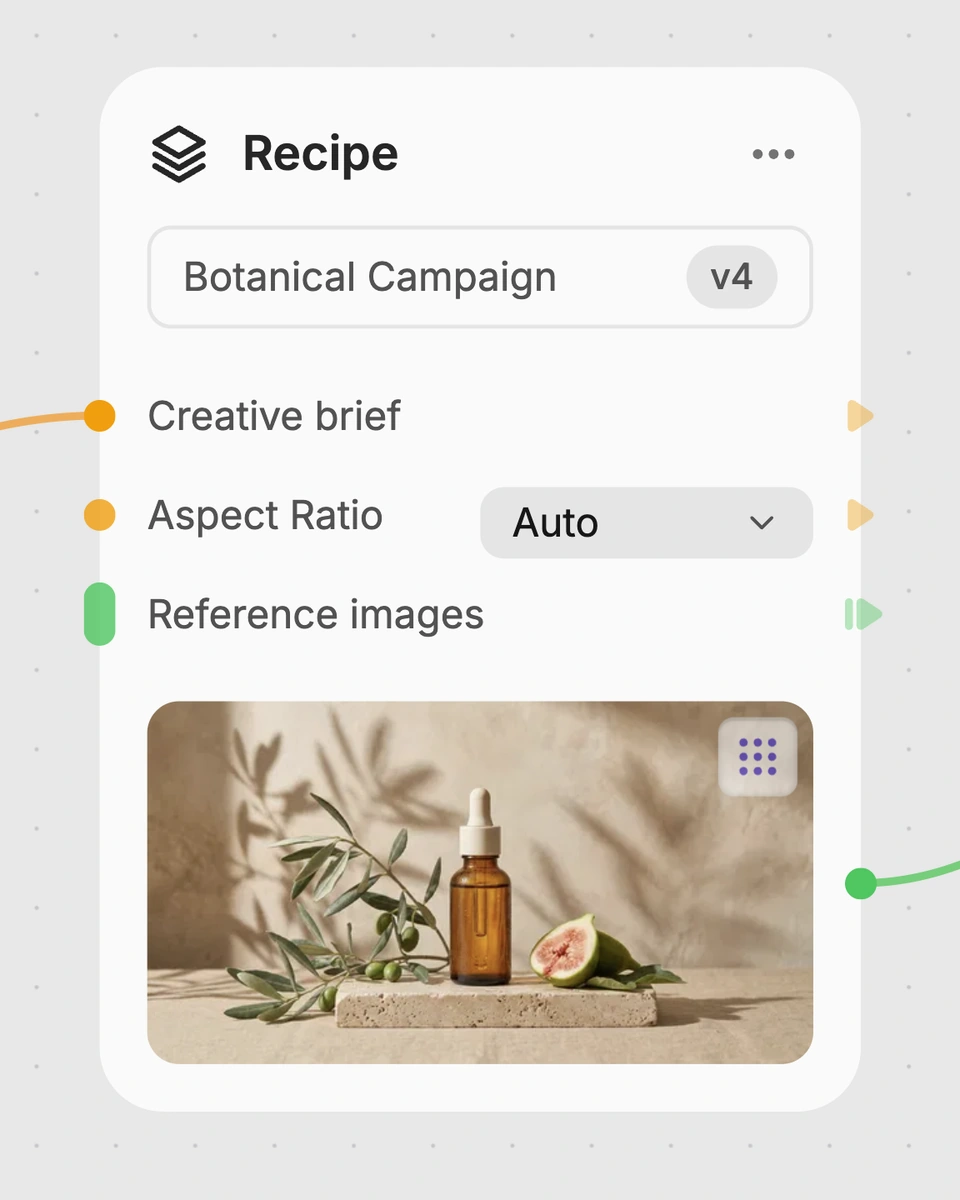
1. Choose a recipe
Find a workflow for the result you want. Review what it does and how to use it before opening it in Fuser.
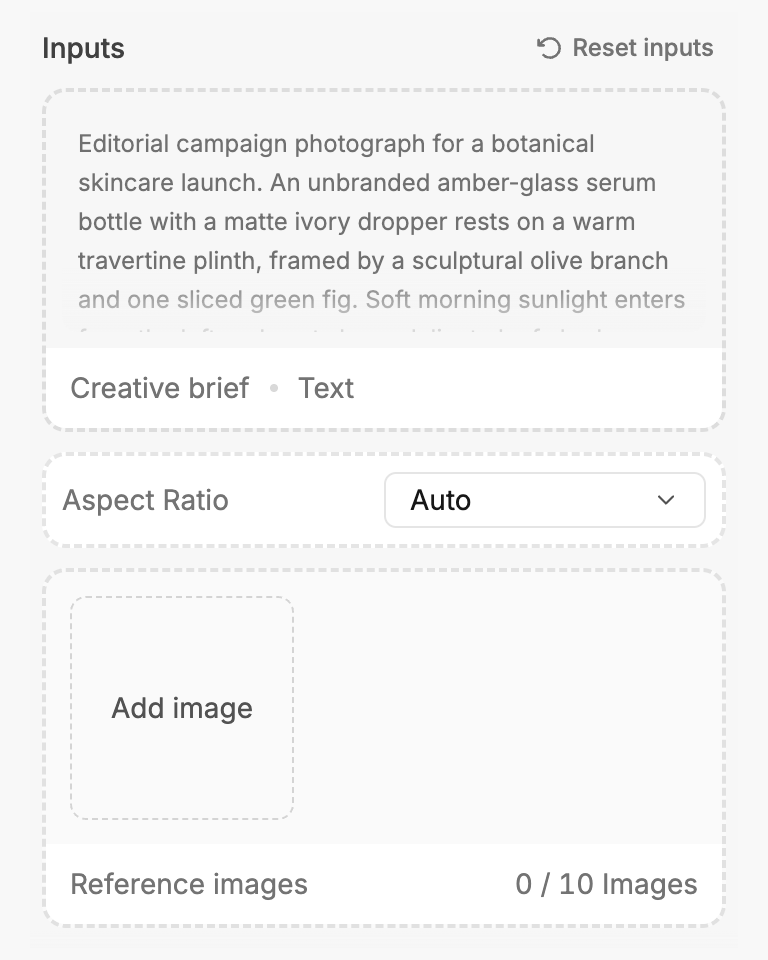
2. Make it your own
Check the recipe’s available inputs. Add your own text or media where supported, or start with the saved defaults.
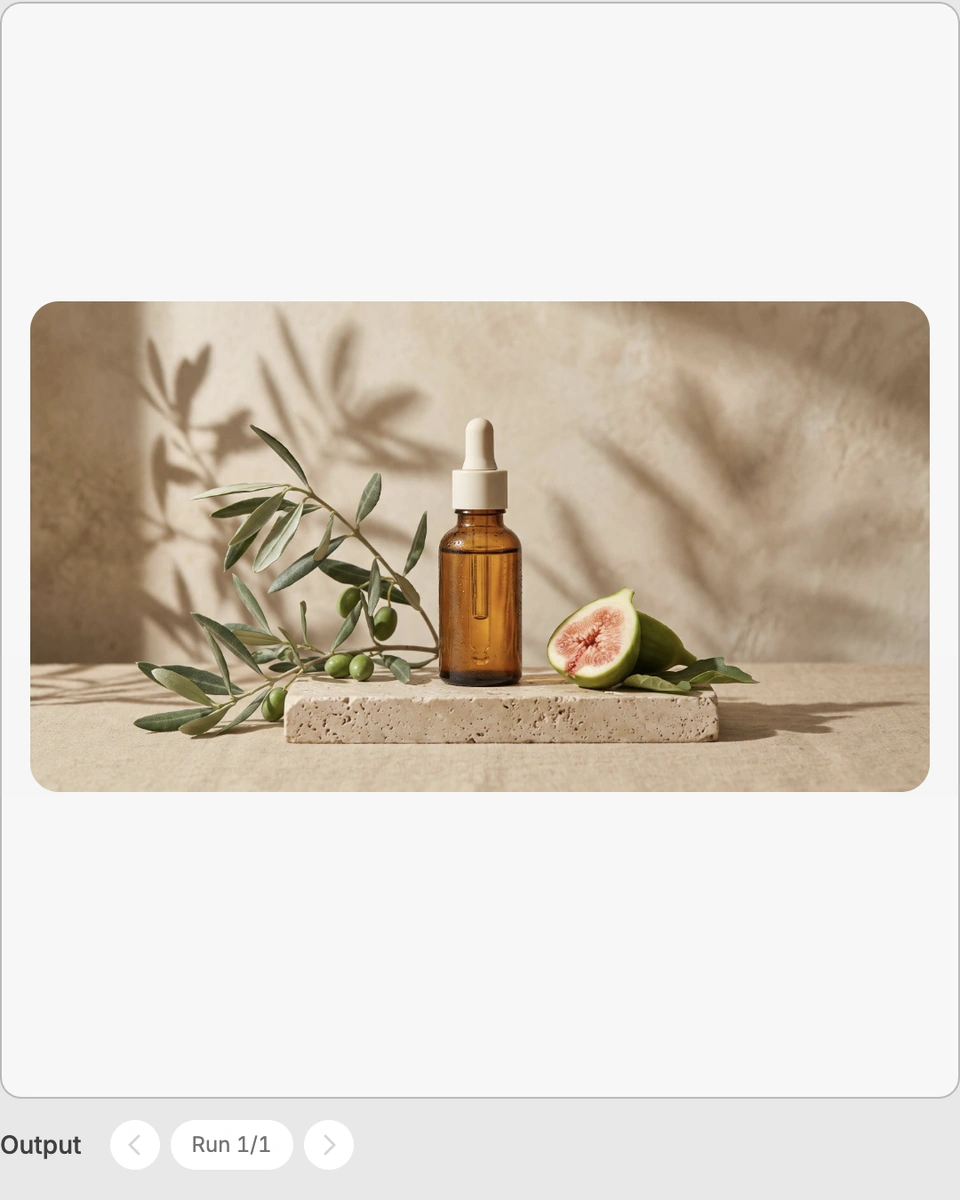
3. Run and refine
Run the recipe in Fuser and review the result on your canvas. Adjust any available inputs when you want to try another direction.
Use the generated icon sheet to explore and present visual directions for web and interface projects.
It uses an Icon Style and Icon Color input to create an Icon Sheet image. The recipe is intended to express a complete icon pack in one consistent visual language.
It is useful for people shaping web and interface visuals, including designers, product teams, and anyone preparing an icon direction for a digital project. The result is a visual icon-sheet concept rather than a description of a broader brand system.
Prepare a short description of the desired icon style and a color direction. The saved example uses “3D cartoon / clay morphism style” for Icon Style and “colorful” for Icon Color.
Yes. Icon Style and Icon Color are exposed inputs that visitors can change in Fuser. For example, you can replace the saved 3D cartoon / clay morphism style or colorful direction with your own choices before using the recipe.
The saved default example shows those two inputs connected to an Icon Sheet image output. It demonstrates the recipe’s configured input-to-output setup; a new run uses the values you enter in Fuser.
The recipe is suited to web and interface work and to exploring icon or asset-pack directions. You can use its sheet as a visual reference for interface concepts, design reviews, or early asset planning.
The listed output is one Icon Sheet image. The recipe does not specify separate icon files, editable vectors, or individual exported assets, so use the sheet as the defined output.
Set an icon style and color in Fuser to explore a consistent visual language for your next web or interface project.
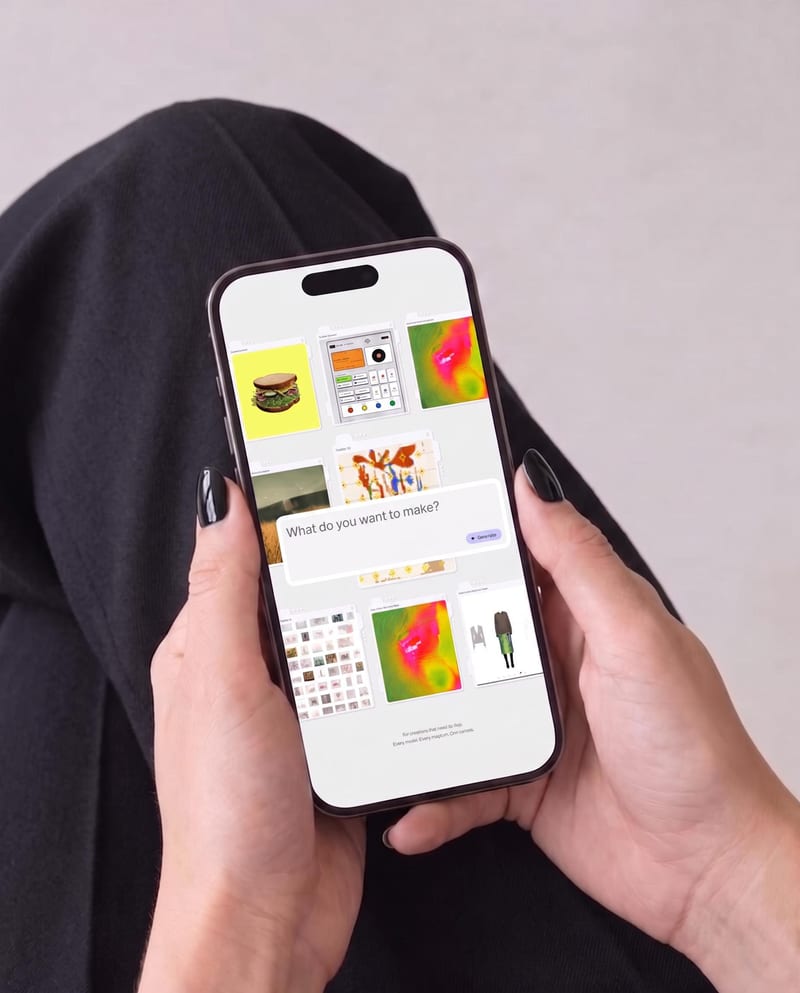
Place one UI design image into phone, tablet, and desktop mockups for realistic product presentation previews.
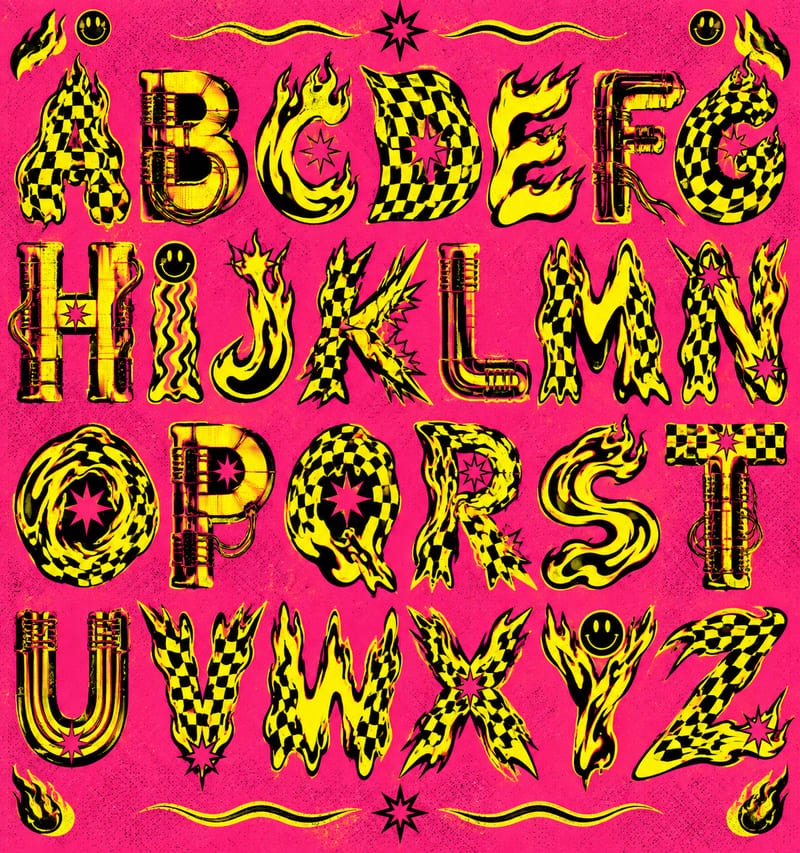
Use a style reference and custom text to create a generated alphabet and styled lettering in the reference’s visual style.
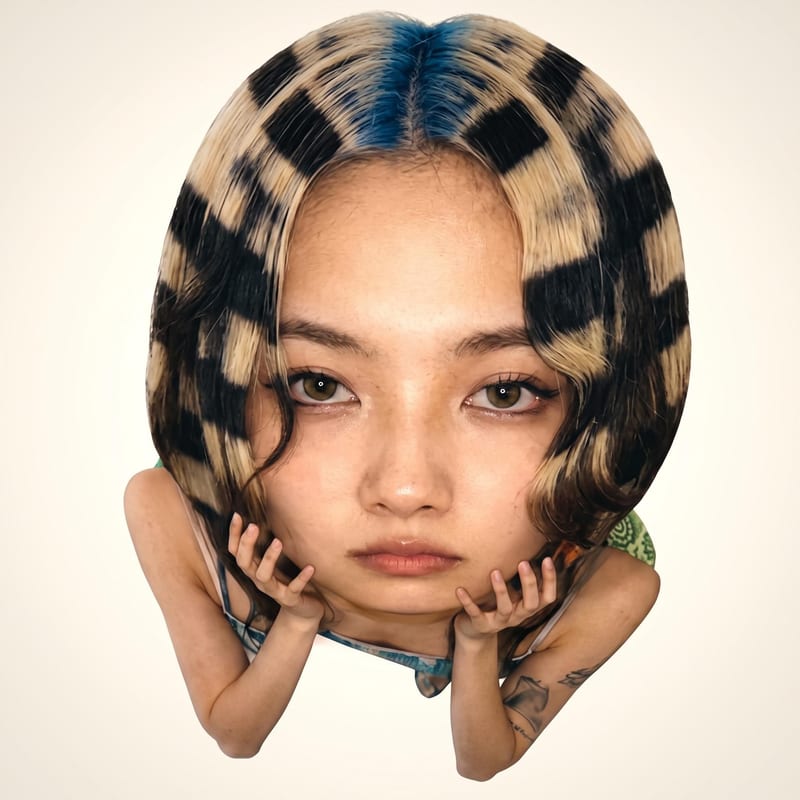
Upload one source image to create five image versions for social media, web layouts, and entertainment content in different aspect ratios.