Recipev2
Make it Cinematic
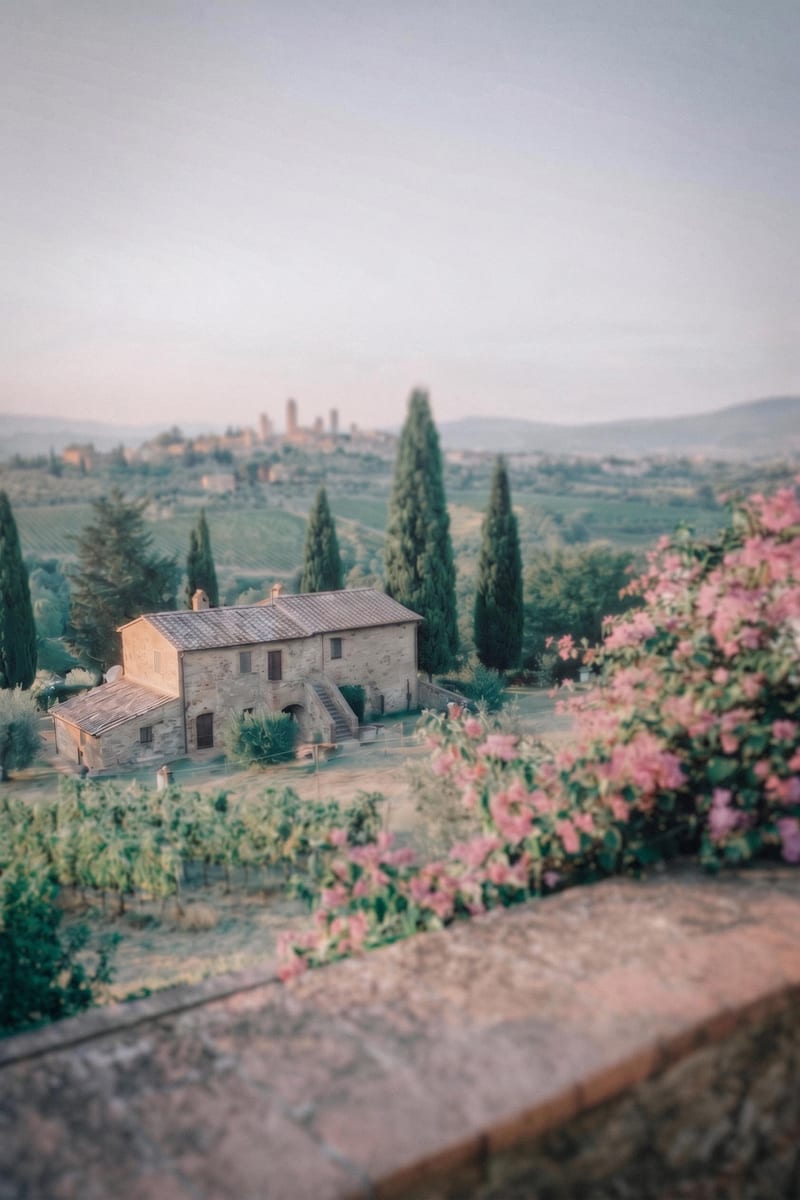
Cinematic Image
Cinematic Image Styling
Transform a source image into a cinematic frame with refined color grading, atmospheric tones, soft contrast, and subtle film texture.
Cinematic Image
A recipe turns a reusable workflow into a simple set of inputs and outputs. Start with a community recipe and make it your own in Fuser.
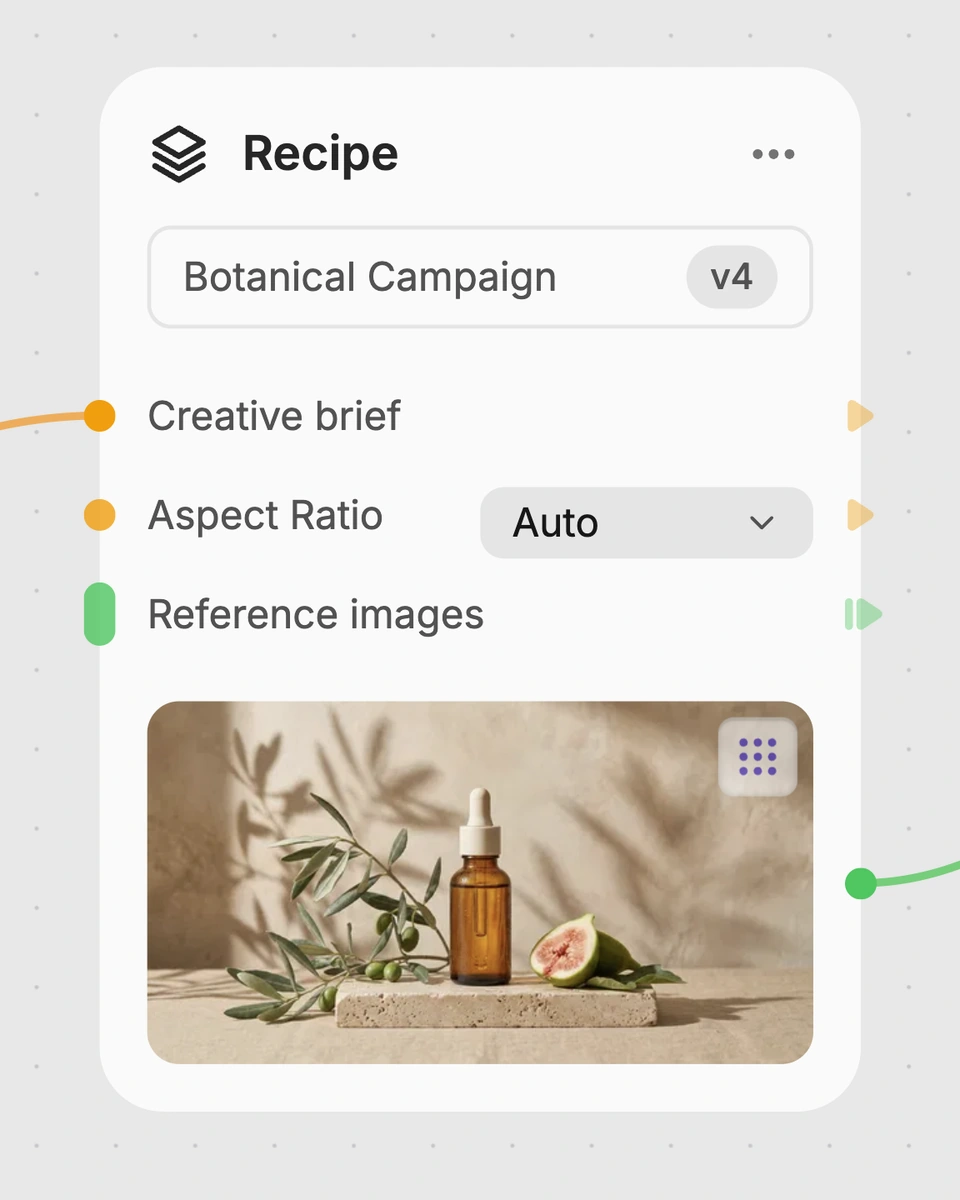
1. Choose a recipe
Find a workflow for the result you want. Review what it does and how to use it before opening it in Fuser.
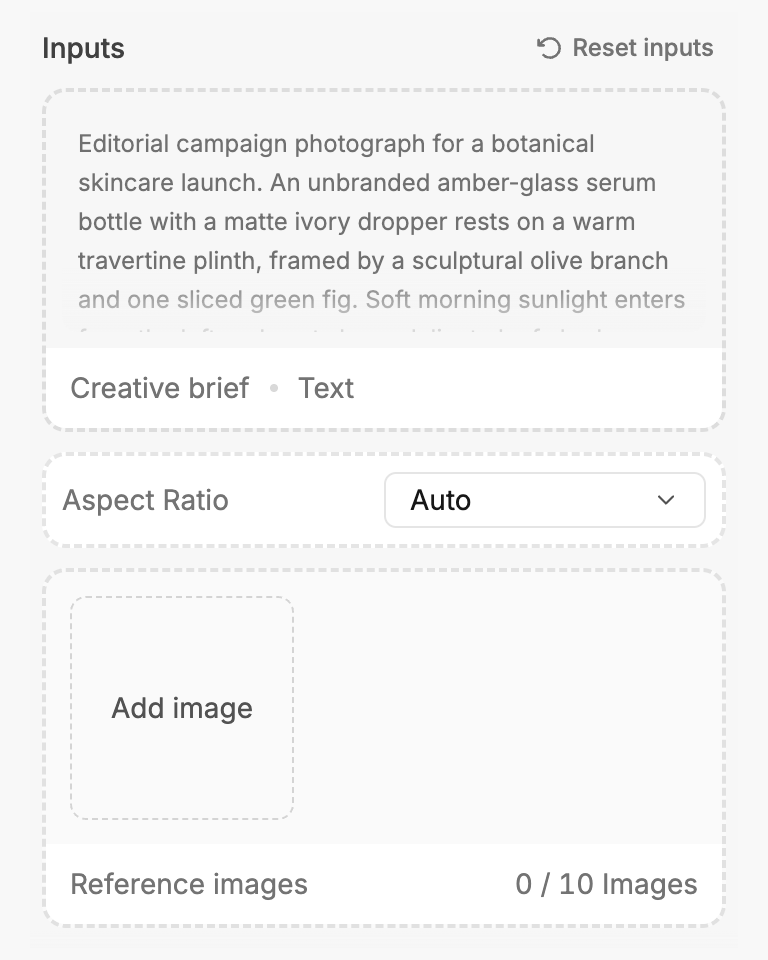
2. Make it your own
Check the recipe’s available inputs. Add your own text or media where supported, or start with the saved defaults.
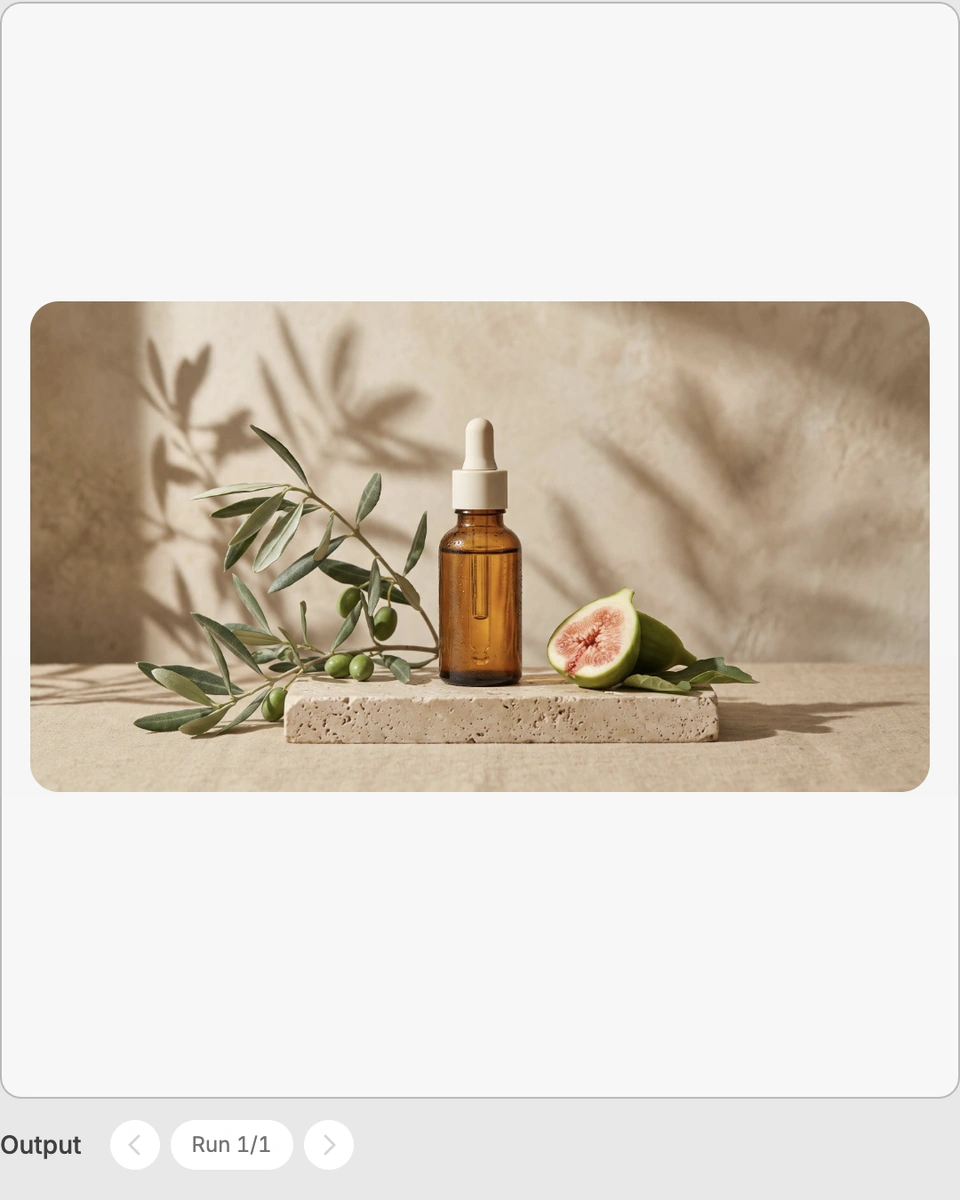
3. Run and refine
Run the recipe in Fuser and review the result on your canvas. Adjust any available inputs when you want to try another direction.
Use cinematic image styling to explore visual direction across photography, film, entertainment, and illustration projects.
It transforms one source image into one cinematic image. The treatment includes refined color grading, atmospheric tones, soft contrast, and subtle film texture while preserving the original scene and details.
It is useful for photographers, filmmakers, illustrators, and others exploring cinematic visual direction. It can help turn an existing image into a frame suitable for mood studies, presentations, or entertainment concepts.
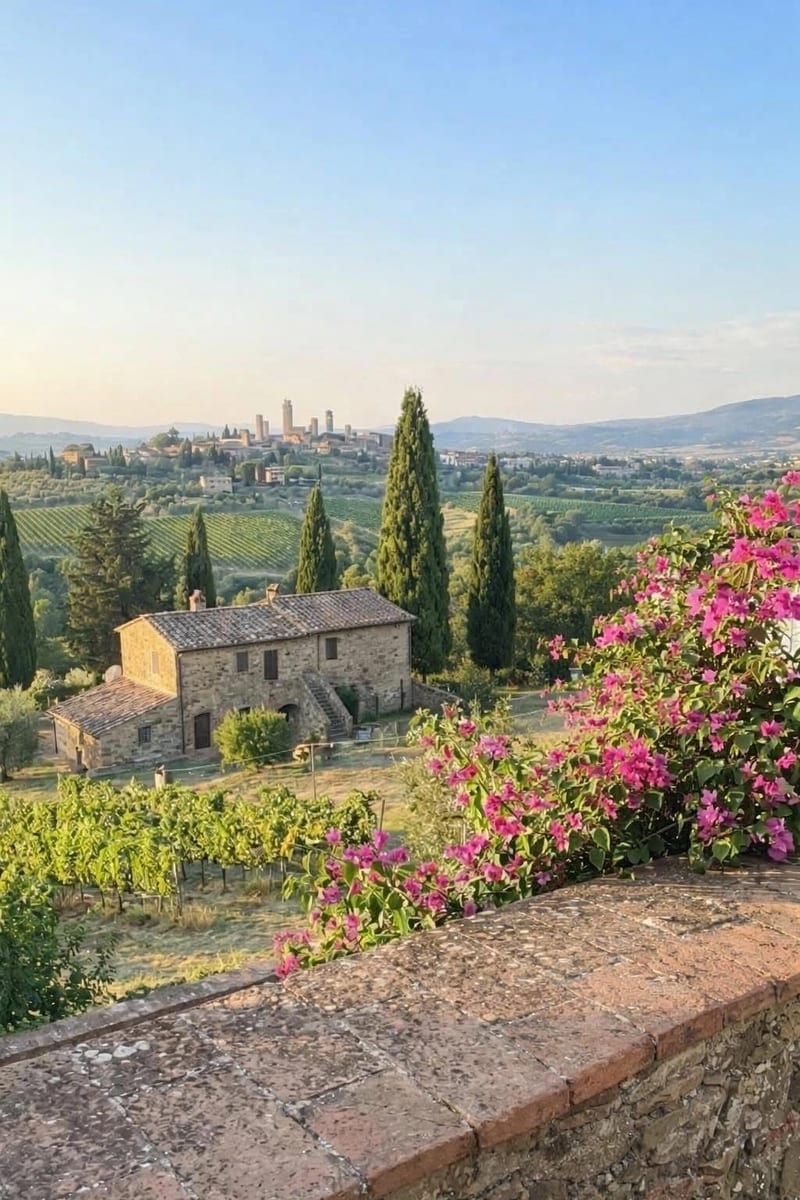
Prepare one source image. Source Image is the recipe’s exposed input, so you can change it in Fuser when using the recipe.
The recipe produces a Cinematic Image from the selected source image. The saved example demonstrates the source-to-output treatment, including color grading, atmospheric tones, soft contrast, and subtle film texture.
You can change the exposed Source Image input in Fuser. The listed recipe does not expose separate controls for color, contrast, atmosphere, or film texture, so those elements are part of the recipe’s defined treatment.
No. It transforms an existing source image into a cinematic frame and is described as preserving the original scene and details. It is intended for visual treatment rather than changing the image’s underlying subject or setting.
It fits cinematic photography treatments, film and entertainment concept frames, illustration atmosphere studies, and visual presentations. These are appropriate uses for exploring the recipe’s image-to-image styling.
Bring a source image into Fuser and explore how refined grading, atmospheric tones, soft contrast, and subtle film texture shape the result.
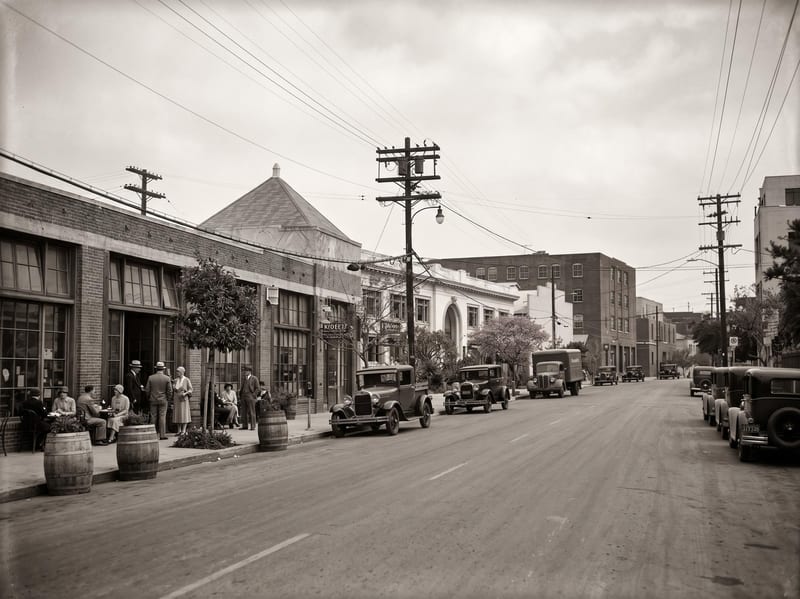
Upload a reference image and choose a year or era to create an image reimagined through that period’s visual language.
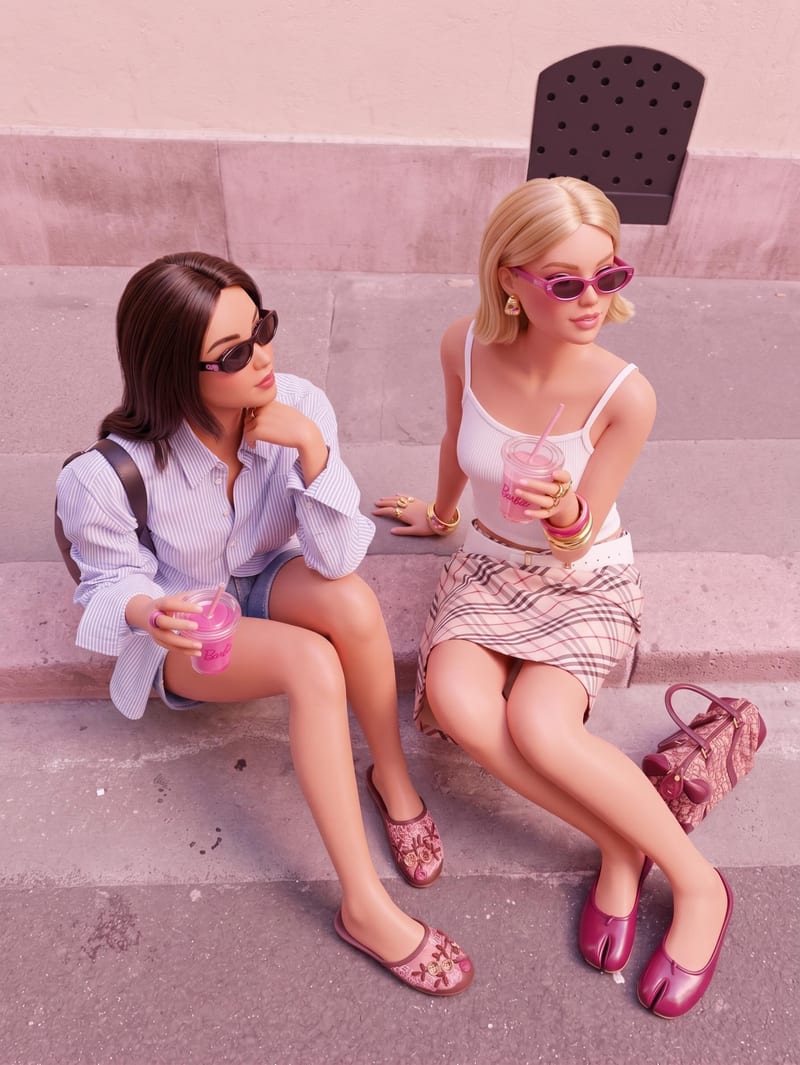
Transform a source image into a Barbie style recreation while preserving its original scene, composition, subjects, and key visual details.

Upload a reference image to receive a detailed, structured text prompt describing how to recreate its visual characteristics.