Recipev2
Clothing Alterations
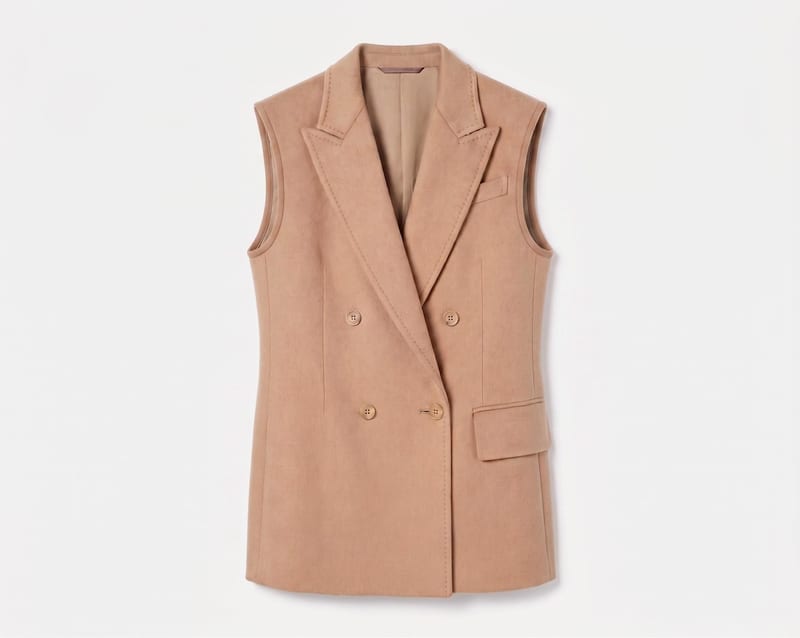
Adjusted Garment
Fashion garment editing
Upload a garment image and describe a change, such as removing sleeves, to create an adjusted garment image.
Adjusted Garment
A recipe turns a reusable workflow into a simple set of inputs and outputs. Start with a community recipe and make it your own in Fuser.
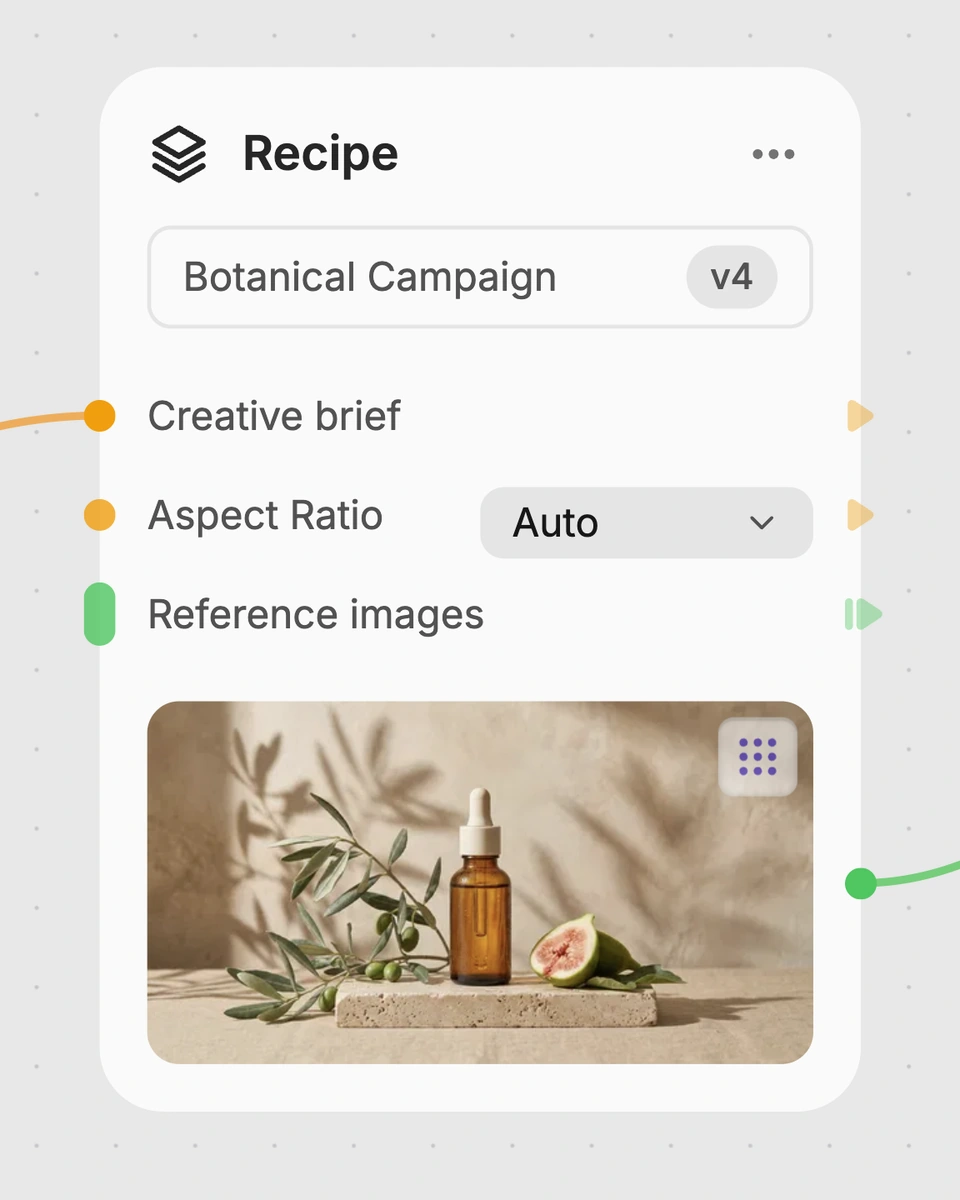
1. Choose a recipe
Find a workflow for the result you want. Review what it does and how to use it before opening it in Fuser.
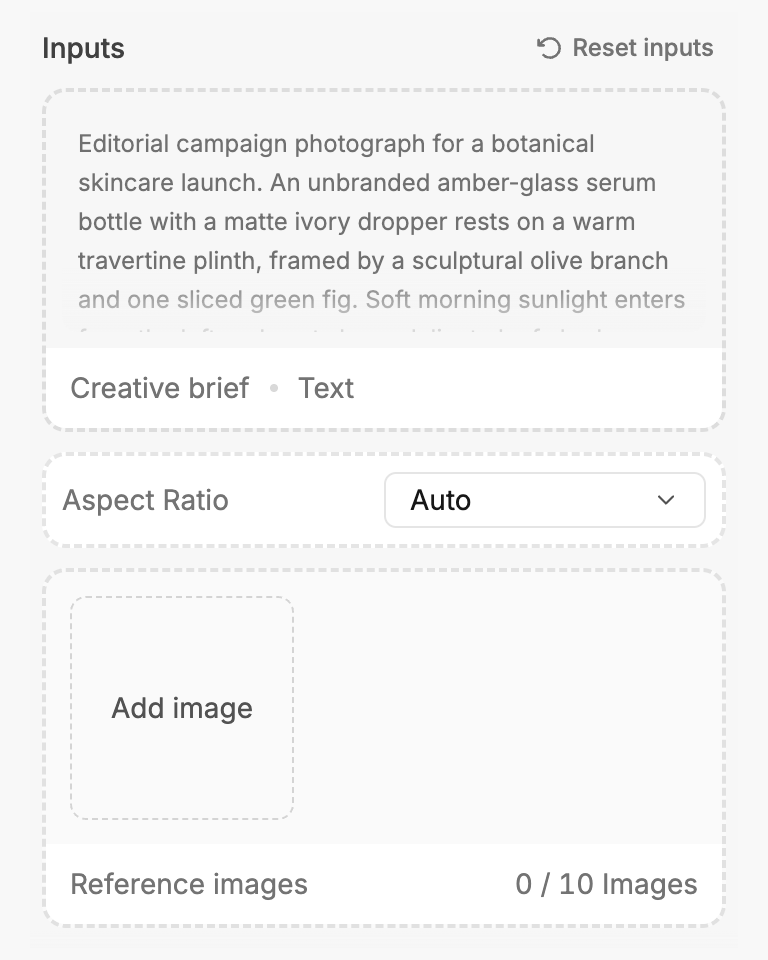
2. Make it your own
Check the recipe’s available inputs. Add your own text or media where supported, or start with the saved defaults.
3. Run and refine
Run the recipe in Fuser and review the result on your canvas. Adjust any available inputs when you want to try another direction.
Apply targeted garment changes across design, merchandising, and apparel presentation workflows.
It modifies a specified garment feature in an image, such as sleeves, cut, length, or fit. The output is an adjusted garment image intended to reflect the written alteration while preserving other design details.
It can help apparel designers, merchandisers, and teams reviewing garment concepts. It is useful when you want to explore a targeted clothing change without starting from an entirely new garment image.
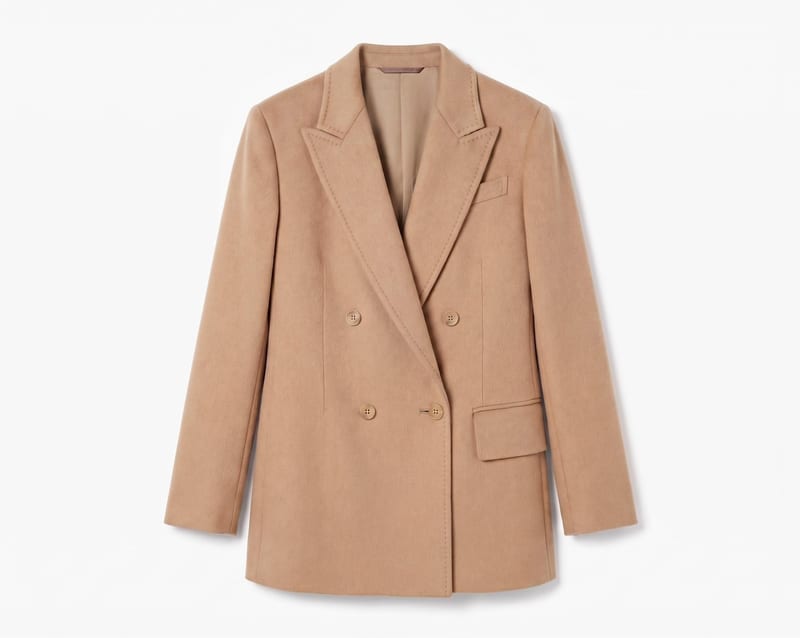
Provide an image of the garment you want to change. The image is paired with a written instruction describing the alteration, so choose a garment view that makes the relevant feature clear.
The saved default example uses the instruction “remove sleeves.” Its saved output is an adjusted garment image showing the result associated with that example; a new run can use a different garment image and alteration instruction.
Yes. The Clothing Alterations text input is editable in Fuser, so you can replace “remove sleeves” with another supported clothing change, such as adjusting the cut, length, or fit. The garment image input is also editable.
The recipe returns one image labeled Adjusted Garment. It is an image version of the supplied garment with the requested alteration applied, rather than a written description or a new product category.
Use it for visual exploration of garment variations, apparel design reviews, merchandising comparisons, and merch or apparel concept development. It is focused on altering specific clothing features in an existing garment image.
Bring a garment image and describe the sleeve, cut, length, or fit alteration you want to explore.
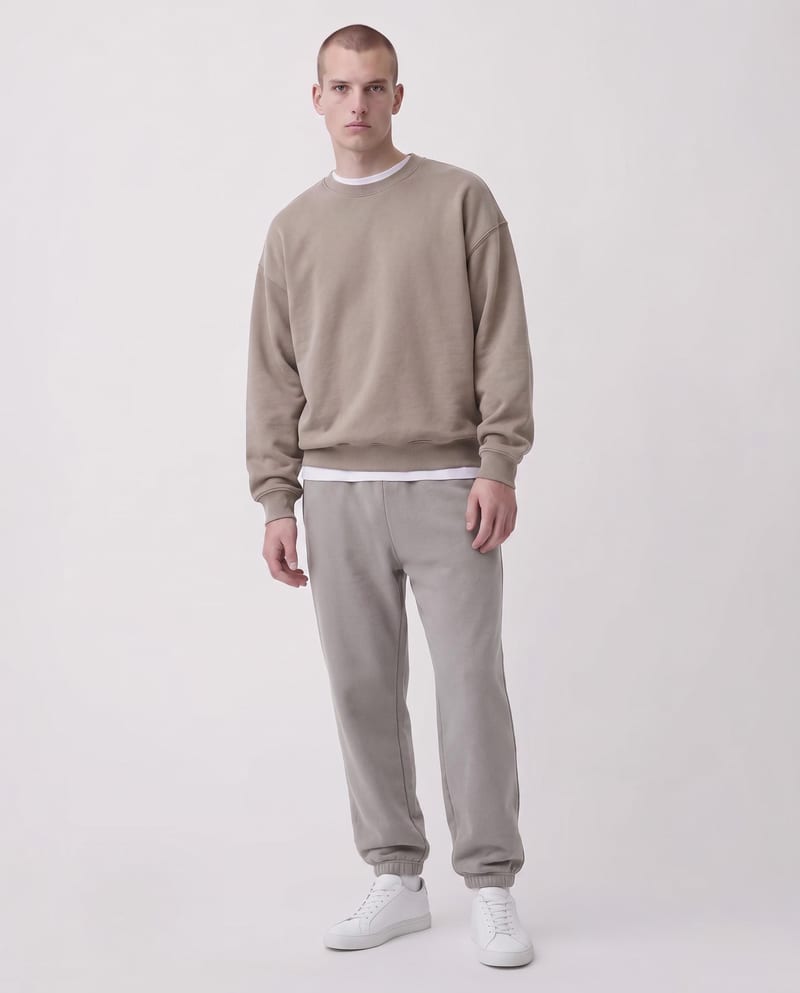
Upload a garment image and specify sections with color codes to create a recolored garment image.
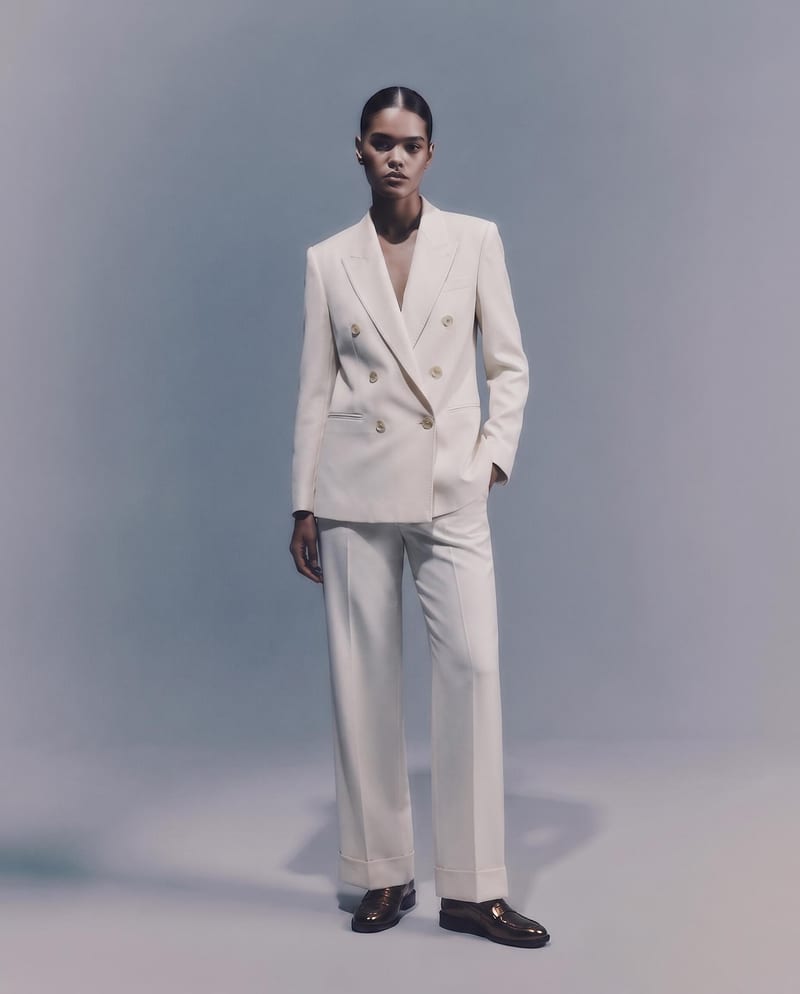
Upload a garment image to create a virtual try-on image of it on a model while preserving its design, color, fit, proportions, and details.
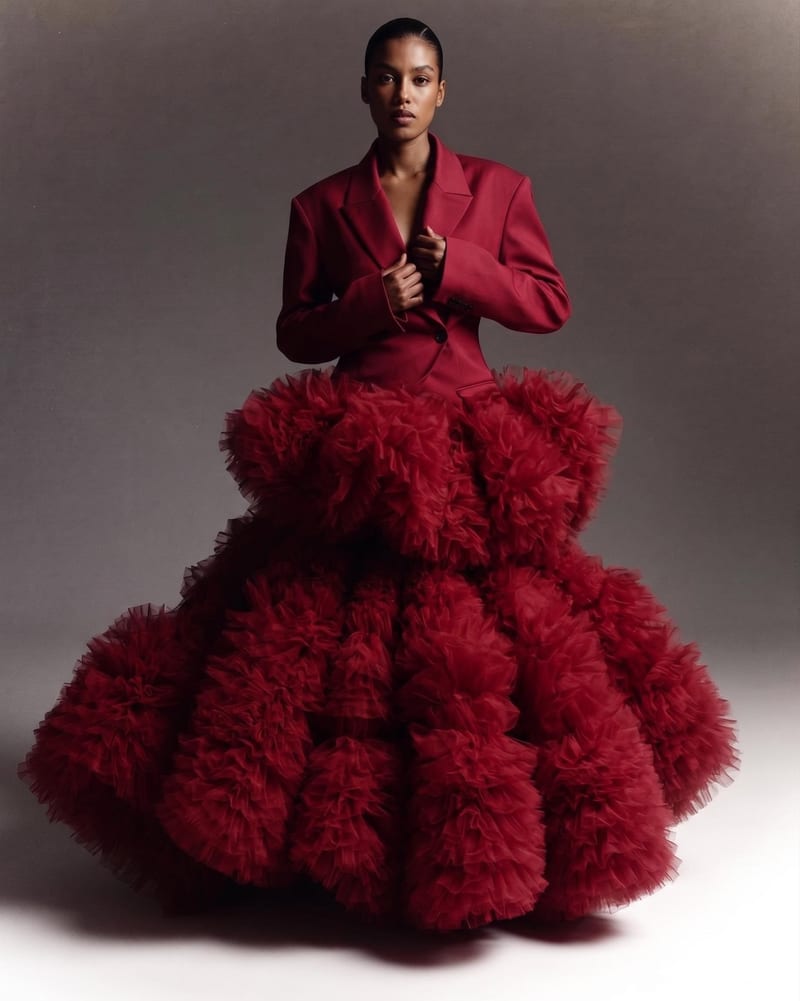
Combine two garment reference images into one blended style image with a cohesive fashion direction.