Recipev3
Sketch to Fashion Render
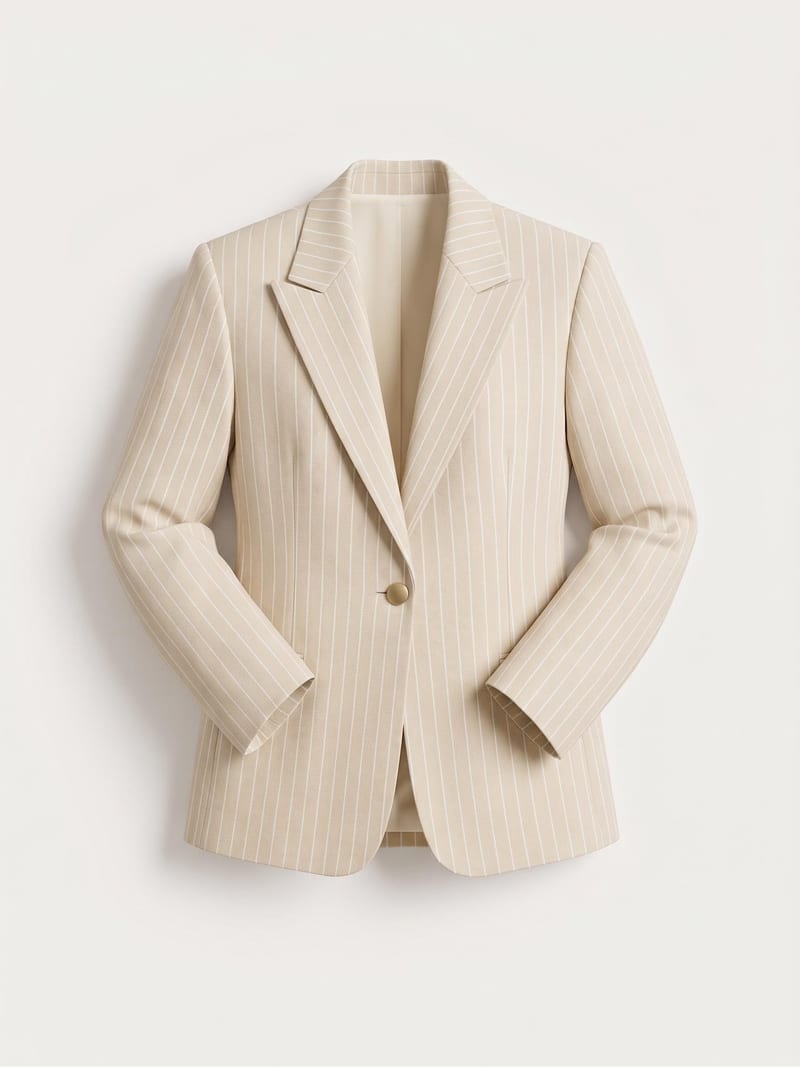
Garment Render
Fashion & Apparel
Turn a garment sketch, chosen color, and material description into a realistic garment render while preserving the design’s silhouette and details.
Garment Render
A recipe turns a reusable workflow into a simple set of inputs and outputs. Start with a community recipe and make it your own in Fuser.
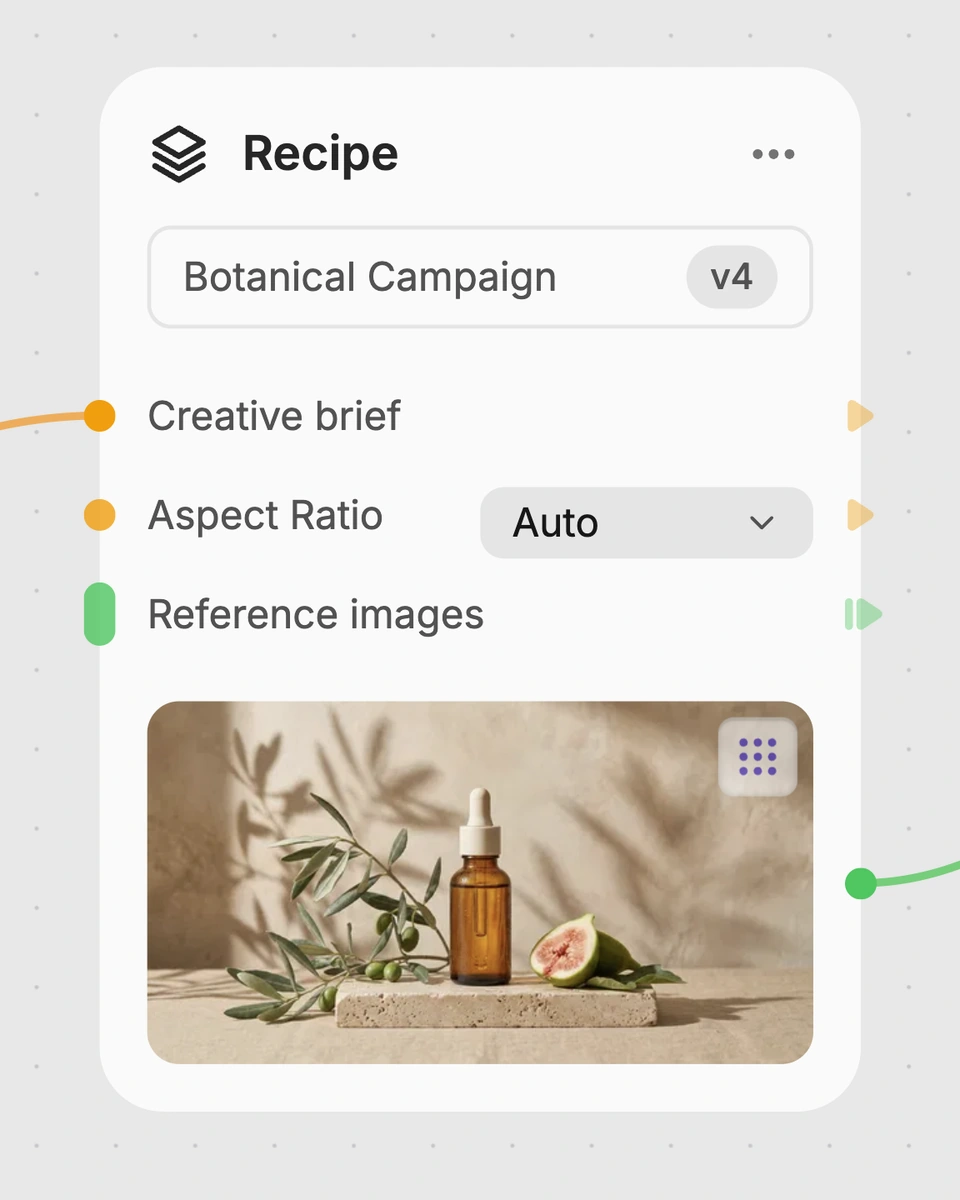
1. Choose a recipe
Find a workflow for the result you want. Review what it does and how to use it before opening it in Fuser.
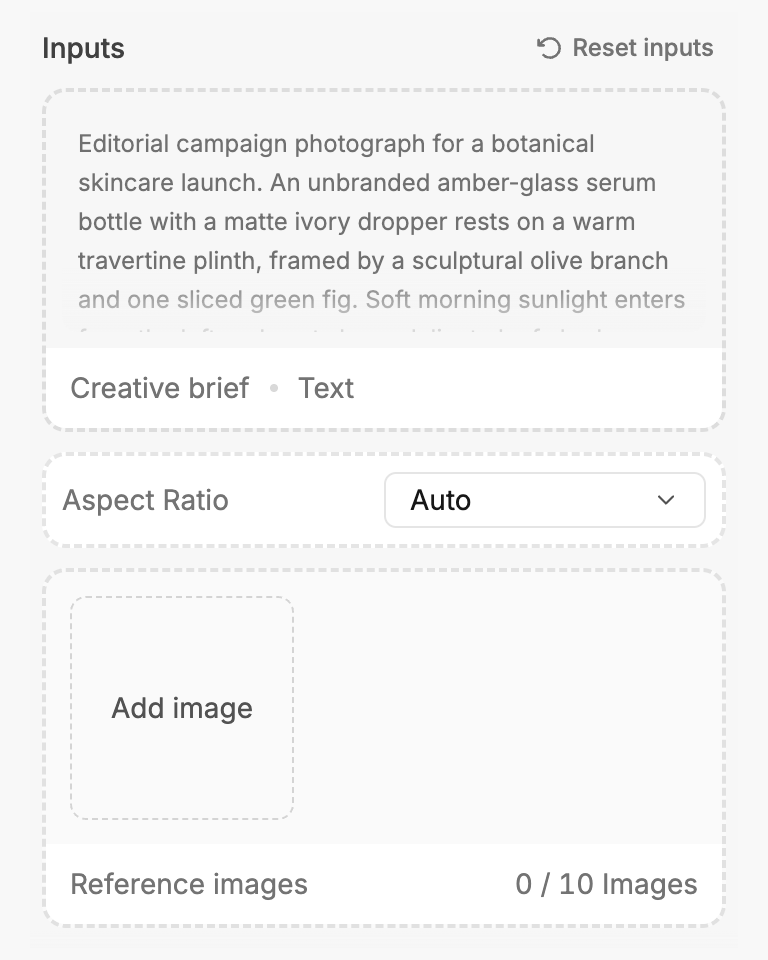
2. Make it your own
Check the recipe’s available inputs. Add your own text or media where supported, or start with the saved defaults.
3. Run and refine
Run the recipe in Fuser and review the result on your canvas. Adjust any available inputs when you want to try another direction.
Use a sketch, color, and material direction to explore and present garment concepts across fashion and apparel workflows.
It transforms a garment sketch into a realistic garment render while preserving the original design’s silhouette, proportions, and details. The recipe uses the sketch together with a color and material description.
It is intended for people developing or presenting fashion, merch, and apparel concepts. Designers, creative teams, and collaborators can use the render as a clearer visual reference for a garment idea.
Prepare one Garment Sketch image, a Color text input, and a Material text input. The saved example uses “light beige / cream” for Color and “woven, light material” for Material.
Yes. Garment Sketch, Color, and Material are exposed inputs that you can change in Fuser. Replace the sketch image or edit the color and material text to describe a different garment direction.
The saved example shows a garment sketch connected to the color “light beige / cream” and the material description “woven, light material.” Its output is a Garment Render, illustrating the recipe’s intended sketch-to-render workflow rather than a new run.
The output can support concept reviews, fashion presentations, apparel references, and communication between design collaborators. It is a visual render of the supplied design direction, not a substitute for production specifications or garment patterns.
Yes. The Garment Sketch input is editable in Fuser, so you can provide another fashion sketch and pair it with your own color and material descriptions. The resulting render will be based on those new inputs.
Bring a sketch, color direction, and material description together in one fashion-focused recipe for exploring apparel concepts.
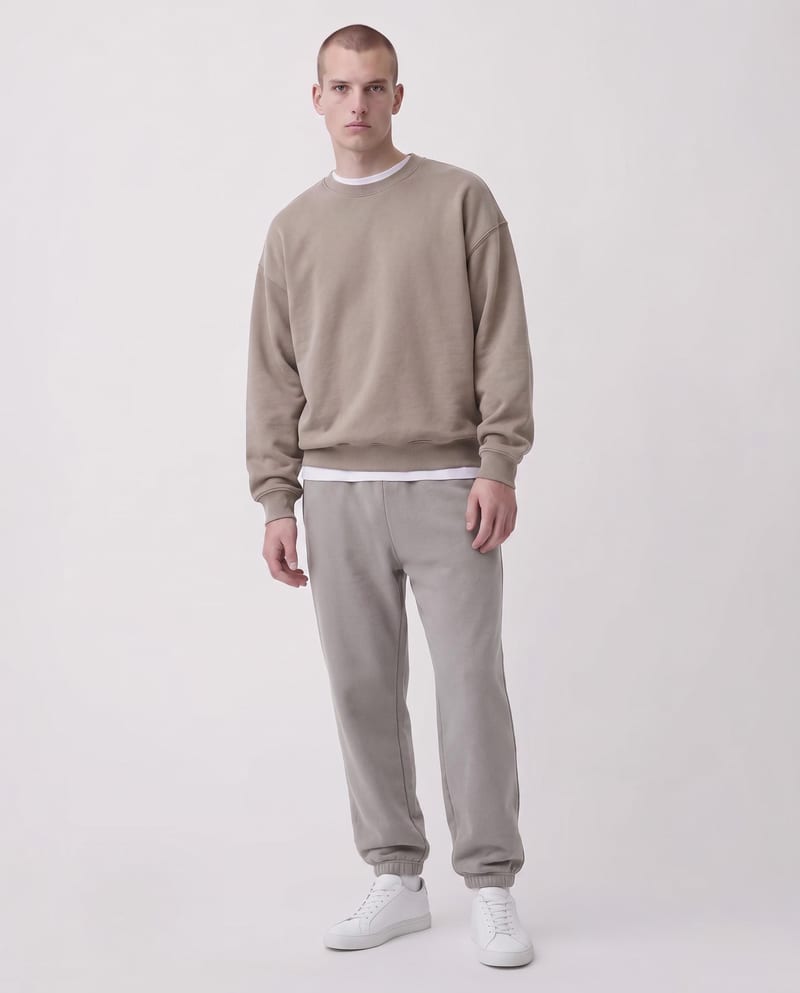
Upload a garment image and specify sections with color codes to create a recolored garment image.
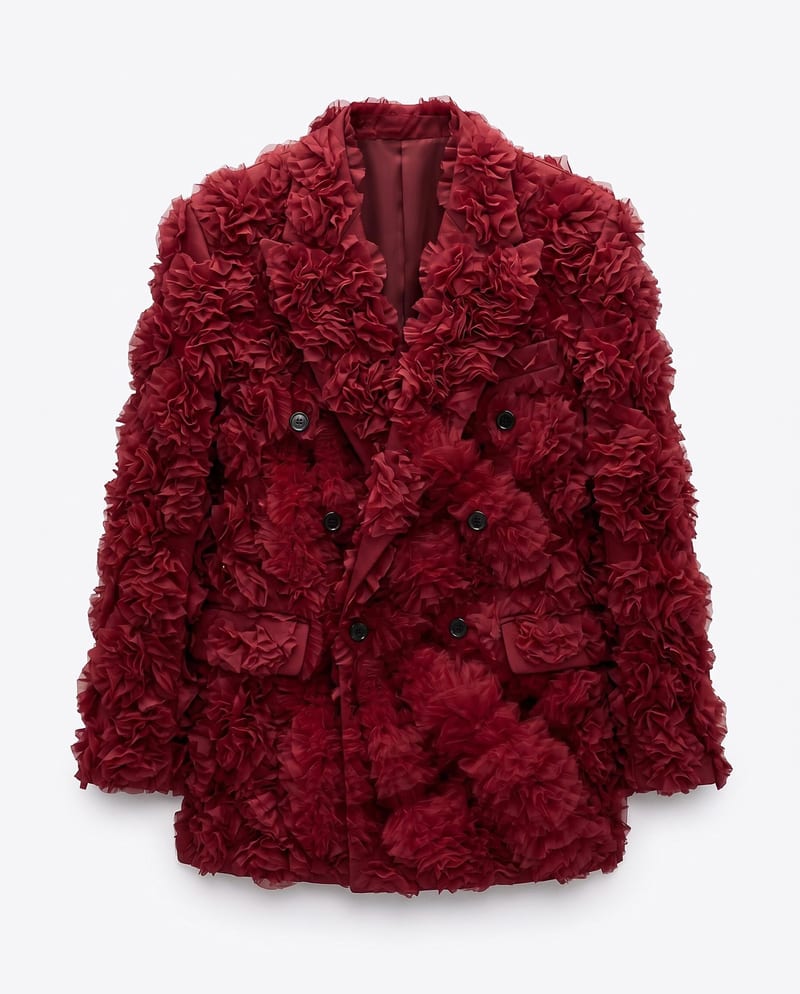
Upload a garment image, a material image, and an application area to create a garment image with the selected material applied.
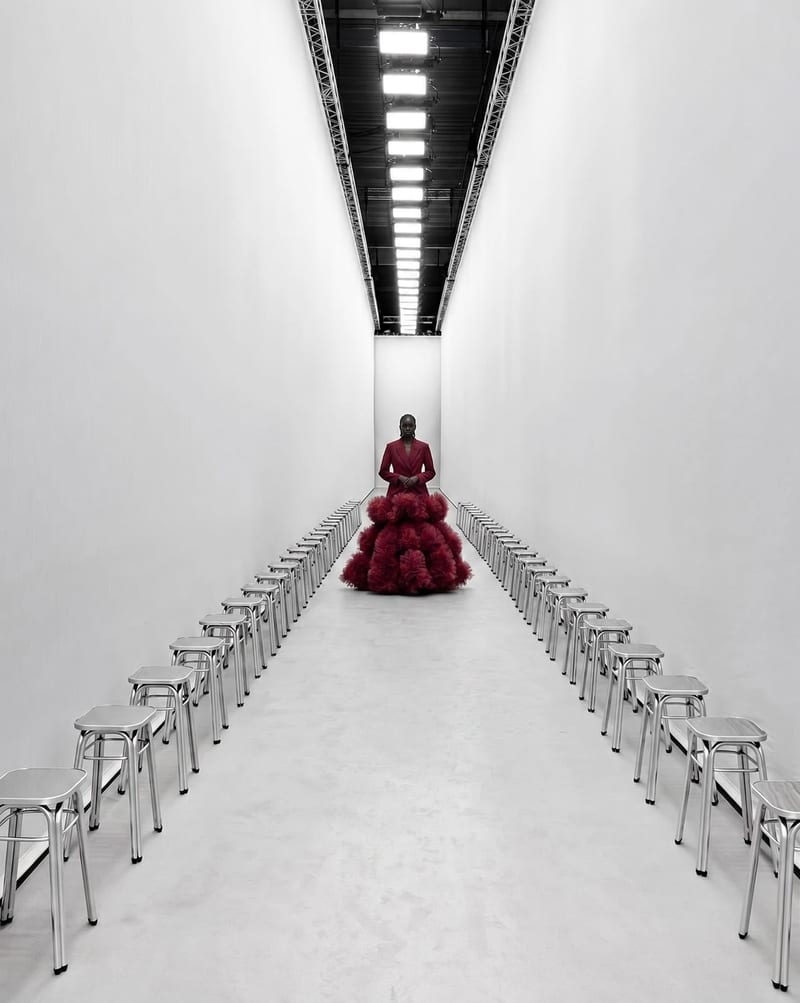
Combine a garment image with a runway space image to create a video of a model walking through that setting.