Recipev2
Remove Object
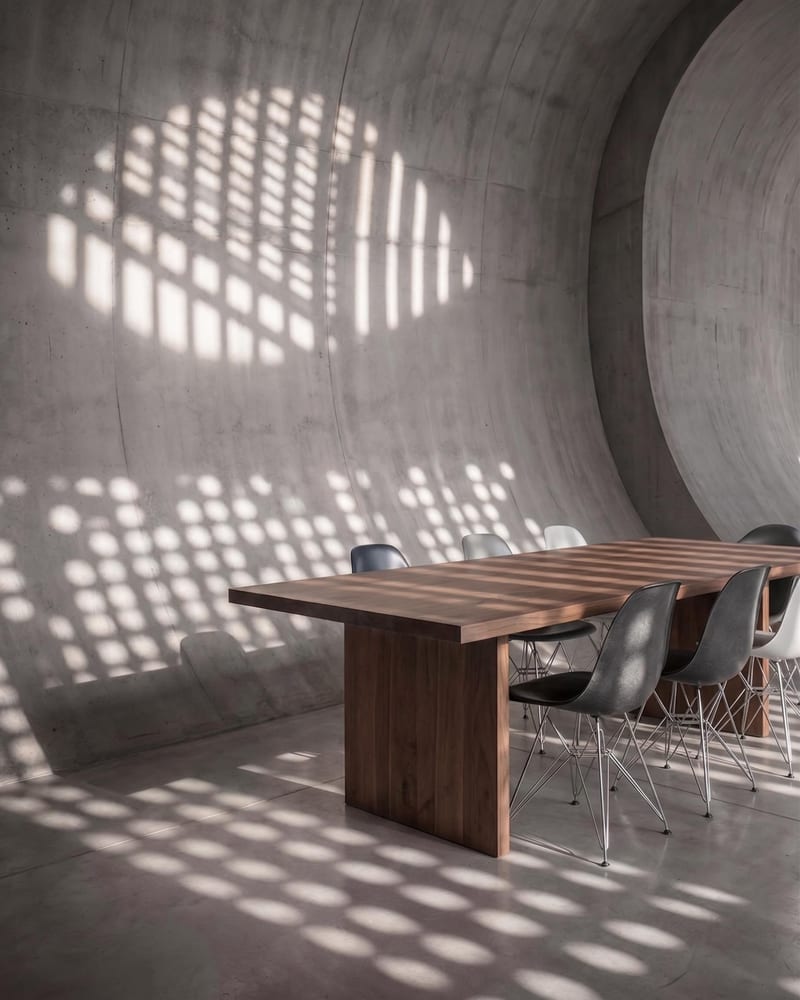
Removed Image
Image object removal
Upload a reference image and name a target object to create an image with that object removed.
Removed Image
A recipe turns a reusable workflow into a simple set of inputs and outputs. Start with a community recipe and make it your own in Fuser.
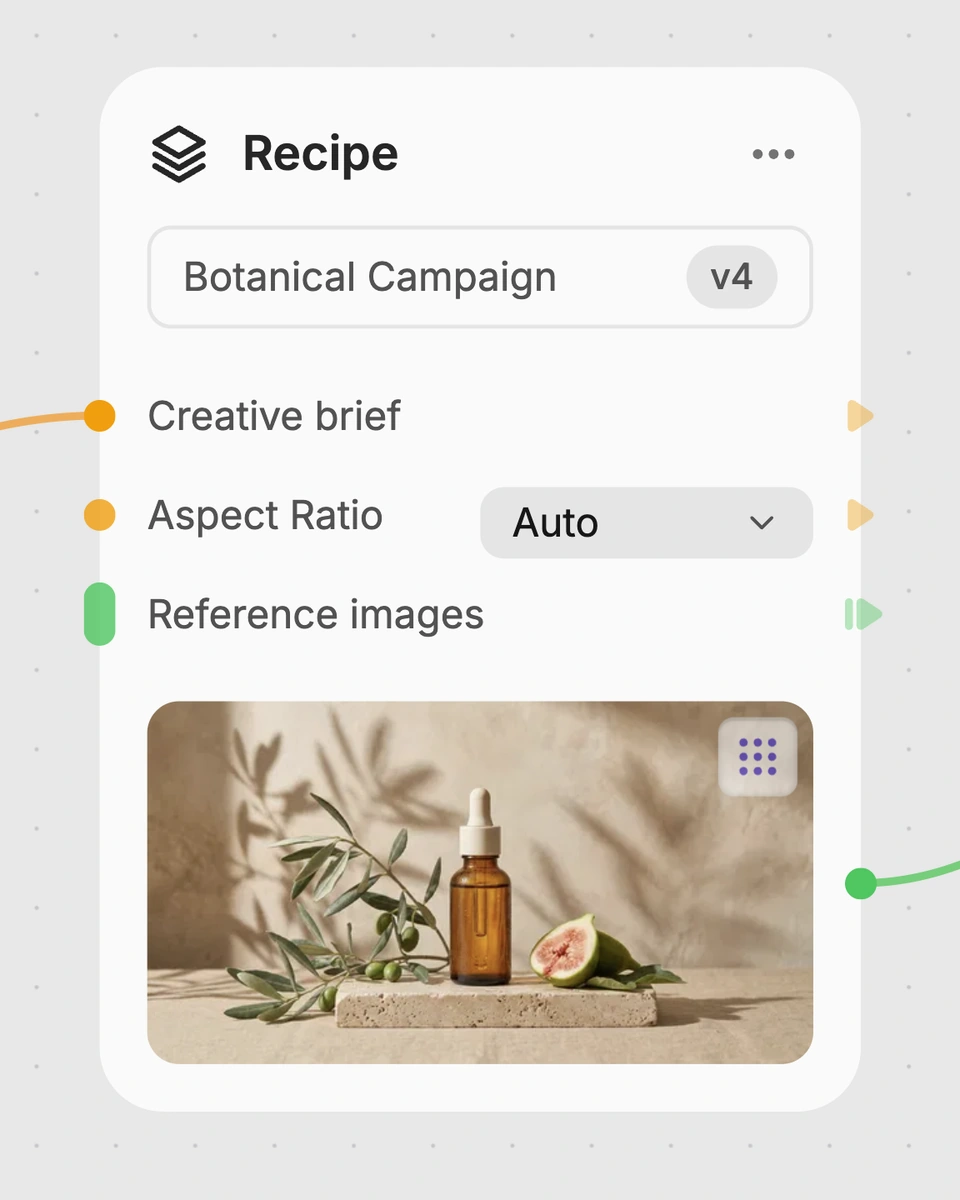
1. Choose a recipe
Find a workflow for the result you want. Review what it does and how to use it before opening it in Fuser.
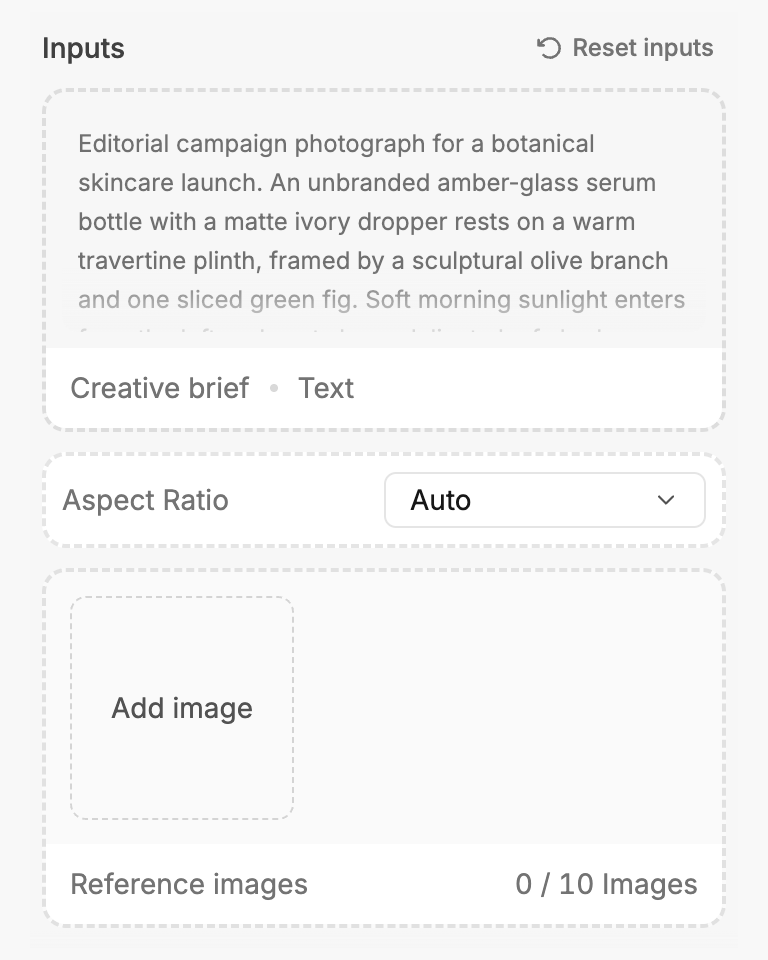
2. Make it your own
Check the recipe’s available inputs. Add your own text or media where supported, or start with the saved defaults.
3. Run and refine
Run the recipe in Fuser and review the result on your canvas. Adjust any available inputs when you want to try another direction.
Use an image and a specific identity, color, or combination of both to prepare cleaner visual assets.
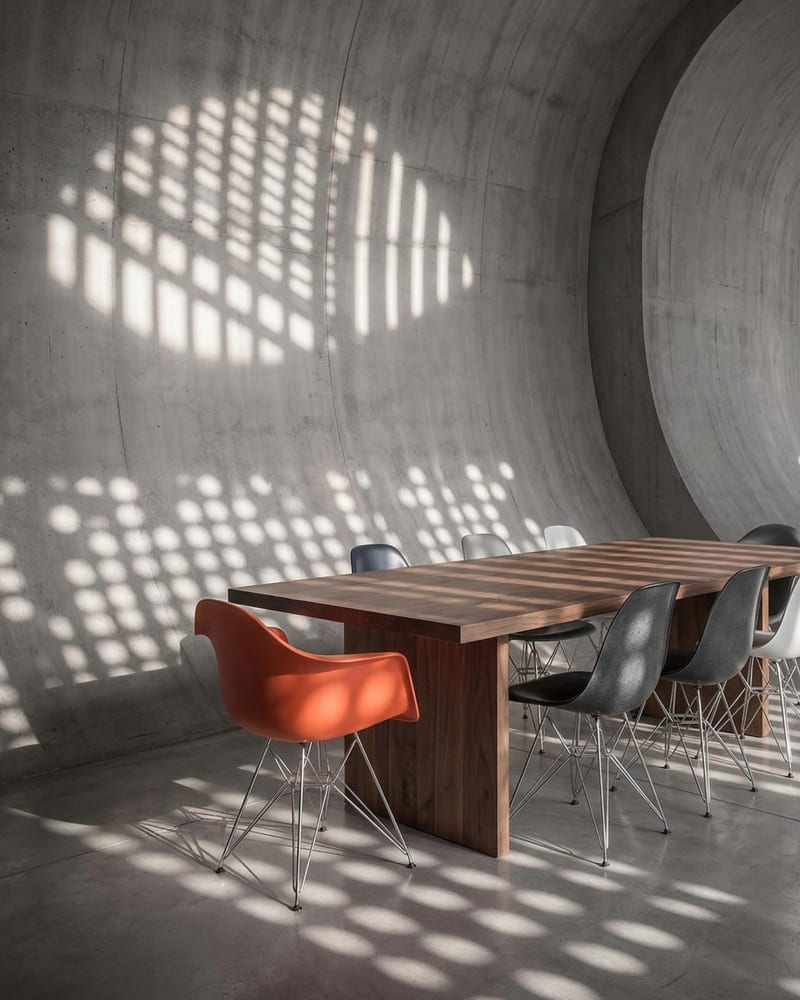
It takes a Reference Image and a Target Object description, then creates a Removed Image. The target can be identified by its identity, its color, or both, with the intended result of preserving the rest of the image.
Prepare one image for the Reference Image input and a text description for Target Object. The saved example names “orange chair,” but you can describe another target when using the recipe in Fuser.
Yes. Reference Image and Target Object are exposed inputs that you can edit in Fuser. Replace the image, change the target description, or update both before creating a new Removed Image.
The saved default connects a reference image with the text “orange chair” and an image output labeled Removed Image. It is a saved example rather than a live run, so a new result uses the inputs you provide.
Yes. The recipe supports identifying an object by color as well as by identity, or using both together. A description such as a color-based target can help define what should be removed from the reference image.
It is useful for photographers, artists, and product or industrial teams working with images that contain an unwanted object. The output is intended for image cleanup and alternate visual versions within those areas.
The recipe produces one image output labeled Removed Image. It does not expose separate outputs or additional editing controls in the saved recipe, so the result is centered on removing the target from the supplied reference image.
Bring a reference image and describe the object or color you want removed in Fuser.
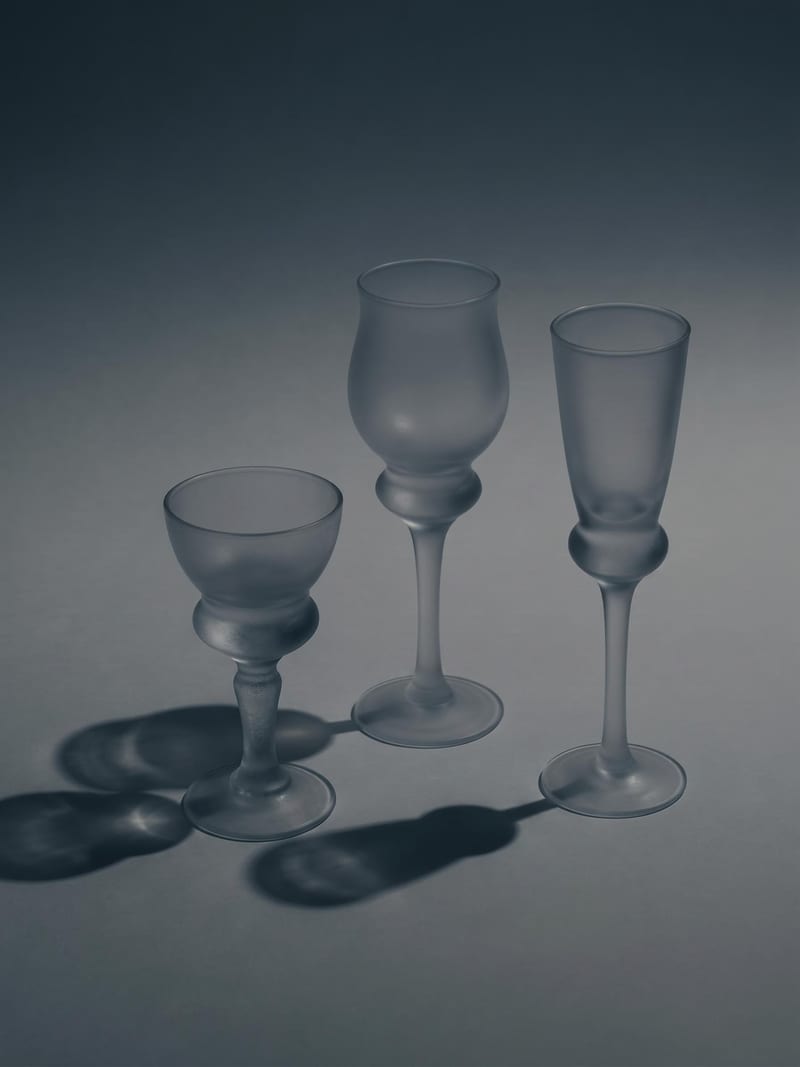
Upload one image to explore six lighting versions, from studio daylight and soft white to dramatic spotlight and golden hour.

Upload one portrait image to create passport, business, and professional headshot variations in different styles and looks.
Upload a reference image to receive a detailed, structured text prompt describing how to recreate its visual characteristics.