Recipev7
Sticker Maker
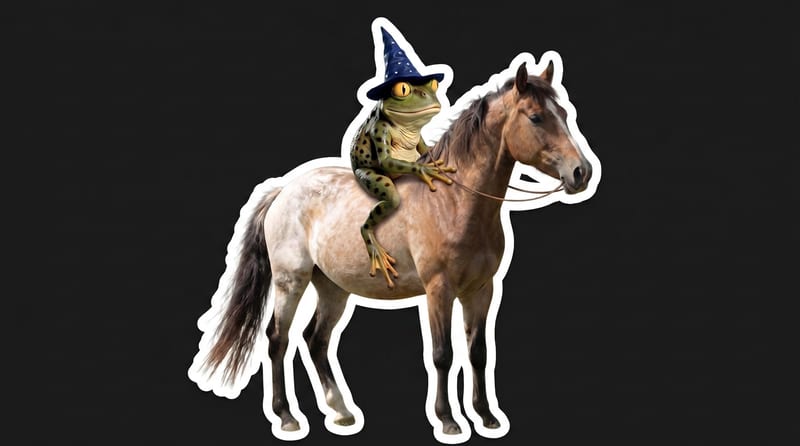
Die-cut sticker version
Toys & collectibles
Upload an image and turn it into a die-cut sticker version for toy and collectible ideas.
Die-cut sticker version
A recipe turns a reusable workflow into a simple set of inputs and outputs. Start with a community recipe and make it your own in Fuser.
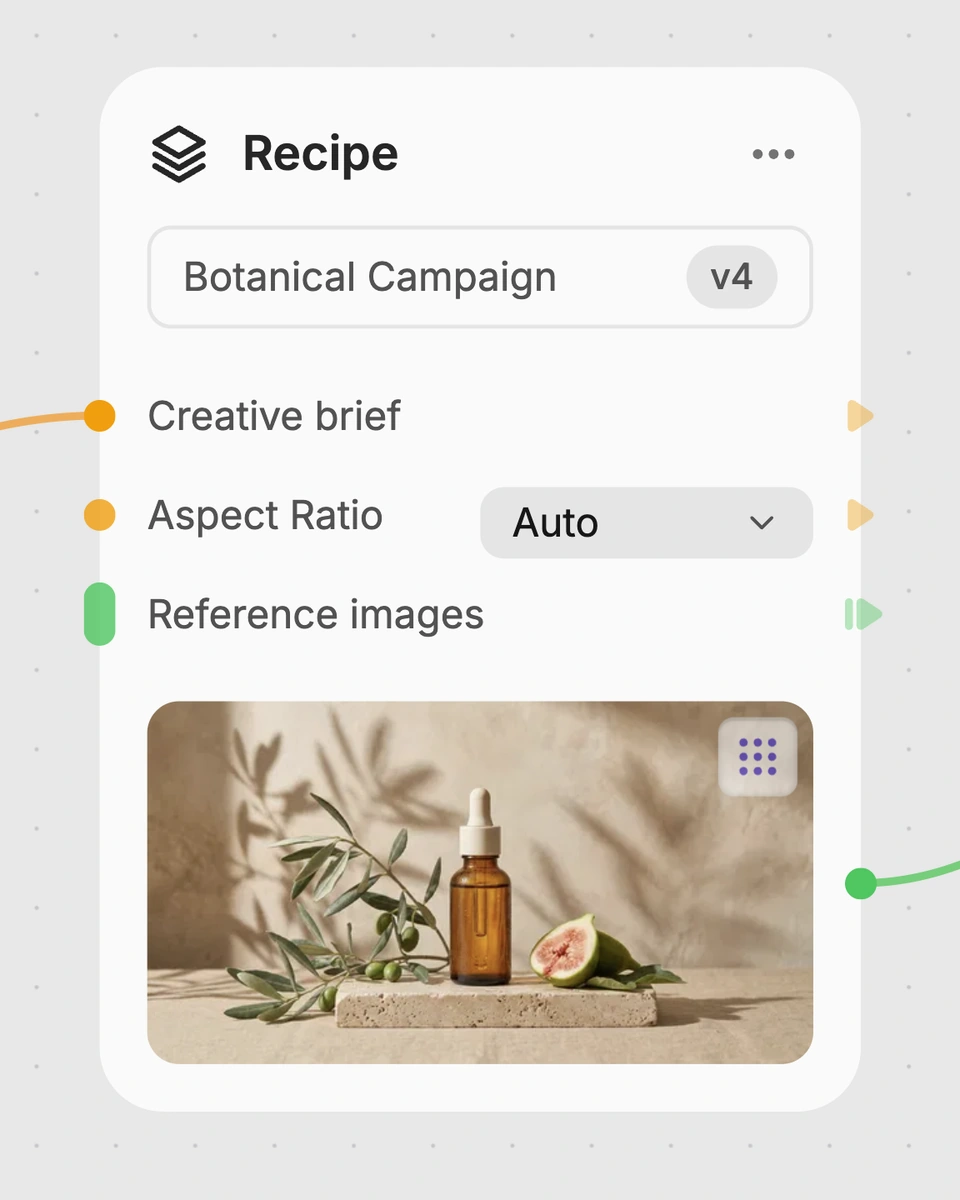
1. Choose a recipe
Find a workflow for the result you want. Review what it does and how to use it before opening it in Fuser.
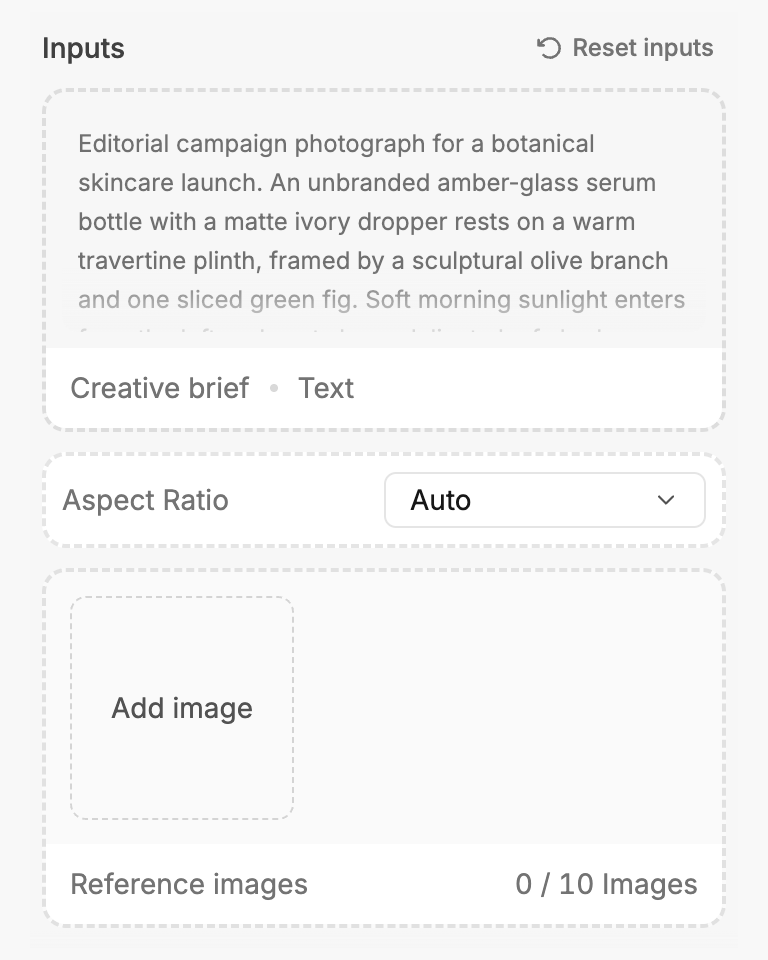
2. Make it your own
Check the recipe’s available inputs. Add your own text or media where supported, or start with the saved defaults.
3. Run and refine
Run the recipe in Fuser and review the result on your canvas. Adjust any available inputs when you want to try another direction.
Use the image input and die-cut sticker output to explore several toy and collectible applications.
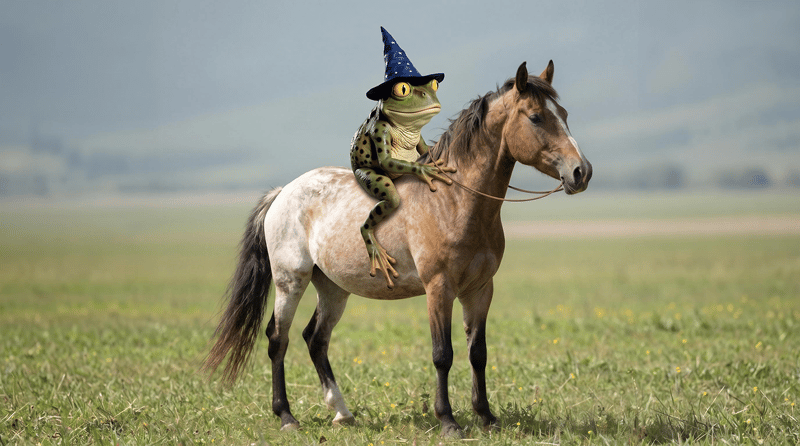
It takes one image input labeled “Image to sticker” and produces an image output labeled “Die-cut sticker version.” It is intended for exploring toy and collectible sticker concepts from existing imagery.
It can help people developing character ideas, toy concepts, collectible themes, keepsakes, or sticker sets. The recipe is focused on transforming an image into a die-cut sticker version rather than creating a broader collection workflow.
Prepare the image you want to transform into a sticker version. The recipe exposes one editable image input, so the image itself is the main part of the preparation.
You can change the image input in Fuser by supplying a different image. No separate text, style, or layout inputs are exposed for this recipe, so the available customization is centered on the chosen image.
The output is an image labeled “Die-cut sticker version.” It represents the recipe’s sticker result digitally; the recipe does not specify physical printing, materials, dimensions, or production instructions.
The saved example shows the default image input connected to the die-cut sticker version output. It is a saved example of the recipe, not a live generation or a guarantee of what a new image will produce.
You can use the output to explore a physical sticker concept, but the recipe only specifies an image output. It does not provide print specifications, manufacturing details, or physical stickers.
Bring an image to Fuser and explore its die-cut sticker version for your next toy or collectible concept.
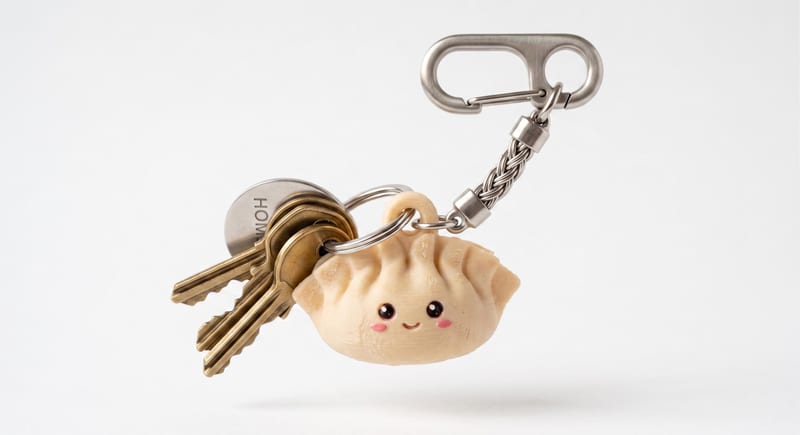
Describe a cute keychain or charm in text and create a 3D mesh that can be downloaded as an STL file.
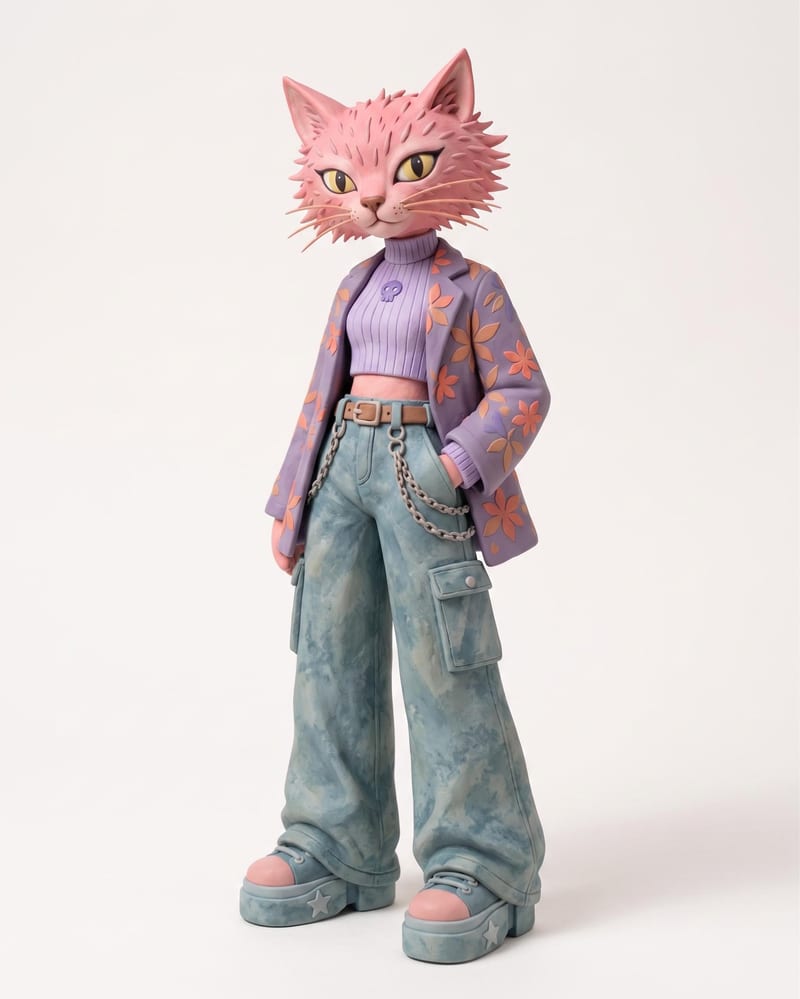
Use an animal name and clothing or color reference images to create a claymation character and character sheet.
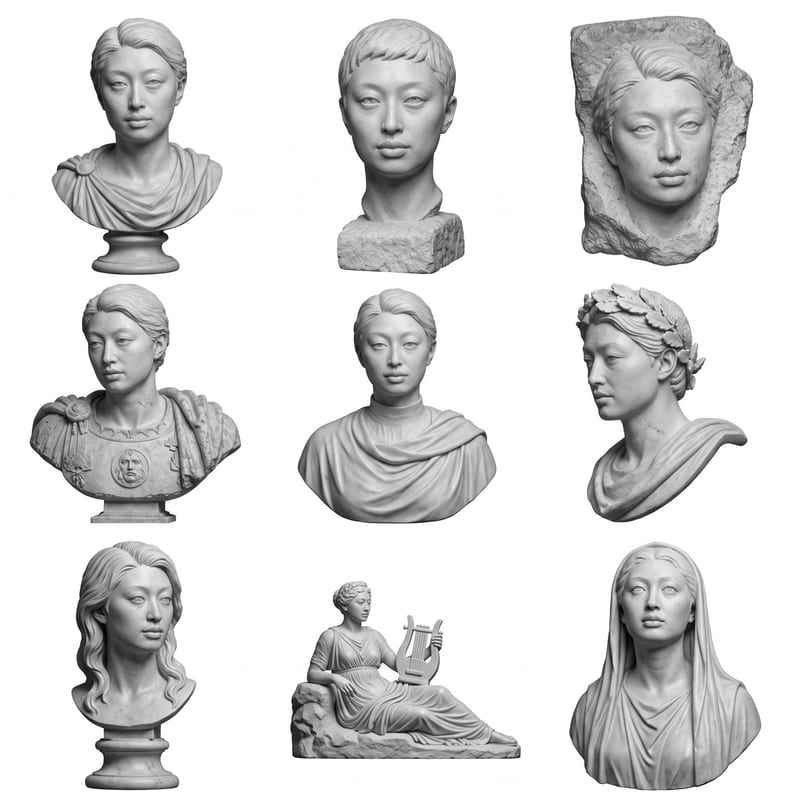
Upload a headshot, selfie, or photo to create a grid of Roman bust options.