Recipev2
Character Rigging
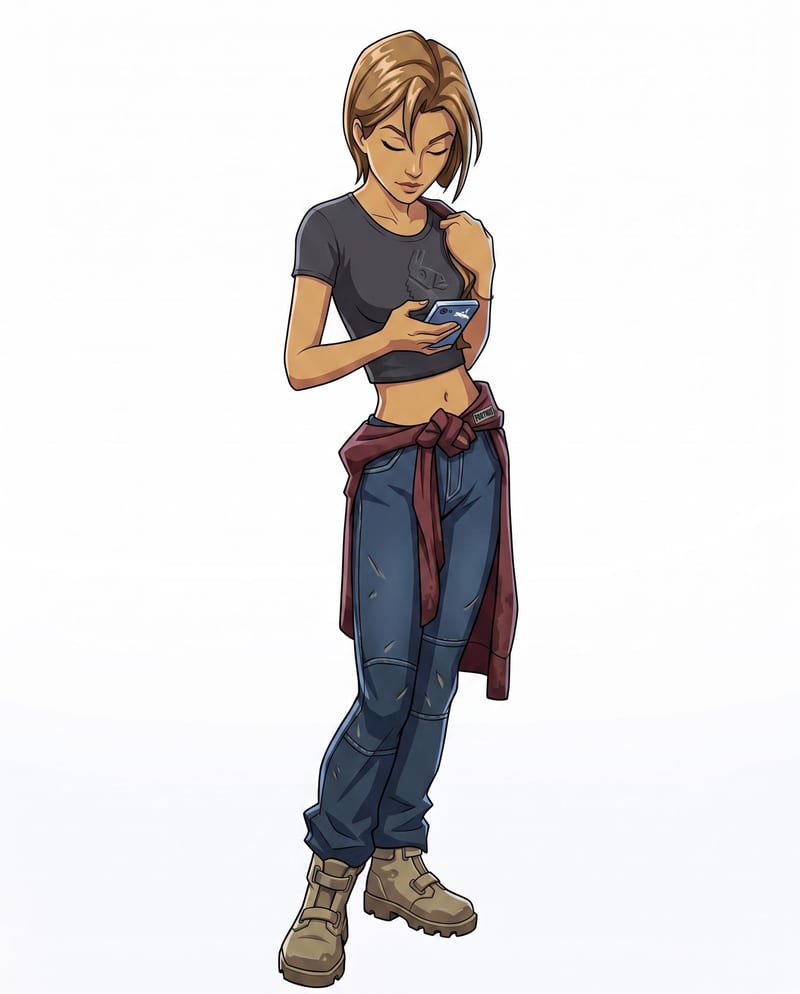
Character Render
3D character rigging
Convert a character sketch and chosen style into a rigged 3D model with a corresponding character render.
Character Render
A recipe turns a reusable workflow into a simple set of inputs and outputs. Start with a community recipe and make it your own in Fuser.
1. Choose a recipe
Find a workflow for the result you want. Review what it does and how to use it before opening it in Fuser.
2. Make it your own
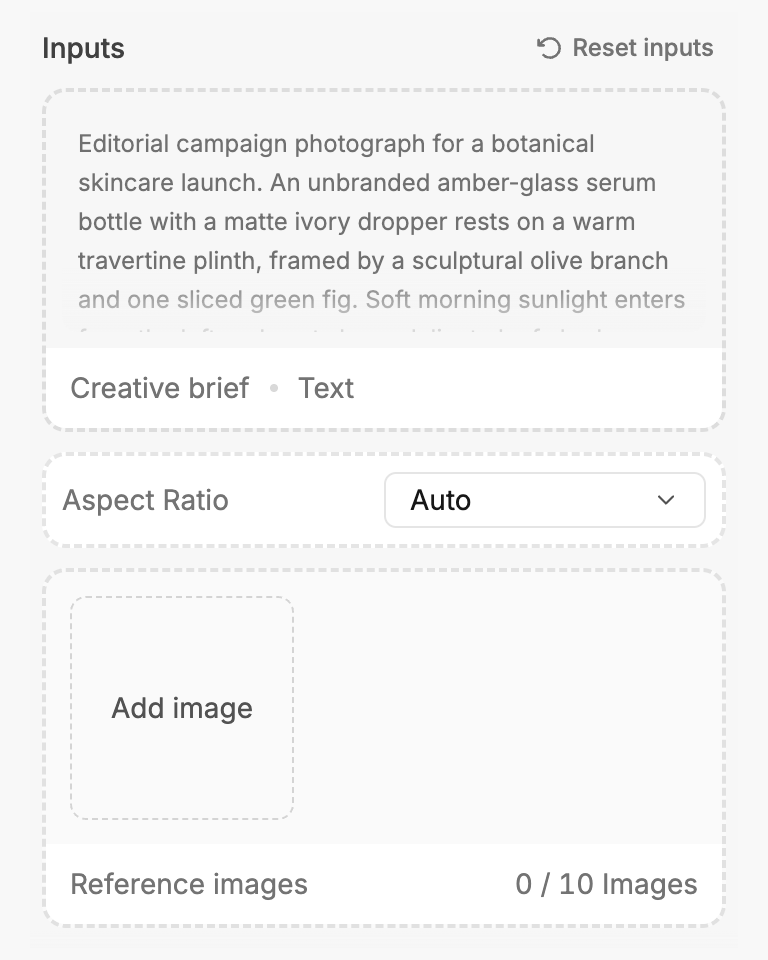
Check the recipe’s available inputs. Add your own text or media where supported, or start with the saved defaults.
3. Run and refine
Run the recipe in Fuser and review the result on your canvas. Adjust any available inputs when you want to try another direction.
Use the sketch, style, render, and rigged model together across character development and presentation tasks.
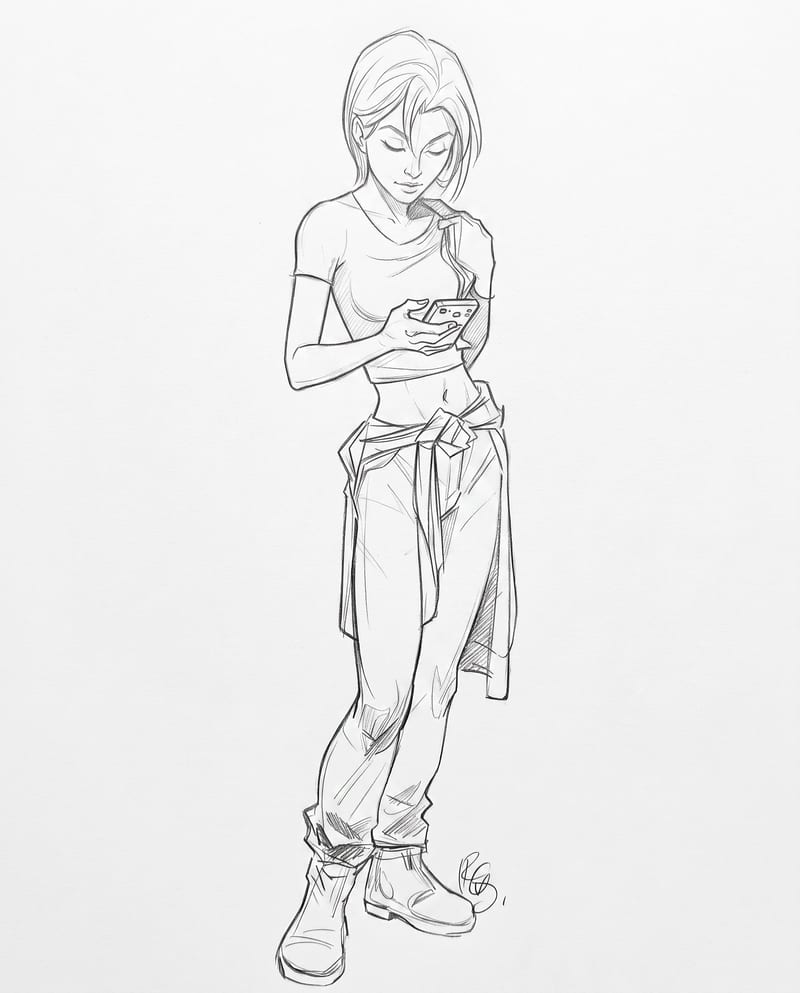
It takes a Character Sketch and a Character Style setting, then produces two outputs: a Character Render image and a Rigged 3D Model mesh. The recipe is intended to carry the original character design and key details into a pose- and animation-ready 3D character.
It is suited to artists, game teams, and character designers moving from a drawn concept toward a 3D character asset. The outputs can support early character reviews, presentation, and preparation for posing or animation.
Use an image of the character you want to develop into 3D. A sketch that clearly communicates the character’s main design details gives the recipe a more useful source for its character render and rigged model.
Yes. Character Style is an exposed text input that visitors can edit in Fuser. The saved example uses “Fortnite style,” but you can replace that text with the style direction you want to explore.
The saved example shows a Character Sketch connected with the text setting “Fortnite style,” followed by a Character Render image and a Rigged 3D Model mesh. It is a saved default example, not a live generation or a guarantee of the same result for every new sketch.
The Rigged 3D Model is intended for posing and animation workflows, while the Character Render provides a visual presentation of the resulting character. The recipe does not replace the broader production work needed to integrate an asset into a particular game or animation project.
Yes. Replace the exposed Character Sketch image with another character concept and adjust the Character Style text to match the direction you want to test. The new run will be based on those inputs rather than the saved example.
Bring a character concept into Fuser, set its visual direction, and explore the resulting render and rigged 3D model.
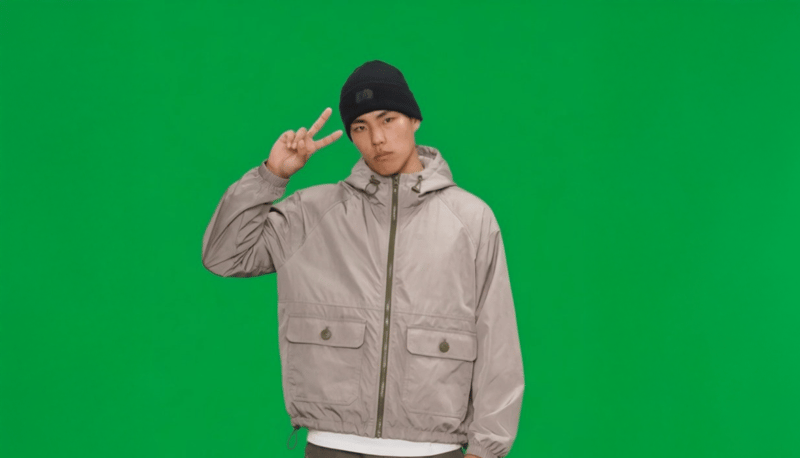
Provide a full-body portrait and motion description to create a green-screen 2D video card of the pictured subject.
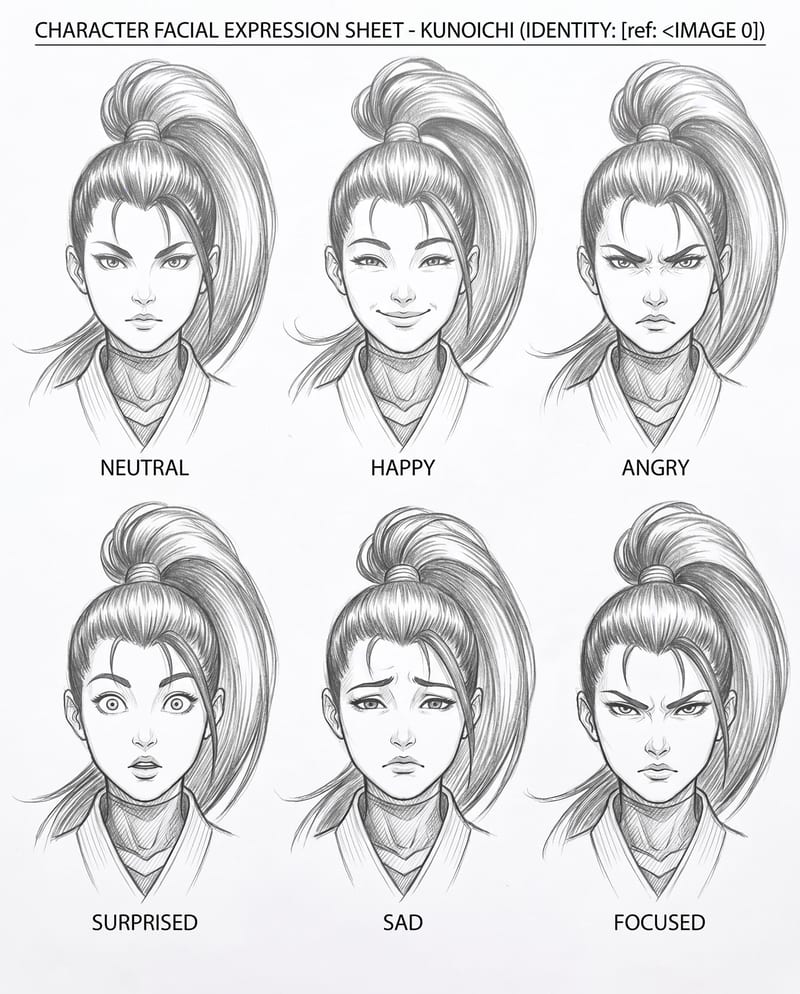
Upload a rough character sketch to create facial expression, costume, and movement reference sheets for game character design.
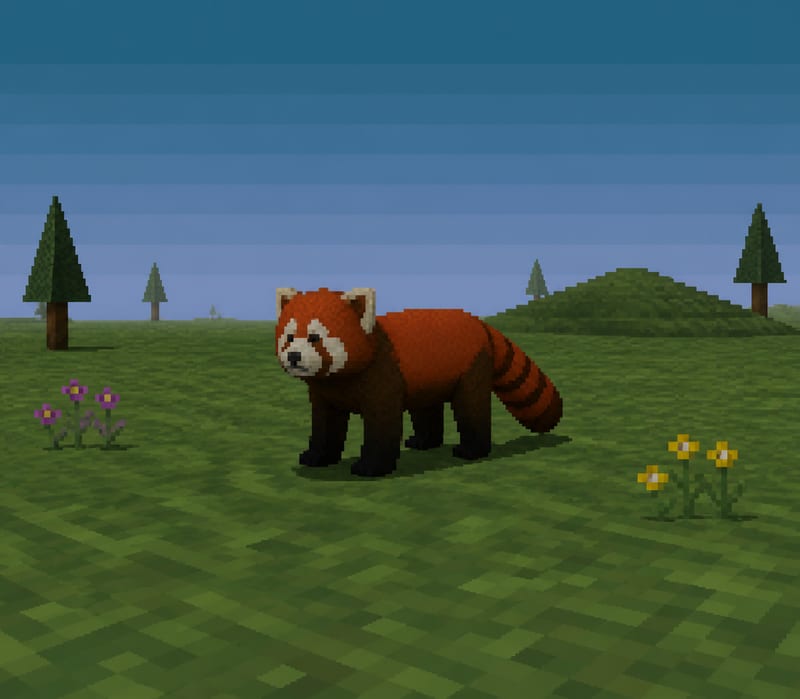
Transform a text subject, such as “red panda,” into a PS1-style image for character and content concepts.