Recipev2
Sketch to Render (Object or Item)
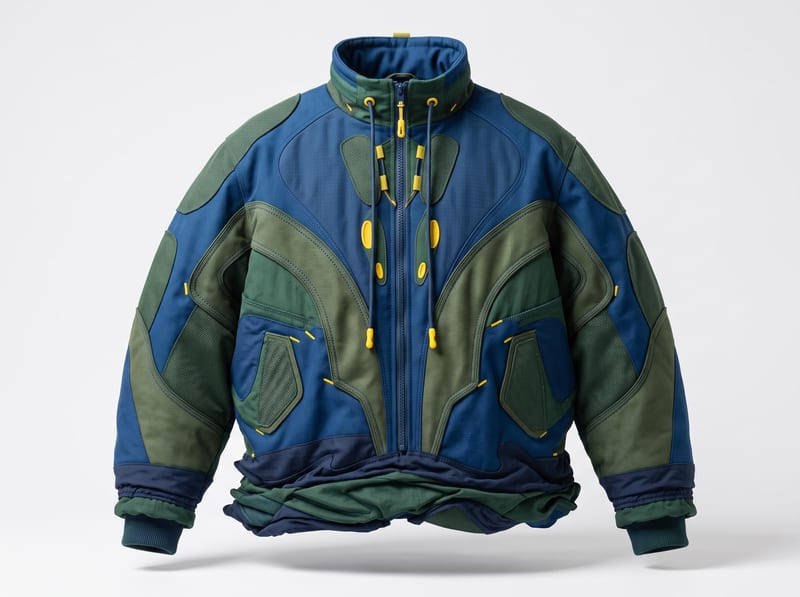
Render Option 1
Make the tool you're missing
Tools are here. Describe the one you're missing and use it live
Explore toolsObject rendering
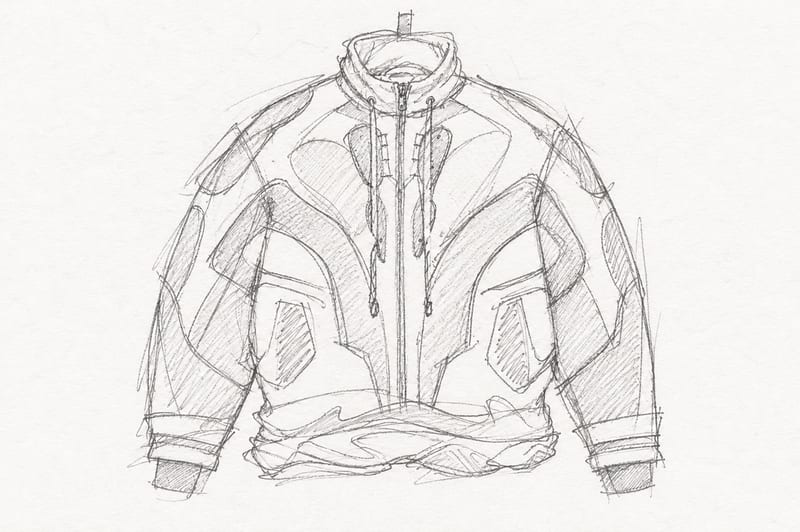
Upload an object sketch and describe its materials and colors to generate two render options for comparison.
Render Option 1
A recipe turns a reusable workflow into a simple set of inputs and outputs. Start with a community recipe and make it your own in Fuser.
1. Choose a recipe
Find a workflow for the result you want. Review what it does and how to use it before opening it in Fuser.
2. Make it your own
Check the recipe’s available inputs. Add your own text or media where supported, or start with the saved defaults.
3. Run and refine
Run it in Fuser and review the result on your canvas. Tweak the inputs to try another direction.
Use the sketch and material description to explore visual directions for an object or item before choosing a preferred render.
It is intended for people exploring the appearance of an object or item from a sketch. Designers, creative teams, and others reviewing an object concept can use the two outputs as visual options for comparison.
You need an image of an object or item sketch and a text description of its material and colors. The saved example uses “blue and green tactile materials with hints of yellow rubber accents” as its description.
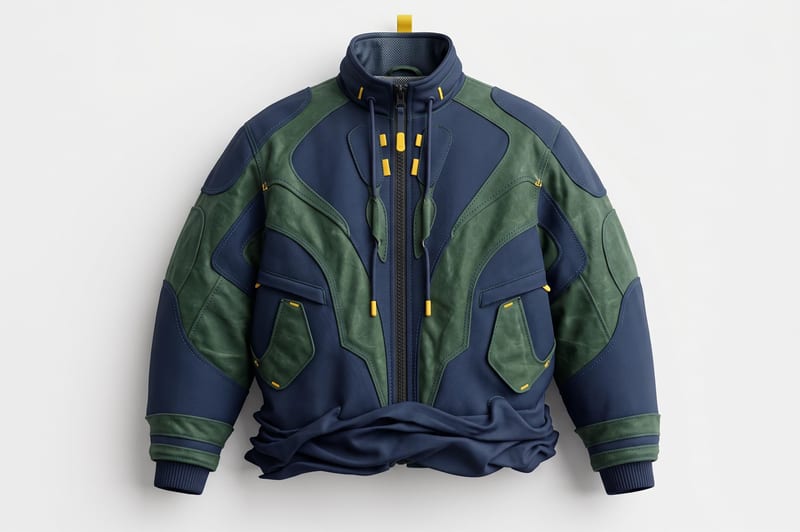
The recipe produces two image outputs labeled Render Option 1 and Render Option 2. They are alternative render options based on the sketch and the material-and-color description.
Yes. The Input Sketch and Material and Color Description are editable inputs in Fuser, so you can provide a different sketch or revise the description before using the recipe.
The saved example shows the recipe connected to an object sketch and the blue, green, and yellow material description above. Its saved result contains two render-option images; a new run depends on the inputs you provide.
The recipe is suited to object or item concepts represented by a sketch, especially when material and color direction needs discussion. It does not establish a specific product category, so the sketch and description should provide the relevant subject.
Yes. The two image outputs can serve as side-by-side visual references when comparing possible appearances for the sketched object. They are options for exploration rather than a stated final production specification.
Bring an object sketch and a clear material-and-color description to Fuser, then explore two render options for the concept.

Upload a reference image to receive a detailed, structured text prompt describing how to recreate its visual characteristics.
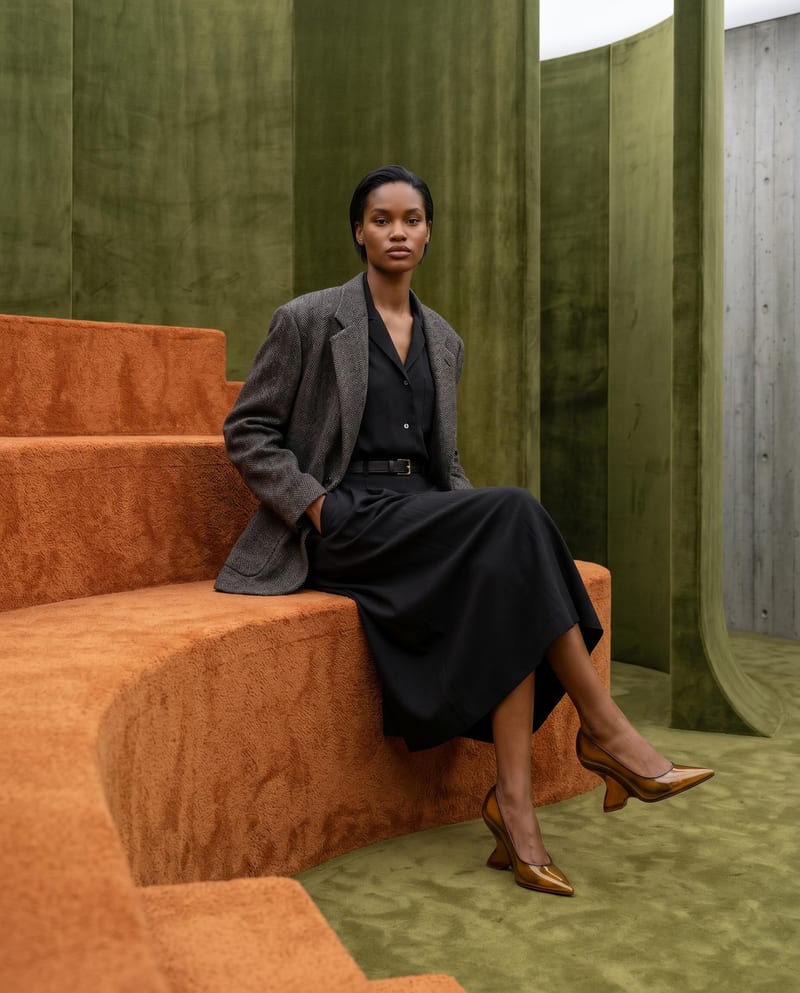
Combine model, accessory, location, and pose inputs into a fashion photography composition.

Upload one reference image to create six film-inspired photographic variations.