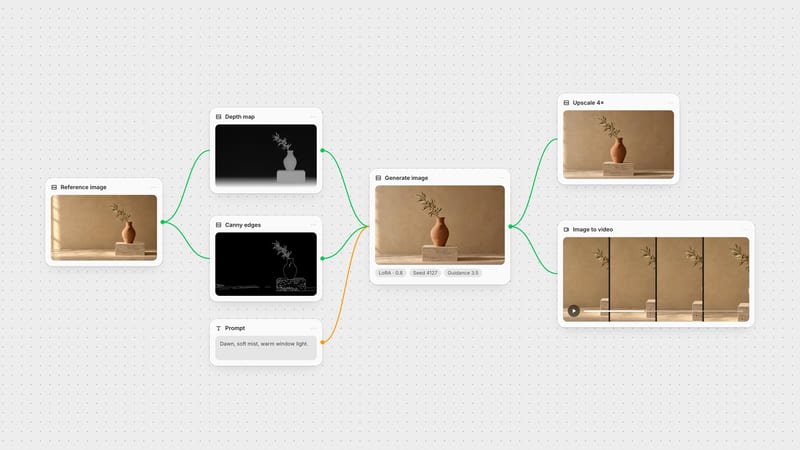
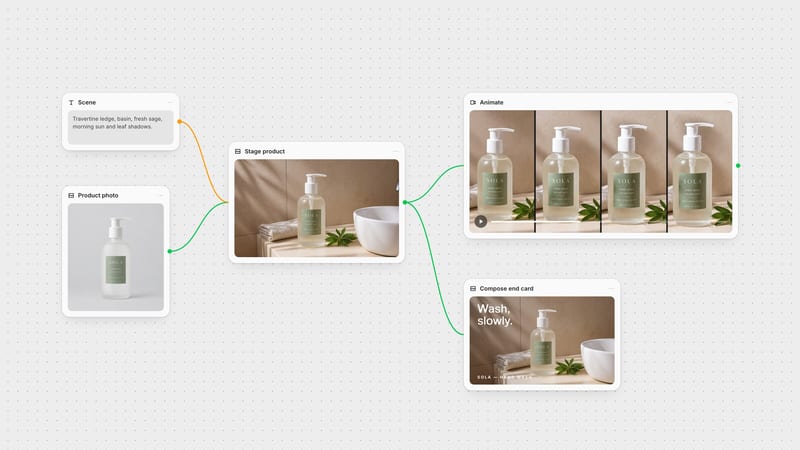
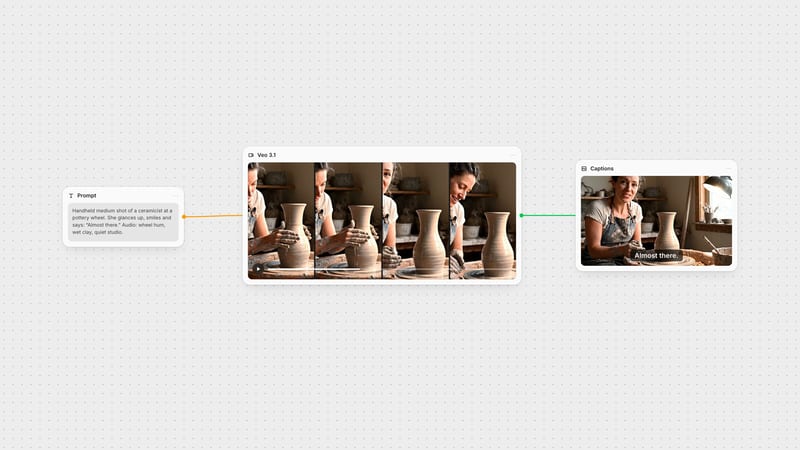
One click, whole workflow
Recipes are here. Package a whole workflow and run it in one click
Explore recipesOne click, whole workflow
Recipes are here. Package a whole workflow and run it in one click
Explore recipesSplit a shot list into prompts, generate storyboard frames that share one look, then animate each board with start and end frames to build a reviewable animatic.
All guides · Video storyboards in Fuser
Quick answer: to turn an AI storyboard into an animatic, write the shot list first, generate one frame per shot from a shared reference so every board has the same look, then feed each board into an image-to-video model as its start frame. Models such as Kling 3.0, Veo and FLUX.3 also take an end frame, so a shot can move precisely from one board to the next.
An animatic is where a storyboard proves its timing. Static boards hide problems a moving sequence exposes immediately: a camera move that takes too long, a cut that lands on the wrong beat, a product that is never on screen long enough. AI makes it practical to get to that moving version before anything is shot or rendered.
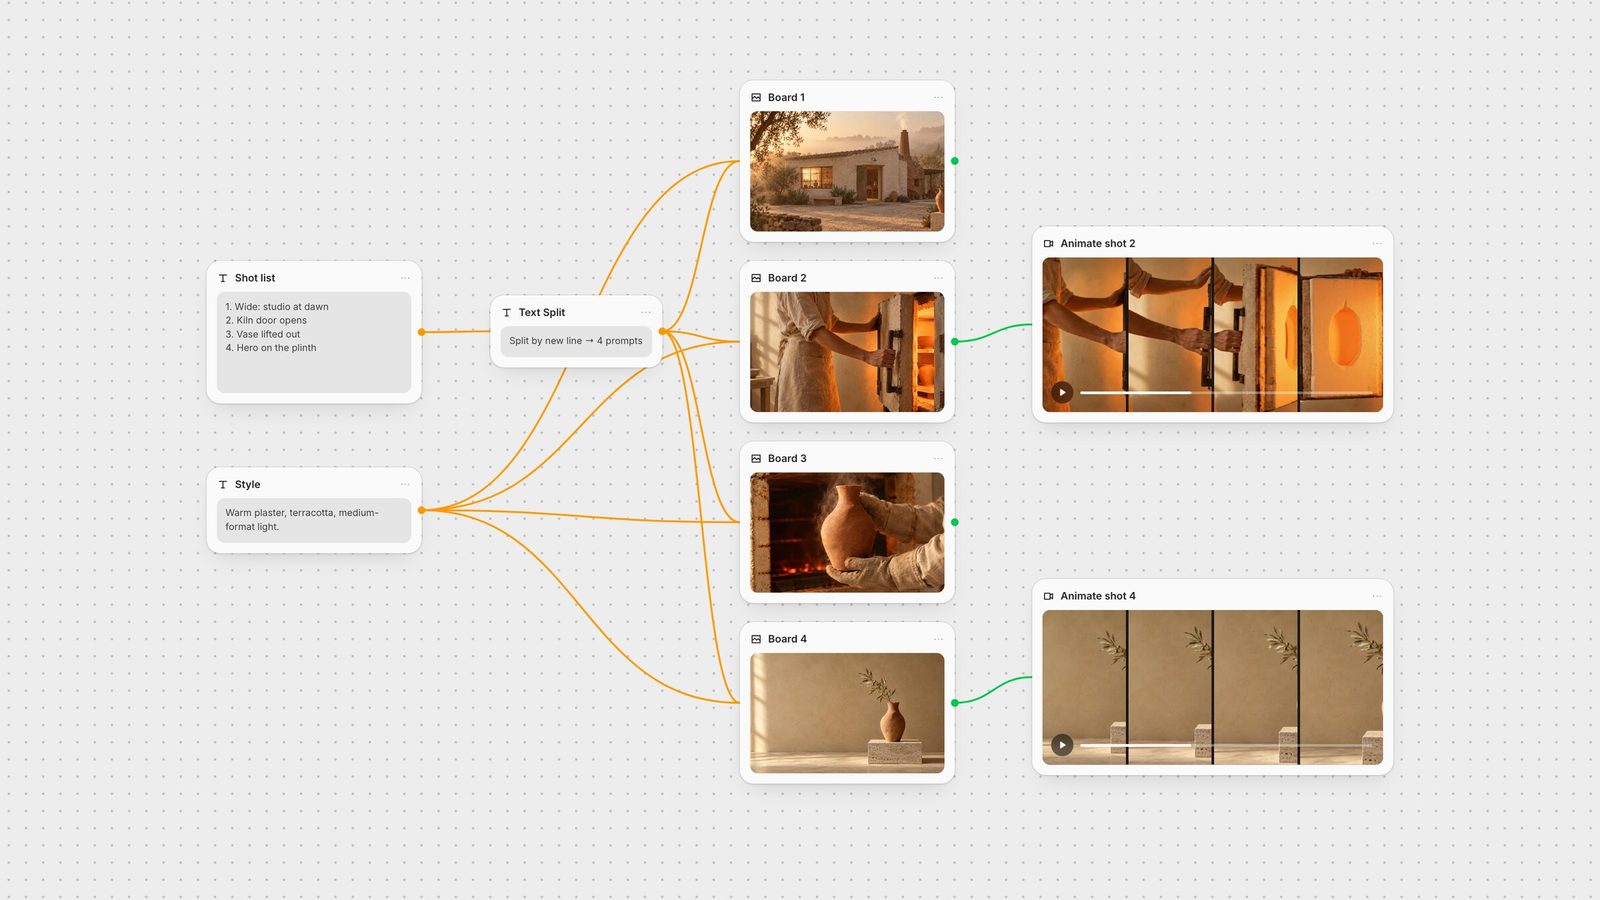
Write the sequence as numbered lines: framing, action and purpose for each shot. For a short spot for a ceramics studio, that might be a wide of the studio at dawn, the kiln door opening, the vase being lifted out and a final hero frame with room for the end card.
In Fuser, put the list in a Text node and connect it to a Text Split node set to split by new line. Each line becomes its own output, so every shot gets its own prompt without copying text between nodes. When the director changes shot three, you edit one line and the change flows to that board only.
Consistency is what separates a storyboard from four unrelated pictures. Give every board the same visual anchor:
A reference image. Connect one key frame to a reference-led model such as GPT Image, Gemini Image or FLUX.1 Kontext, and describe each shot as a change to that world.
A shared style description. Keep palette, lens and lighting in a Style node and connect it to every board, so a note like "warmer, less contrast" is a single edit.
A fixed aspect ratio. Generate every board at the delivery ratio, usually 16:9 or 9:16, so framing decisions survive into the animatic.
The boards above were made this way: one reference image, one style line, and four shot descriptions. The vase, the palette and the light carry through from the exterior to the close-up.
Connect each board to an image-to-video node as its start frame and describe only the motion: what moves, how the camera moves and how long it takes. Keep motion prompts short and physical. "The potter pulls the kiln door fully open; warm light floods the wall; slow handheld" works better than restating the whole scene.
When a shot has to arrive somewhere specific, add an end frame as well. Kling 3.0, Veo and FLUX.3 all accept a last-frame input and generate the motion between the two images, which is useful for camera moves and match cuts between boards.
Choose the model by the shot. Kling 3.0 lets you set a clip length from 3 to 15 seconds, a negative prompt and a guidance (CFG) value, with optional generated audio. Wan 2.6 can plan several shots inside one generation when you write the prompt with time ranges, which is handy for testing a whole sequence rhythm quickly. For a side-by-side view of motion models, see the best image-to-video models.
Keep every shot on the same canvas so the team reviews the sequence, not isolated clips. To watch shots side by side, place them as video layers in one Compositor: multiple video layers play in sync on one timeline, and you can export the arrangement as an MP4 (timeline and export docs). For the final cut, export each shot and assemble them in your editor, or regenerate a sequence with a multi-shot model once the timing is settled.
The expensive part of a storyboard is the setup: the shot structure, the style anchor and the motion language. Save the graph as a Recipe and the next campaign starts with a new shot list and reference image rather than a blank canvas. The same pattern carries characters across shots; see keeping characters consistent in AI images and video, and chaining AI models into one workflow for adding sound, captions and upscaling after the animatic is approved.
What each stage needs and where it lives on a Fuser canvas.
| Stage | What you give it | In Fuser |
|---|---|---|
| The workflow | ||
| Shot list | Numbered lines: framing, action, purpose. | Text node into Text Split, one output per shot. |
| Boards | One reference image plus a shared style description. | Reference-led image model per shot, Style node on every board. |
| Shots | Each board as the start frame, a short motion prompt. | Image-to-video node per board, e.g. Kling 3.0 or Veo. |
| Precise moves | A start frame and an end frame. | Last-frame input on Kling 3.0, Veo or FLUX.3. |
| Review | All shots in one place. | Video layers in the Compositor, exported as MP4. |
| Reuse | The finished graph. | Saved as a Recipe for the next brief. |
An animatic is a storyboard played in time: boards or rough shots cut to the intended pacing, often with temporary sound, so a team can judge timing and camera moves before full production.
Yes. Break the script into a numbered shot list, then generate one frame per shot from a shared reference image and style so every board matches. In Fuser, a Text Split node turns the list into one prompt per shot.
Anchor every frame to the same reference image, keep palette and lighting in one shared style description, and generate all boards at the delivery aspect ratio.
Use the frame as the start image of an image-to-video model and describe only the motion. Add an end frame when the shot must land on a specific composition; Kling 3.0, Veo and FLUX.3 accept one.
You can review shots side by side as synced video layers in the Compositor and export MP4. For a sequential edit, export the shots and cut them in your editor, or use a multi-shot model such as Wan 2.6.
Split the shot list, hold the look and animate every frame on one canvas.