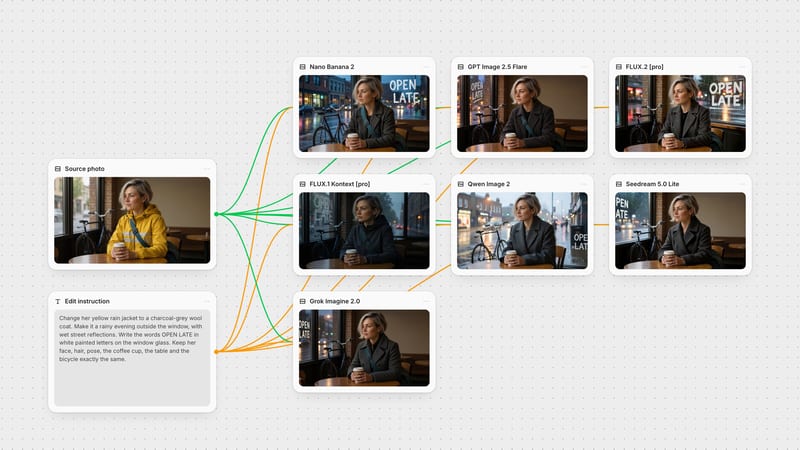
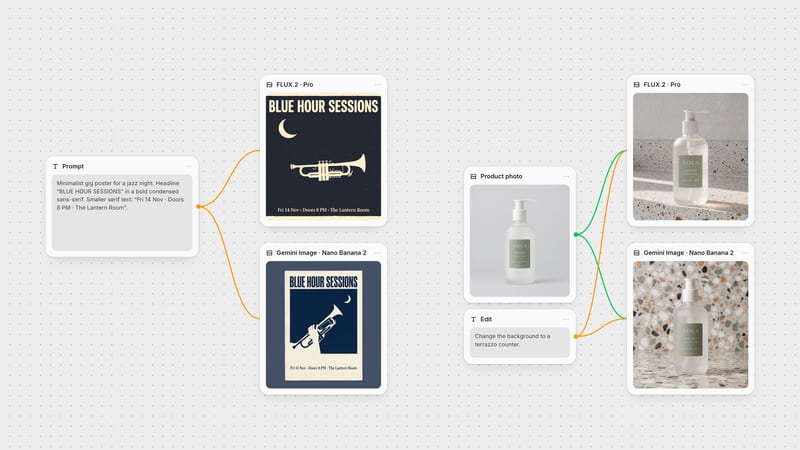
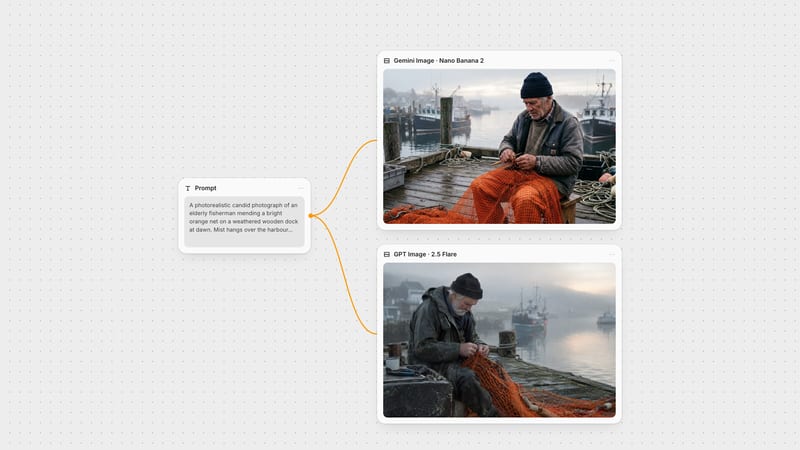
One click, whole workflow
Recipes are here. Package a whole workflow and run it in one click
Explore recipesOne click, whole workflow
Recipes are here. Package a whole workflow and run it in one click
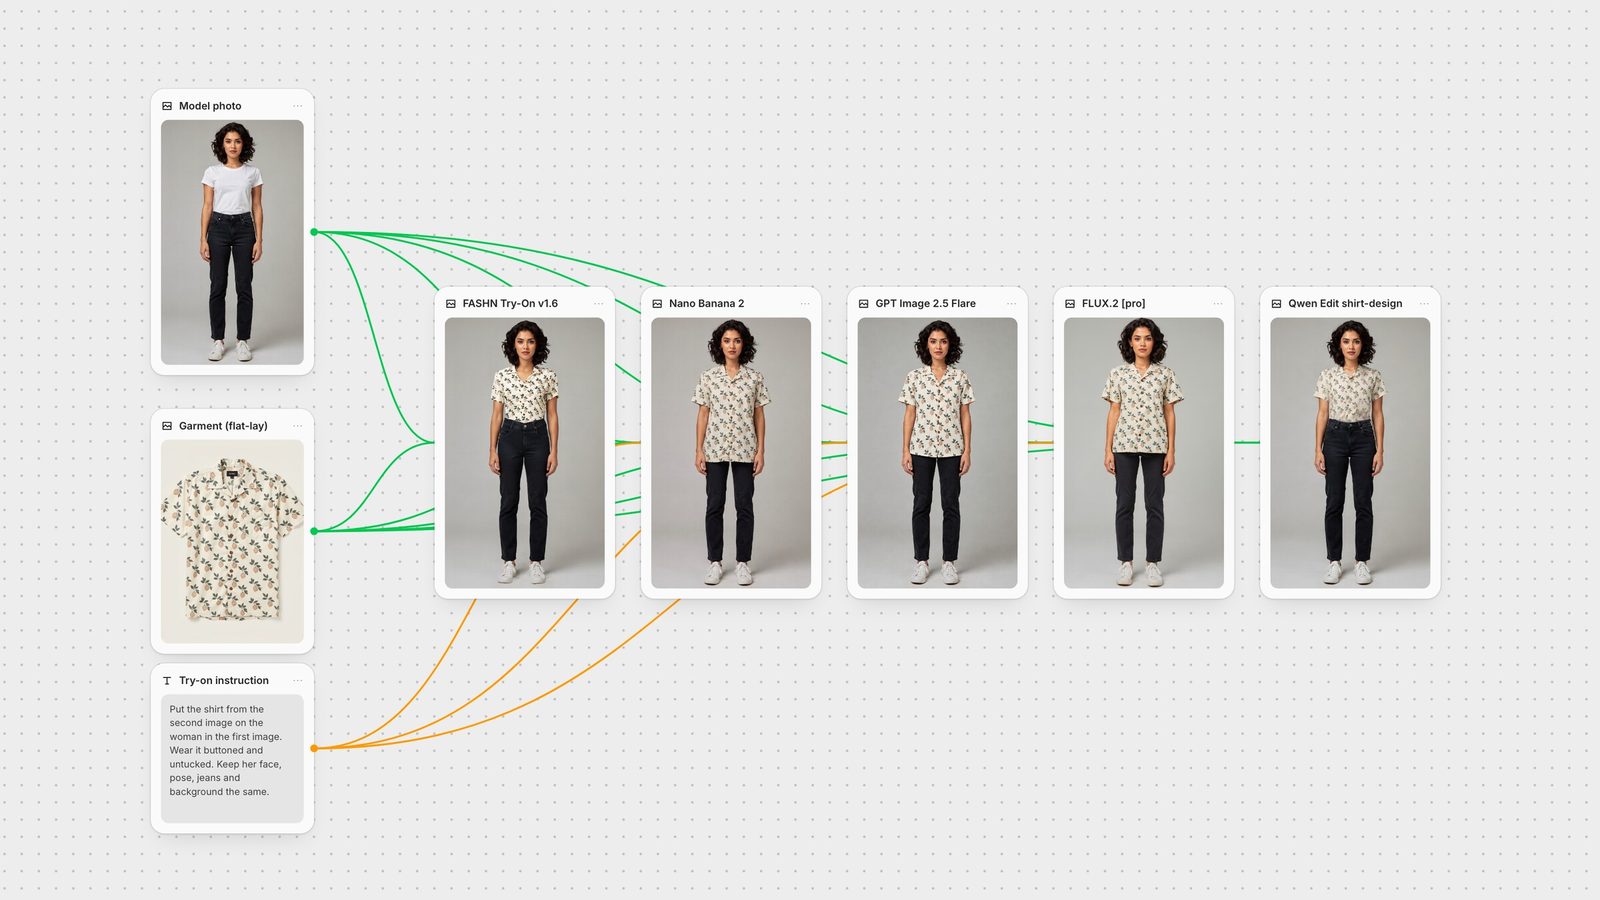
Explore recipesOne flat-lay shirt on one model photo, five models. FASHN Try-On v1.6 changed the least with no prompt. GPT Image 2.5 Flare and Nano Banana 2 also followed styling such as untucked. FLUX.2 [pro] redrew more of the photo; Qwen's shirt-design preset prints graphics.
All guides · Best AI image editing models
Quick answer: for catalogue try-on, where the shirt has to change and nothing else can, use FASHN Try-On. It is the only dedicated try-on model in Fuser. It takes a model photo and a garment photo, no prompt, and in our test it left her face, jeans, shoes and backdrop untouched. When you also need to style the garment (untucked, sleeves rolled, a different pose or scene), use a multi-image editing model: GPT Image 2.5 Flare kept the shirt's details closest, and Nano Banana 2 was a close second. FLUX.2 Pro redrew more of the photo than we asked. Qwen Image Edit's shirt-design preset prints a graphic onto a shirt, which is a different job.
We generated two inputs: a full-length studio photo of a woman in a white t-shirt and dark jeans (1024 × 1536), and a flat-lay photo of a cream camp-collar shirt with a terracotta lemon print, wooden buttons and one chest pocket. Every model got the same two images, in that order.
FASHN has no prompt input, so it ran on the images alone, with the garment photo type set to flat-lay and everything else at Fuser's defaults. The three general editing models got the same instruction, verbatim:
"Put the shirt from the second image on the woman in the first image, replacing her white t-shirt. Wear it buttoned and untucked over her jeans. Keep the shirt's lemon print, colours, wooden buttons, chest pocket and camp collar exactly as in the second image. Keep her face, hair, pose, jeans, sneakers, the background and the lighting exactly the same."
Qwen Image Edit's shirt-design preset ran with its default prompt, "Put this design on their shirt". Each model ran once through fal, with no retries: FASHN Try-On v1.6, Nano Banana 2 edit, GPT Image 2.5 Flare edit, FLUX.2 Pro edit and Qwen Image Edit shirt-design.
FASHN Try-On v1.6 changed the shirt and nothing else. Her face, hair, jeans, sneakers, stance and the grey backdrop match the source photo. The lemon print, the wooden buttons and the pocket all came through, with the print a little denser and higher in contrast than the flat-lay. It tucked the shirt in, where the original t-shirt was, and there is no way to ask for anything else because FASHN takes no prompt. The output came back at 864 × 1296, the resolution FASHN's v1.6 docs say it processes images at.
GPT Image 2.5 Flare followed the whole instruction: buttoned, untucked, camp collar, pocket and buttons in place, and a print scale close to the flat-lay. Her face and jeans held. We ran it at high quality with the size on auto, and it kept the 1024 × 1536 input size.
Nano Banana 2 (Gemini 3.1 Flash Image) also wore it untucked, with a looser, boxier fit that suits a camp-collar shirt and a faithful print. Her face and jeans held. We asked for 2:3 at 1K, so it returned 848 × 1264.
FLUX.2 [pro] put a convincing, untucked shirt on her, but it treated the model photo as a reference rather than a fixed photo: her hair gained volume and her position in the frame moved slightly. That is fine for a lookbook image and a problem for a product listing that has to match the rest of the set.
Qwen Image Edit (shirt-design preset) produced a shirt-like top with a faded, washed-out print and no visible pocket, tucked in like the original tee, and returned 832 × 1248. That result is expected: the preset is built to print a design onto the shirt a person is already wearing, not to swap in a whole garment. Given a flat graphic instead, it did that job cleanly:
Treat this as one garment on one person. A top on a front-facing studio photo is the easy case; layered outfits, dresses, unusual poses and busy backgrounds can reorder the results.
These come from each vendor's documentation and from what we saw in this run:
Tell FASHN what kind of garment photo you have. FASHN's API reference has three garment photo types: model (the garment worn by a person), flat-lay (flat-lay or ghost mannequin) and auto. Fuser's FASHN node defaults to model, so switch it to flat-lay for packshots like ours.
Set the category when the garment photo shows a whole outfit. With category on auto, FASHN detects the garment type from a flat-lay. From an on-model photo, FASHN says full-body shots default to swapping the full outfit. Pick tops, bottoms or one-pieces to swap only that piece.
Trade speed for quality with FASHN's mode. FASHN documents roughly 5 seconds for performance, 8 for balanced (Fuser's default) and 12 to 17 for quality. Use performance while you test garments and quality for the final images.
Change the seed, not the inputs, for a second look. FASHN, FLUX.2 and Qwen Image Edit expose a seed in Fuser, so you can rerun the same garment on the same person and keep the take you like. GPT Image and Nano Banana have no seed setting; run them again for another take.
Say which image is which. Black Forest Labs' FLUX.2 docs refer to inputs by number ("image 1", "image 2") in the prompt, and our instruction named "the first image" and "the second image". It stops the model from dressing the shirt in the person's clothes.
List what must stay, and add styling in words. Only the prompt-based models could wear the shirt untucked. Name the parts that must not change as well: face, hair, pose, other garments, background.
Add more references when one photo isn't enough. Google's Gemini docs list up to 10 object images plus up to 4 character images for Gemini 3.1 Flash Image, and Fuser's Nano Banana node takes up to 10. Black Forest Labs' API takes up to 8 for FLUX.2. Use the extra slots for the back of the garment, a fabric close-up or a second view of the person.
FASHN Try-On has model image and garment image inputs, plus category (auto, tops, bottoms, one-pieces; default auto), garment photo type (model, flat-lay, auto; default model), mode (performance, balanced, quality; default balanced), an NSFW toggle and a seed. Fuser runs it segmentation-free, which FASHN describes as better for bulkier garments and for preserving body shape and skin texture.
Nano Banana 2 is the default model in the Gemini image node, with 1K, 2K or 4K output. The node also offers Gemini 3 Pro Image.
GPT Image 2.5 Flare is the default in the GPT Image node, which also takes a mask if you want to restrict the change to the torso.
FLUX.2 defaults to Turbo; we switched Model Type to Pro for this test. Max and Flex are also available.
Qwen Image Edit switches to the shirt-design LoRA from its operation list and takes two images: the person first, then the design.
On a Fuser canvas, wire one model photo and one garment into FASHN and one or two editing nodes, as in the canvas above, and compare the results side by side. Swap in the next garment and run again. From there, send the winner to an image-to-video model for a short on-model clip, or see the product photo to video ad workflow. Clean up packshots first with a background remover, keep the same model across a collection with consistent characters, and compare general editing on one photo and seven editing models. Save the graph as a Recipe so the whole range goes through the same steps.
Last verified September 28, 2026.
Based on one shared try-on test plus each vendor's documentation.
| Model | Reach for it when | Watch out for |
|---|---|---|
| Dedicated try-on | ||
| FASHN Try-On v1.6 | Catalogue shots where only the garment may change; tops, bottoms or one-pieces from on-model or flat-lay photos. | No prompt, so no styling control; 864 × 1296 output. |
| Multi-image editing | ||
| GPT Image 2.5 Flare | Try-on plus styling instructions, with garment details kept closest in our test. | Higher quality settings add latency and cost. |
| Nano Banana 2 | Styled try-ons and extra reference images (up to 10 in Fuser). | Output size follows the aspect ratio and resolution you pick. |
| FLUX.2 [pro] | Lookbook and editorial images where the person can be re-rendered. | Shifted her hair and framing; not pixel-faithful. |
| Graphics on garments | ||
| Qwen Image Edit shirt-design | Printing a logo or graphic onto the shirt someone is already wearing. | Not a garment swap; a full shirt came out faded. |
For catalogue try-on where nothing but the garment should change, FASHN Try-On v1.6 was the most faithful in our test. When you also want to restyle the garment or scene with a prompt, GPT Image 2.5 Flare and Nano Banana 2 did best.
A model takes a photo of a person and a photo of a garment and returns the person wearing that garment, keeping their face, body and pose. Dedicated try-on models such as FASHN need no prompt; general editing models do it from a multi-image instruction.
Yes. FASHN accepts flat-lay and ghost-mannequin photos as well as on-model photos. Set the garment photo type to flat-lay in Fuser, because the node defaults to model.
Not with FASHN, which has no text input and followed the tuck of the original t-shirt in our test. Use a prompt-based editor such as GPT Image 2.5 Flare or Nano Banana 2 and describe the styling.
FASHN has tops, bottoms and one-pieces categories, plus auto detection. We only tested a shirt; check fit and hemlines on your own garments before publishing.
Yes. In Fuser, connect one model photo and one garment photo to several nodes on the same canvas, run them together and keep the best result.
Run FASHN and multi-image editors side by side, then turn the best try-on into video.